


Kelly_SUV_Life_394

02/25/2026
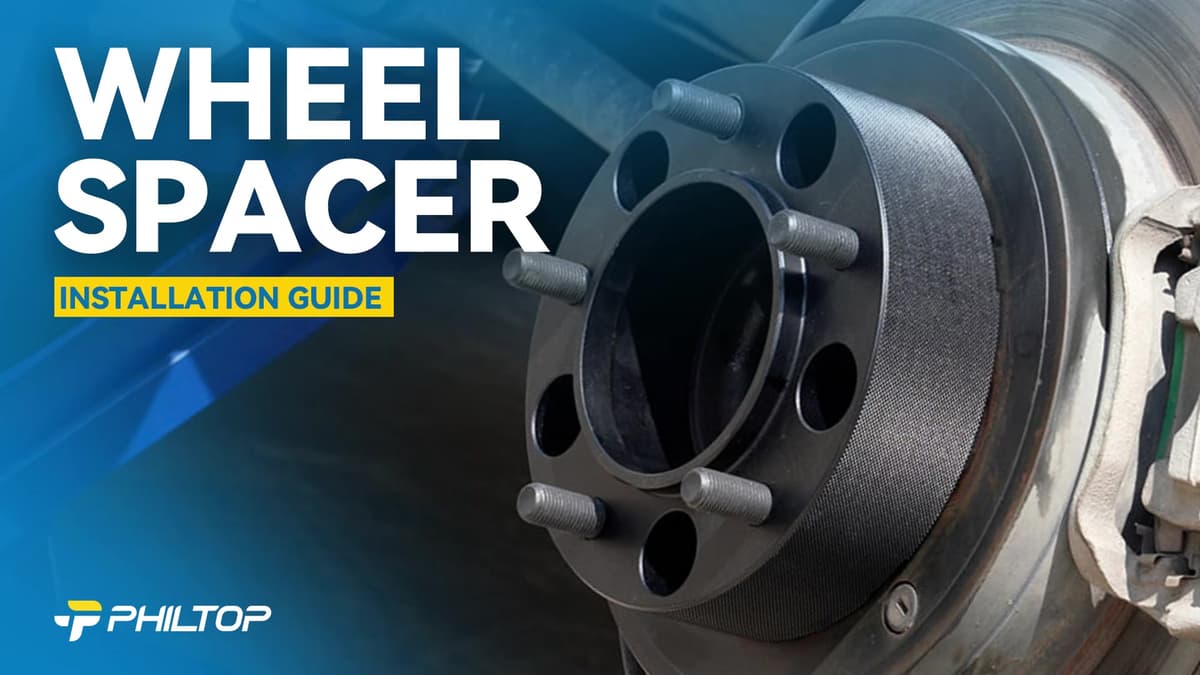
Super quick delivery on these spacers. Everything was in the box and nicely organized. Had a quick question about installation and customer support was awesome, very helpful. Top-notch service.

 Durable
6061T6
Check if this fits your vehicle
Select a vehicle to check this product.
Check if this fits your vehicle
| Year | 2004 - 2005 | 2003 - 2004 | 2004 - 2006 | 2007 - 2008 | 2009 - 2010 | 2015 - 2016 | 1988 - 2002 | 2003 - 2004 | 1999 | 2004 - 2005 |
|---|---|---|---|---|---|---|---|---|---|---|
| Make | Bombardier | Bombardier | Bombardier | Can-Am | Can-Am | Can-Am | Kawasaki | Kawasaki | Kawasaki | Suzuki |
| Model | Outlander 330 HO 2x4 | Outlander 400 HO 2x4 | Outlander Max 400 HO | Outlander 400 HO | Outlander 400 HO EFI | Outlander 650 6x6 XT | KLF220 Bayou | KLF300 Bayou 4x4 | KVF300 Prairie 4x4 | LT-V700F Twin Peaks 700 4x4 |
| Trim | Base | Base | Base | Base | Base | Base | Base | Base | Base | Base |
| Engine | - | - | - | - | - | - | - | - | - | - |
| Note | / | / | / | / | / | / | / | / | / | / |
 User manual (PDF)


4.4/5
Based on 5 reviews
Kelly_SUV_Life_394
02/25/2026
Super quick delivery on these spacers. Everything was in the box and nicely organized. Had a quick question about installation and customer support was awesome, very helpful. Top-notch service.
Rob_HomeGarage_929
12/14/2025
These spacers really improve the look of my Kawasaki Bayou. They give it a much more aggressive and stable appearance. The price point is excellent for the quality you get. Definitely a solid purchase.
Yes. PHILTOP products are made from high-quality materials and are manufactured to strict standards. When installed correctly by a professional and following the instructions, PHILTOP wheel spacers provide reliable and safe performance.
Choosing PHILTOP means choosing quality and peace of mind. Low-quality spacers can compromise safety, but PHILTOP products are engineered for durability and performance. Don’t compromise—trust PHILTOP for safe and high-performing wheel upgrades.
Check the package contents listed on the product page. If an included item is missing, contact us with your order number and photos of everything received.
Loading vehicle options...
Choose Year, Make, and Model to check exact fitment.Durable
6061T6
Check if this fits your vehicle
Select a vehicle to check this product.
5 reviews
5 star: 3
4 star: 1
3 star: 1
Check if this fits your vehicle
| Year | Make | Model | Trim | Engine | Notes |
|---|---|---|---|---|---|
| 2004 - 2005 | Bombardier | Outlander 330 HO 2x4 | Base | - | / |
| 2003 - 2004 | Bombardier | Outlander 400 HO 2x4 | Base | - | / |
| 2004 - 2006 | Bombardier | Outlander Max 400 HO | Base | - | / |
| 2007 - 2008 | Can-Am | Outlander 400 HO | Base | - | / |
| 2009 - 2010 | Can-Am | Outlander 400 HO EFI | Base | - | / |
| 2015 - 2016 | Can-Am | Outlander 650 6x6 XT | Base | - | / |
| 1988 - 2002 | Kawasaki | KLF220 Bayou | Base | - | / |
| 2003 - 2004 | Kawasaki | KLF300 Bayou 4x4 | Base | - | / |
| 1999 | Kawasaki | KVF300 Prairie 4x4 | Base | - | / |
| 2004 - 2005 | Suzuki | LT-V700F Twin Peaks 700 4x4 | Base | - | / |
User manual (PDF)4.4/5
Based on 5 reviews
Kelly_SUV_Life_394
Feb 25,2026
Super quick delivery on these spacers. Everything was in the box and nicely organized. Had a quick question about installation and customer support was awesome, very helpful. Top-notch service.
Rob_HomeGarage_929
Dec 14,2025
These spacers really improve the look of my Kawasaki Bayou. They give it a much more aggressive and stable appearance. The price point is excellent for the quality you get. Definitely a solid purchase.
Yes. PHILTOP products are made from high-quality materials and are manufactured to strict standards. When installed correctly by a professional and following the instructions, PHILTOP wheel spacers provide reliable and safe performance.
Choosing PHILTOP means choosing quality and peace of mind. Low-quality spacers can compromise safety, but PHILTOP products are engineered for durability and performance. Don’t compromise—trust PHILTOP for safe and high-performing wheel upgrades.
Check the package contents listed on the product page. If an included item is missing, contact us with your order number and photos of everything received.
