


Andry Tisoy

05/24/2026
 Verified buyer
Perfecto luego de reparar mi carro todo muy bien

 Leak-Resistant
Check if this fits your vehicle
Select a vehicle to check this product.
Check if this fits your vehicle
| Year | 2002 - 2006 | 2007 | 2002 - 2004 | 2002 - 2006 | 2006 |
|---|---|---|---|---|---|
| Make | Mitsubishi | Mitsubishi | Mitsubishi | Mitsubishi | Mitsubishi |
| Model | Lancer | Lancer | Lancer | Lancer | Lancer |
| Trim | ES | ES | LS | OZ Rally | SE |
| Engine | 2.0L L4 | 2.0L L4 | 2.0L L4 | 2.0L L4 | 2.0L L4 |
| Note | Radiator Cap Is Required | - | Radiator Cap Is Required | Radiator Cap Is Required | Radiator Cap Is Required |
 User manual (PDF)


4.9/5
Based on 7 reviews
Andry Tisoy
05/24/2026
Verified buyer
Perfecto luego de reparar mi carro todo muy bien
Emma_DailyCommute_948
12/26/2025
Super easy to pop in, and it got here way ahead of schedule. My Lancer is happy and cool now.
Please provide your order number, vehicle information, installation date, current mileage and a description of the issue. Photos, videos or inspection information may also help us review the claim.
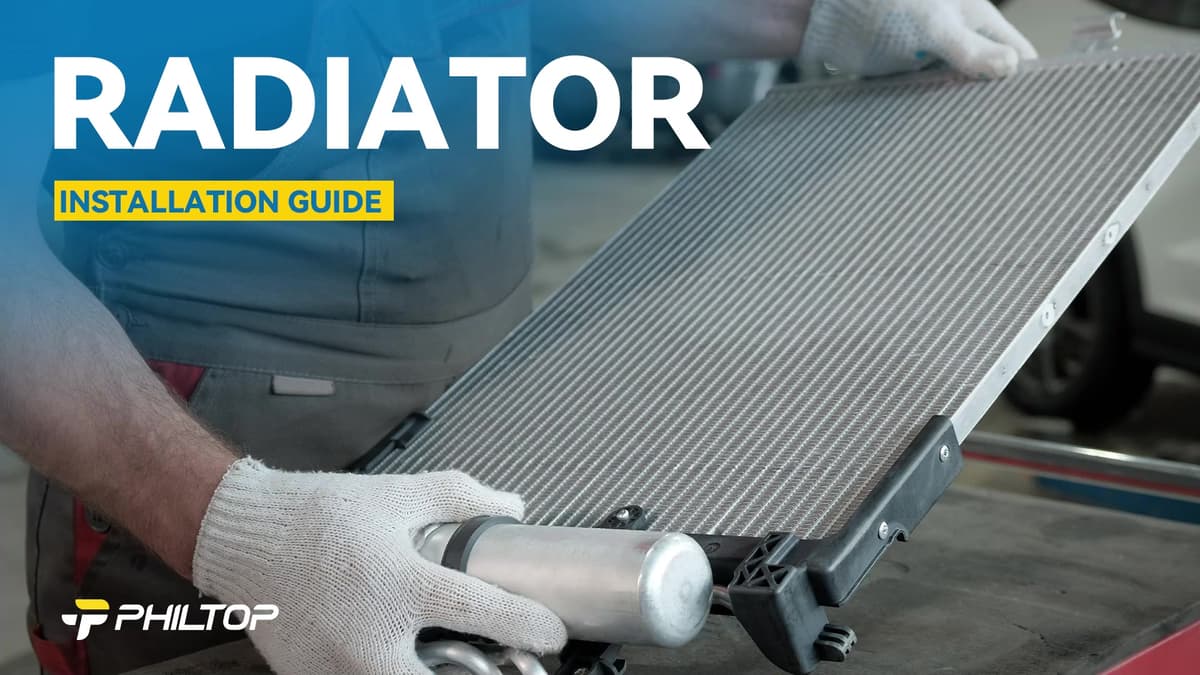
Minor fin movement can occur during handling and may not affect normal operation. Do not install the radiator if the tubes, tanks, or mounting points are damaged.
Many cooling systems require bleeding after refilling to remove trapped air. Follow the procedure specified for the vehicle.
Loading vehicle options...
Choose Year, Make, and Model to check exact fitment.Leak-Resistant
Check if this fits your vehicle
Select a vehicle to check this product.
7 reviews
5 star: 6
4 star: 1
Check if this fits your vehicle
| Year | Make | Model | Trim | Engine | Notes |
|---|---|---|---|---|---|
| 2002 - 2006 | Mitsubishi | Lancer | ES | 2.0L L4 | Radiator Cap Is Required |
| 2007 | Mitsubishi | Lancer | ES | 2.0L L4 | - |
| 2002 - 2004 | Mitsubishi | Lancer | LS | 2.0L L4 | Radiator Cap Is Required |
| 2002 - 2006 | Mitsubishi | Lancer | OZ Rally | 2.0L L4 | Radiator Cap Is Required |
| 2006 | Mitsubishi | Lancer | SE | 2.0L L4 | Radiator Cap Is Required |
User manual (PDF)4.9/5
Based on 7 reviews
Andry Tisoy
May 24,2026
Verified buyer
Perfecto luego de reparar mi carro todo muy bien
Emma_DailyCommute_948
Dec 26,2025
Super easy to pop in, and it got here way ahead of schedule. My Lancer is happy and cool now.
Please provide your order number, vehicle information, installation date, current mileage and a description of the issue. Photos, videos or inspection information may also help us review the claim.
Minor fin movement can occur during handling and may not affect normal operation. Do not install the radiator if the tubes, tanks, or mounting points are damaged.
Many cooling systems require bleeding after refilling to remove trapped air. Follow the procedure specified for the vehicle.
