


Steve_DIYer_542

10/05/2025
This radiator is a steal for the price. The construction is solid, and it fits my 2010 Corolla perfectly. I'm really happy with the quality and how much I saved compared to other brands.

 Cap Included
Leak-Resistant
Check if this fits your vehicle
Select a vehicle to check this product.
Check if this fits your vehicle
| Year | 2009 - 2010 | 2009 - 2011 | 2012 - 2013 | 2014 - 2015 | 2016 | 2009 - 2013 | 2014 - 2015 | 2016 | 2014 - 2015 | 2016 | 2019 | 2014 | 2009 - 2013 | 2014 - 2015 | 2016 | 2016 | 2009 - 2010 | 2009 - 2013 |
|---|---|---|---|---|---|---|---|---|---|---|---|---|---|---|---|---|---|---|
| Make | Pontiac | Toyota | Toyota | Toyota | Toyota | Toyota | Toyota | Toyota | Toyota | Toyota | Toyota | Toyota | Toyota | Toyota | Toyota | Toyota | Toyota | Toyota |
| Model | Vibe | Corolla | Corolla | Corolla | Corolla | Corolla | Corolla | Corolla | Corolla | Corolla | Corolla | Corolla | Corolla | Corolla | Corolla | Corolla | Corolla | Matrix |
| Trim | Base | Base | L | L | L | LE | LE | LE | LE Eco | LE Eco | LE Eco | Le Eco Plus | S | S | S | Special Edition | XLE | Base |
| Engine | 1.8L L4 | 1.8L L4 | 1.8L L4 | 1.8L L4 | 1.8L L4 | 1.8L L4 | 1.8L L4 | 1.8L L4 | 1.8L L4 | 1.8L L4 | 1.8L L4 | 1.8L L4 | 1.8L L4 | 1.8L L4 | 1.8L L4 | 1.8L L4 | 1.8L L4 | 1.8L L4 |
| Note | 27 3/4 Between Top Mounting Holes (Threaded);Radiator Cap Is Required;USA or Canada Built | 27 3/4 Between Top Mounting Holes (Threaded);Radiator Cap Is Required;USA or Canada Built | 27 3/4 Between Top Mounting Holes (Threaded);Radiator Cap Is Required;USA or Canada Built | 27 3/4 Between Top Mounting Holes (Threaded);Radiator Cap Is Required | - | 27 3/4 Between Top Mounting Holes (Threaded);Radiator Cap Is Required;USA or Canada Built | 27 3/4 Between Top Mounting Holes (Threaded);Radiator Cap Is Required | - | 27 3/4 Between Top Mounting Holes (Threaded);Radiator Cap Is Required | - | - | 27 3/4 Between Top Mounting Holes (Threaded);Radiator Cap Is Required | 27 3/4 Between Top Mounting Holes (Threaded);Radiator Cap Is Required;USA or Canada Built | 27 3/4 Between Top Mounting Holes (Threaded);Radiator Cap Is Required | - | - | 27 3/4 Between Top Mounting Holes (Threaded);Radiator Cap Is Required;USA or Canada Built | 27 3/4 Between Top Mounting Holes (Threaded);Radiator Cap Is Required;USA or Canada Built |
 User manual (PDF)


4.8/5
Based on 5 reviews
Steve_DIYer_542
10/05/2025
This radiator is a steal for the price. The construction is solid, and it fits my 2010 Corolla perfectly. I'm really happy with the quality and how much I saved compared to other brands.
Brad_AutoParts_507
01/28/2026
For the price, the craftsmanship on this radiator is impressive. It looks and feels like a quality part that will last. Definitely a good bang for your buck for my Corolla.
Stop the installation and contact Philtop customer support. Please provide your vehicle information, order number and photos of the original and received parts so we can help review the fitment.
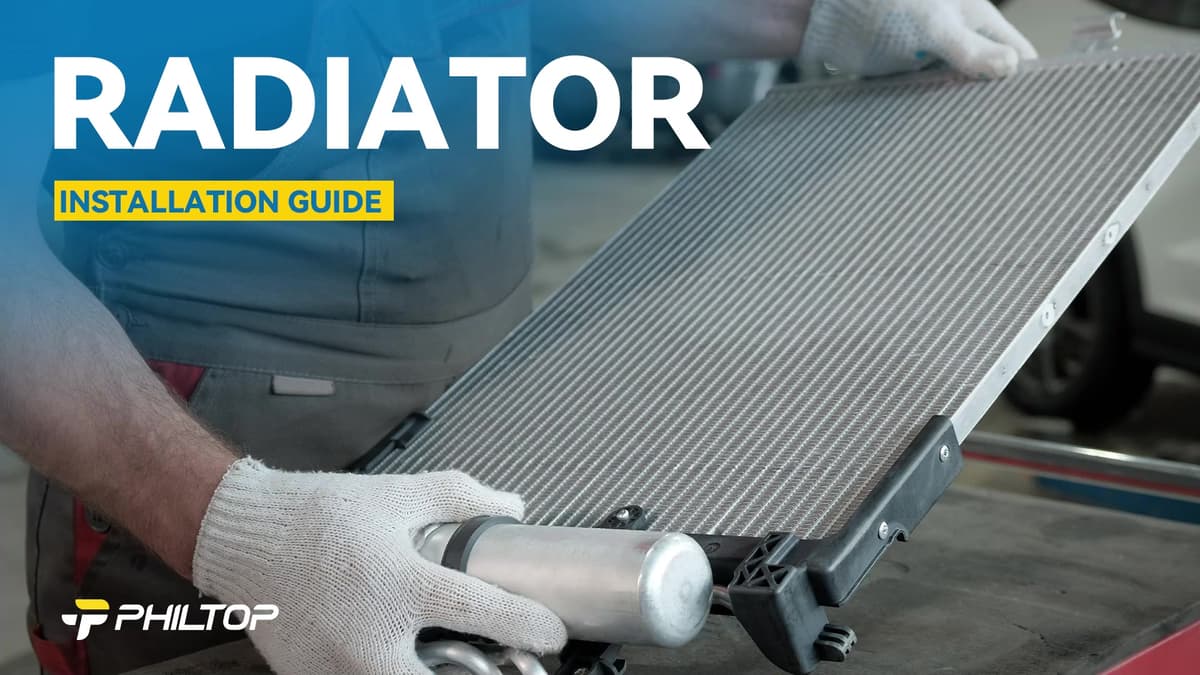
Minor fin movement can occur during handling and may not affect normal operation. Do not install the radiator if the tubes, tanks, or mounting points are damaged.
Many cooling systems require bleeding after refilling to remove trapped air. Follow the procedure specified for the vehicle.
Loading vehicle options...
Choose Year, Make, and Model to check exact fitment.Cap Included
Leak-Resistant
Check if this fits your vehicle
Select a vehicle to check this product.
5 reviews
5 star: 4
4 star: 1
Check if this fits your vehicle
| Year | Make | Model | Trim | Engine | Notes |
|---|---|---|---|---|---|
| 2009 - 2010 | Pontiac | Vibe | Base | 1.8L L4 | 27 3/4 Between Top Mounting Holes (Threaded);Radiator Cap Is Required;USA or Canada Built |
| 2009 - 2011 | Toyota | Corolla | Base | 1.8L L4 | 27 3/4 Between Top Mounting Holes (Threaded);Radiator Cap Is Required;USA or Canada Built |
| 2012 - 2013 | Toyota | Corolla | L | 1.8L L4 | 27 3/4 Between Top Mounting Holes (Threaded);Radiator Cap Is Required;USA or Canada Built |
| 2014 - 2015 | Toyota | Corolla | L | 1.8L L4 | 27 3/4 Between Top Mounting Holes (Threaded);Radiator Cap Is Required |
| 2016 | Toyota | Corolla | L | 1.8L L4 | - |
| 2009 - 2013 | Toyota | Corolla | LE | 1.8L L4 | 27 3/4 Between Top Mounting Holes (Threaded);Radiator Cap Is Required;USA or Canada Built |
| 2014 - 2015 | Toyota | Corolla | LE | 1.8L L4 | 27 3/4 Between Top Mounting Holes (Threaded);Radiator Cap Is Required |
| 2016 | Toyota | Corolla | LE | 1.8L L4 | - |
| 2014 - 2015 | Toyota | Corolla | LE Eco | 1.8L L4 | 27 3/4 Between Top Mounting Holes (Threaded);Radiator Cap Is Required |
| 2016 | Toyota | Corolla | LE Eco | 1.8L L4 | - |
| 2019 | Toyota | Corolla | LE Eco | 1.8L L4 | - |
| 2014 | Toyota | Corolla | Le Eco Plus | 1.8L L4 | 27 3/4 Between Top Mounting Holes (Threaded);Radiator Cap Is Required |
| 2009 - 2013 | Toyota | Corolla | S | 1.8L L4 | 27 3/4 Between Top Mounting Holes (Threaded);Radiator Cap Is Required;USA or Canada Built |
| 2014 - 2015 | Toyota | Corolla | S | 1.8L L4 | 27 3/4 Between Top Mounting Holes (Threaded);Radiator Cap Is Required |
| 2016 | Toyota | Corolla | S | 1.8L L4 | - |
| 2016 | Toyota | Corolla | Special Edition | 1.8L L4 | - |
| 2009 - 2010 | Toyota | Corolla | XLE | 1.8L L4 | 27 3/4 Between Top Mounting Holes (Threaded);Radiator Cap Is Required;USA or Canada Built |
| 2009 - 2013 | Toyota | Matrix | Base | 1.8L L4 | 27 3/4 Between Top Mounting Holes (Threaded);Radiator Cap Is Required;USA or Canada Built |
User manual (PDF)4.8/5
Based on 5 reviews
Steve_DIYer_542
Oct 05,2025
This radiator is a steal for the price. The construction is solid, and it fits my 2010 Corolla perfectly. I'm really happy with the quality and how much I saved compared to other brands.
Brad_AutoParts_507
Jan 28,2026
For the price, the craftsmanship on this radiator is impressive. It looks and feels like a quality part that will last. Definitely a good bang for your buck for my Corolla.
Stop the installation and contact Philtop customer support. Please provide your vehicle information, order number and photos of the original and received parts so we can help review the fitment.
Minor fin movement can occur during handling and may not affect normal operation. Do not install the radiator if the tubes, tanks, or mounting points are damaged.
Many cooling systems require bleeding after refilling to remove trapped air. Follow the procedure specified for the vehicle.
