IATF16949 Certification: Designed with outstanding durability, in compliance with the original specifications, and suitable for direct replacement.
High-Efficiency Cooling: Engineered with a high-density aluminum core and multi-layer cooling fins, ensuring optimal heat dissipation and maintaining the engine's ideal operating temperature.
Easy and Quick to Install - Direct bolt-on OE fitment or replacement for factory unit, fast and easy installation without any drilling or modification.
Confirm fitment: Compare mounting points, hose connections, and oil cooler ports with the original radiator.
Inspect components: Check the radiator, hoses, clamps, and seals for damage or leaks.
Check coolant: Inspect the coolant level and condition. Flush contaminated coolant before installing the new radiator.
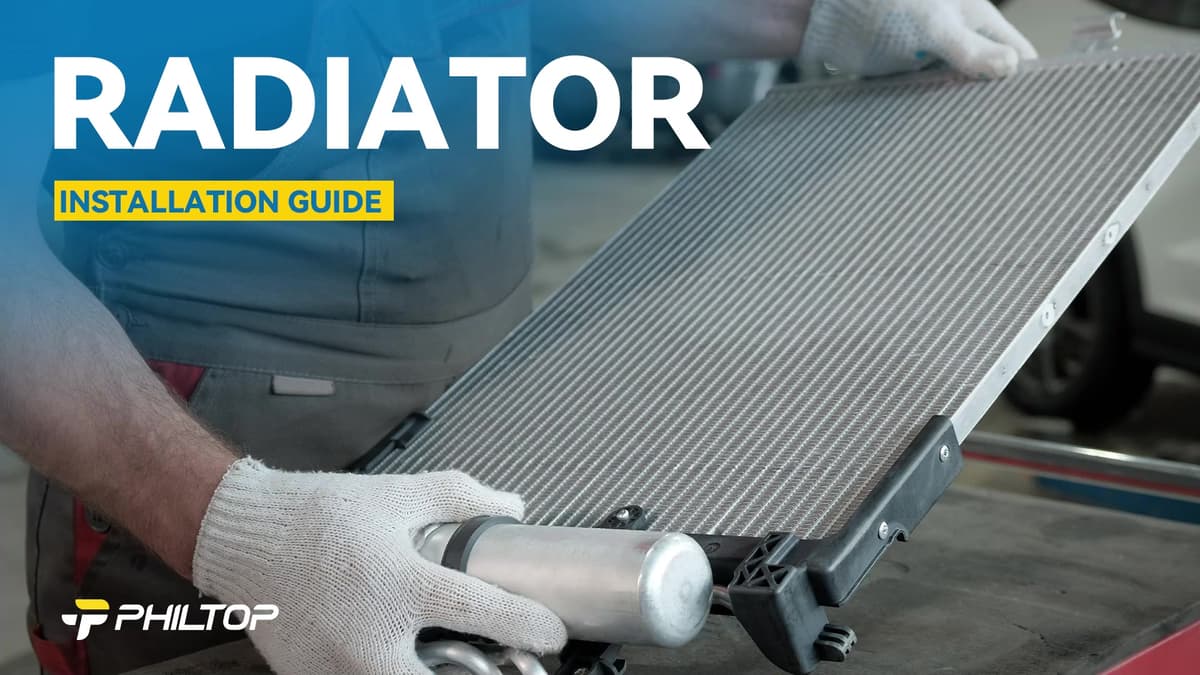
Installation Steps
STEP 1 — Let the engine cool completely, then disconnect the negative battery cable. Never open the pressure cap while hot.
STEP 2 — Drain the coolant into a suitable container and flush the system as required.
STEP 3 — Disconnect hoses, applicable oil cooler lines, and fan wiring. Remove the fan assembly and radiator as required by the vehicle’s service procedure.
STEP 4 — Transfer required brackets and accessories. Install the new radiator and tighten fasteners to vehicle specifications.
STEP 5 — Reconnect hoses, cooler lines, and electrical connectors. Refill with the specified coolant, bleed trapped air, and fit the correct pressure cap.
After Installation
Check hose connections, cooler lines, and the cooling system for leaks.
Confirm normal engine temperature and proper cooling fan operation.
After the engine cools completely, recheck the coolant level and top up as needed.
Recheck for leaks after a short test drive.
Product Video
Product Description
Reviews
4.9/5
Based on 8 reviews
5
88%
4
13%
3
0%
2
0%
1
0%
Customer photos and videos
R
Ruben
08/28/2026
Verified buyer
Worked great. Installed on 2009 Toyota Sienna. See photo for new on left and old on right to compare. This installed just like OEM. It is lighter than OEM, but it installed correctly, allowed me to fill with coolant, and is now cooling the system effectively with no leaks. I recommend .
F
Francisco J Martínez
09/07/2026
Verified buyer
Le quedo perfecto a mi 1995 Chevrolet tahoe 5.7L
FAQS
Please provide your order number, vehicle information, installation date, current mileage and a description of the issue. Photos, videos or inspection information may also help us review the claim.
Check the coolant level, hose and cooler-line connections, mounting points, and operating temperature. Inspect for leakage again after the engine cools.
Some radiators include transmission-cooler connections. Check the specifications and compare the fittings with the original radiator.
Add your vehicle to ensure fitment
Make
Model
Trim
Engine
Loading vehicle options...
Choose Year, Make, and Model to check exact fitment.
IATF16949 Certification: Designed with outstanding durability, in compliance with the original specifications, and suitable for direct replacement.
High-Efficiency Cooling: Engineered with a high-density aluminum core and multi-layer cooling fins, ensuring optimal heat dissipation and maintaining the engine's ideal operating temperature.
Easy and Quick to Install - Direct bolt-on OE fitment or replacement for factory unit, fast and easy installation without any drilling or modification.
Confirm fitment: Compare mounting points, hose connections, and oil cooler ports with the original radiator.
Inspect components: Check the radiator, hoses, clamps, and seals for damage or leaks.
Check coolant: Inspect the coolant level and condition. Flush contaminated coolant before installing the new radiator.
Installation Steps
STEP 1 — Let the engine cool completely, then disconnect the negative battery cable. Never open the pressure cap while hot.
STEP 2 — Drain the coolant into a suitable container and flush the system as required.
STEP 3 — Disconnect hoses, applicable oil cooler lines, and fan wiring. Remove the fan assembly and radiator as required by the vehicle’s service procedure.
STEP 4 — Transfer required brackets and accessories. Install the new radiator and tighten fasteners to vehicle specifications.
STEP 5 — Reconnect hoses, cooler lines, and electrical connectors. Refill with the specified coolant, bleed trapped air, and fit the correct pressure cap.
After Installation
Check hose connections, cooler lines, and the cooling system for leaks.
Confirm normal engine temperature and proper cooling fan operation.
After the engine cools completely, recheck the coolant level and top up as needed.
Recheck for leaks after a short test drive.
Product Video
Product Description
Reviews
4.9/5
Based on 8 reviews
5
88%
4
13%
3
0%
2
0%
1
0%
Customer photos and videos
R
Ruben
Aug 28,2026
Verified buyer
Worked great. Installed on 2009 Toyota Sienna. See photo for new on left and old on right to compare. This installed just like OEM. It is lighter than OEM, but it installed correctly, allowed me to fill with coolant, and is now cooling the system effectively with no leaks. I recommend .
F
Francisco J Martínez
Sep 07,2026
Verified buyer
Le quedo perfecto a mi 1995 Chevrolet tahoe 5.7L
FAQS
Please provide your order number, vehicle information, installation date, current mileage and a description of the issue. Photos, videos or inspection information may also help us review the claim.
Check the coolant level, hose and cooler-line connections, mounting points, and operating temperature. Inspect for leakage again after the engine cools.
Some radiators include transmission-cooler connections. Check the specifications and compare the fittings with the original radiator.


 Leak-Resistant




 Verified buyer
