


harvey corpuz

08/12/2025
 Verified buyer
Gets the job done! Easy to install and keeps engine cool.

 Leak-Resistant
Check if this fits your vehicle
Select a vehicle to check this product.
Check if this fits your vehicle
| Year | 2005 - 2010 | 2005 - 2010 | 2005 - 2010 | 2005 - 2010 |
|---|---|---|---|---|
| Make | Honda | Honda | Honda | Honda |
| Model | Odyssey | Odyssey | Odyssey | Odyssey |
| Trim | EX | EX-L | LX | Touring |
| Engine | 3.5L V6 | 3.5L V6 | 3.5L V6 | 3.5L V6 |
| Note | - | - | - | - |
 User manual (PDF)


4.6/5
Based on 9 reviews
harvey corpuz
08/12/2025
Verified buyer
Gets the job done! Easy to install and keeps engine cool.
Brad_AutoParts_490
03/03/2026
My van was overheating, and this radiator fixed the problem completely. It was an easy swap and I noticed the difference immediately. So glad I bought this.
Please provide your order number, vehicle information, installation date, current mileage and a description of the issue. Photos, videos or inspection information may also help us review the claim.
Check the coolant level, hose and cooler-line connections, mounting points, and operating temperature. Inspect for leakage again after the engine cools.
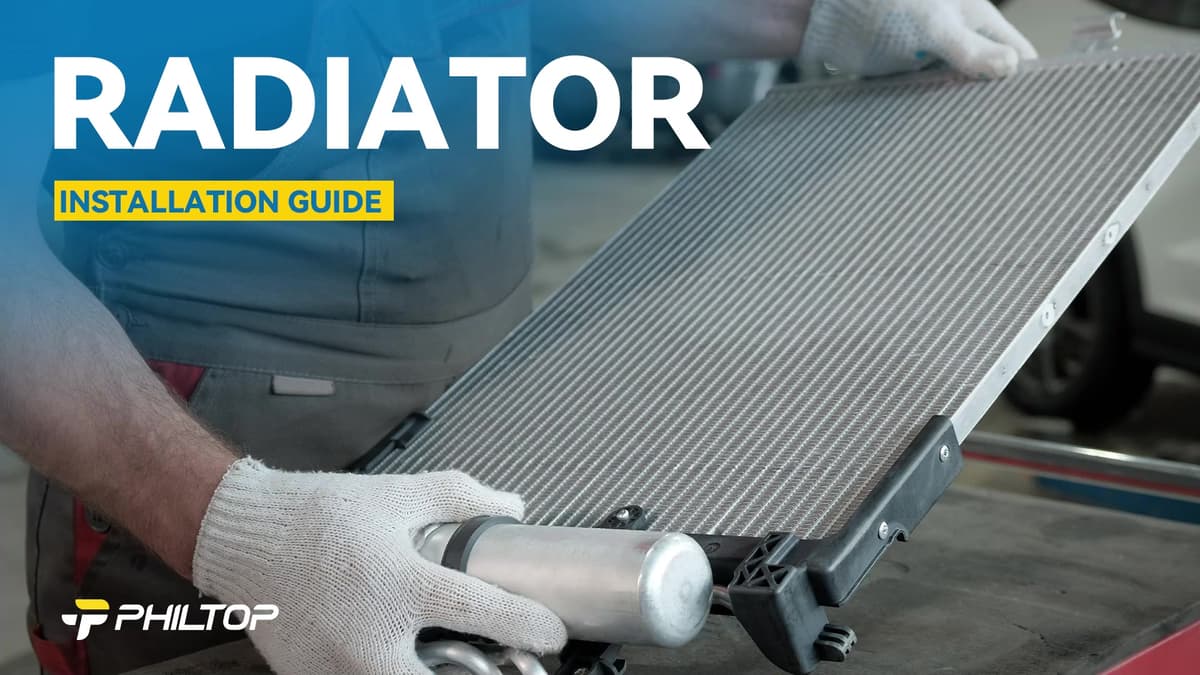
Some radiators include transmission-cooler connections. Check the specifications and compare the fittings with the original radiator.
Loading vehicle options...
Choose Year, Make, and Model to check exact fitment.Leak-Resistant
Check if this fits your vehicle
Select a vehicle to check this product.
9 reviews
5 star: 6
4 star: 2
3 star: 1
Check if this fits your vehicle
| Year | Make | Model | Trim | Engine | Notes |
|---|---|---|---|---|---|
| 2005 - 2010 | Honda | Odyssey | EX | 3.5L V6 | - |
| 2005 - 2010 | Honda | Odyssey | EX-L | 3.5L V6 | - |
| 2005 - 2010 | Honda | Odyssey | LX | 3.5L V6 | - |
| 2005 - 2010 | Honda | Odyssey | Touring | 3.5L V6 | - |
User manual (PDF)4.6/5
Based on 9 reviews
harvey corpuz
Aug 12,2025
Verified buyer
Gets the job done! Easy to install and keeps engine cool.
Brad_AutoParts_490
Mar 03,2026
My van was overheating, and this radiator fixed the problem completely. It was an easy swap and I noticed the difference immediately. So glad I bought this.
Please provide your order number, vehicle information, installation date, current mileage and a description of the issue. Photos, videos or inspection information may also help us review the claim.
Check the coolant level, hose and cooler-line connections, mounting points, and operating temperature. Inspect for leakage again after the engine cools.
Some radiators include transmission-cooler connections. Check the specifications and compare the fittings with the original radiator.
