


William Miller

06/04/2026
 Verified buyer
Perfect fit for 2010 Nissan Frontier 4.0 V6

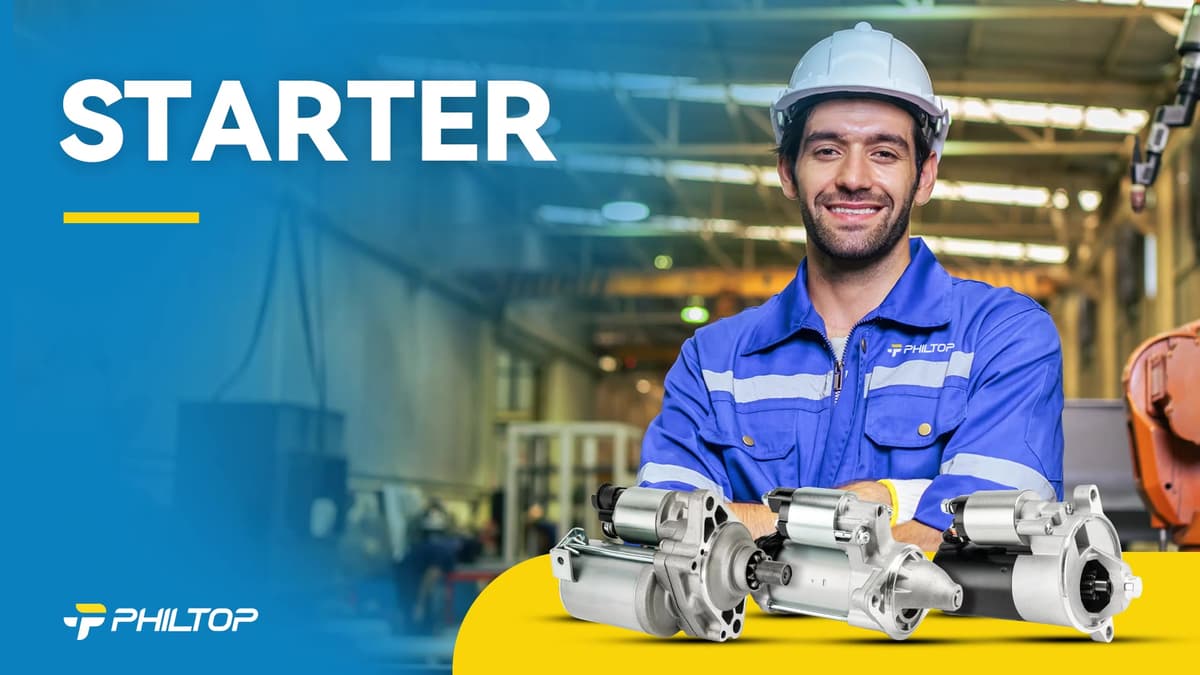
 Power: 1.6 kW
Pinion Teeth: 9
Quick Starting Response
Check if this fits your vehicle
Select a vehicle to check this product.
Check if this fits your vehicle
| Year | 2014 | 2014 | 2014 | 2014 - 2015 |
|---|---|---|---|---|
| Make | Honda | Honda | Honda | Honda |
| Model | CR-V | CR-V | CR-V | Civic |
| Trim | EX | EX-L | LX | Si |
| Engine | 2.4L L4 | 2.4L L4 | 2.4L L4 | 2.4L L4 |
| Note | - | - | - | - |
 User manual (PDF)
Codes alone do not confirm starter failure. Definitions and diagnostic procedures vary by vehicle.
4.7/5
Based on 9 reviews
William Miller
06/04/2026
Verified buyer
Perfect fit for 2010 Nissan Frontier 4.0 V6
Customer
05/21/2026
Verified buyer
The heat shield is a pain to deal with during installation!! Starter works great!! Good Buy!! Came quickly!!
Please refer to the picture. Generally,a starter does not include bolts or other accessories. It is recommended to make full use of the existing bolts, screws and other accessories, which can be perfectly matched with the original accessories.
Check the part number, mounting points, and electrical connections. Confirm any differences before installation.
Not necessarily. Keep your existing battery if it tests good and holds a charge.
Loading vehicle options...
Choose Year, Make, and Model to check exact fitment.Power: 1.6 kW
Pinion Teeth: 9
Quick Starting Response
Check if this fits your vehicle
Select a vehicle to check this product.
9 reviews
5 star: 7
4 star: 1
3 star: 1
Check if this fits your vehicle
| Year | Make | Model | Trim | Engine | Notes |
|---|---|---|---|---|---|
| 2014 | Honda | CR-V | EX | 2.4L L4 | - |
| 2014 | Honda | CR-V | EX-L | 2.4L L4 | - |
| 2014 | Honda | CR-V | LX | 2.4L L4 | - |
| 2014 - 2015 | Honda | Civic | Si | 2.4L L4 | - |
User manual (PDF)Codes alone do not confirm starter failure. Definitions and diagnostic procedures vary by vehicle.
4.7/5
Based on 9 reviews
William Miller
Jun 04,2026
Verified buyer
Perfect fit for 2010 Nissan Frontier 4.0 V6
Customer
May 21,2026
Verified buyer
The heat shield is a pain to deal with during installation!! Starter works great!! Good Buy!! Came quickly!!
Please refer to the picture. Generally,a starter does not include bolts or other accessories. It is recommended to make full use of the existing bolts, screws and other accessories, which can be perfectly matched with the original accessories.
Check the part number, mounting points, and electrical connections. Confirm any differences before installation.
Not necessarily. Keep your existing battery if it tests good and holds a charge.
