


yer Thao

07/26/2024
 Verified buyer
Perfect fit great value for, it's cost

 Leak-Resistant
Check if this fits your vehicle
Select a vehicle to check this product.
Check if this fits your vehicle
| Year | 2007 - 2012 | 2011 - 2012 | 2005 - 2012 | 2005 - 2008 | 2005 - 2010 | 2005 - 2011 | 2007 | 2007 | 2007 - 2011 | 2007 | 2007 - 2011 | 2007 | 2007 - 2011 | 2009 - 2011 | 2012 - 2014 | 2012 - 2015 | 2012 - 2015 |
|---|---|---|---|---|---|---|---|---|---|---|---|---|---|---|---|---|---|
| Make | Lexus | Toyota | Toyota | Toyota | Toyota | Toyota | Toyota | Toyota | Toyota | Toyota | Toyota | Toyota | Toyota | Toyota | Toyota | Toyota | Toyota |
| Model | ES350 | Avalon | Avalon | Avalon | Avalon | Avalon | Camry | Camry | Camry | Camry | Camry | Camry | Camry | Venza | Venza | Venza | Venza |
| Trim | Base | Base | Limited | Touring | XL | XLS | CE | LE | LE | SE | SE | XLE | XLE | Base | LE | Limited | XLE |
| Engine | 3.5L V6 | 3.5L V6 | 3.5L V6 | 3.5L V6 | 3.5L V6 | 3.5L V6 | 2.4L L4 | 2.4L L4 | 3.5L V6 | 2.4L L4 | 3.5L V6 | 2.4L L4 | 3.5L V6 | 3.5L V6 | 3.5L V6 | 3.5L V6 | 3.5L V6 |
| Note | 0.625 inch Core Thickness | w/o Towing Package; 0.625 inch Core Thickness | w/o Towing Package; 0.625 inch Core Thickness | w/o Towing Package; 0.625 inch Core Thickness | w/o Towing Package; 0.625 inch Core Thickness | w/o Towing Package; 0.625 inch Core Thickness | Built in USA and Japan; w/o Towing Package; 0.625 inch Core Thickness | Built in USA and Japan; w/o Towing Package; 0.625 inch Core Thickness | Built in USA and Japan; w/o Towing Package; 0.625 inch Core Thickness | Built in USA and Japan; w/o Towing Package; 0.625 inch Core Thickness | Built in USA and Japan; w/o Towing Package; 0.625 inch Core Thickness | Built in USA and Japan; w/o Towing Package; 0.625 inch Core Thickness | Built in USA and Japan; w/o Towing Package; 0.625 inch Core Thickness | w/o Towing Package; 0.625 inch Core Thickness | w/o Towing Package; 0.625 inch Core Thickness | w/o Towing Package; 0.625 inch Core Thickness | w/o Towing Package; 0.625 inch Core Thickness |
 User manual (PDF)


4.8/5
Based on 5 reviews
yer Thao
07/26/2024
Verified buyer
Perfect fit great value for, it's cost
bryston smith
09/16/2026
Verified buyer
great shopping came fast and affordable haven’t used it yet will update then
Stop the installation and contact Philtop customer support. Please provide your vehicle information, order number and photos of the original and received parts so we can help review the fitment.
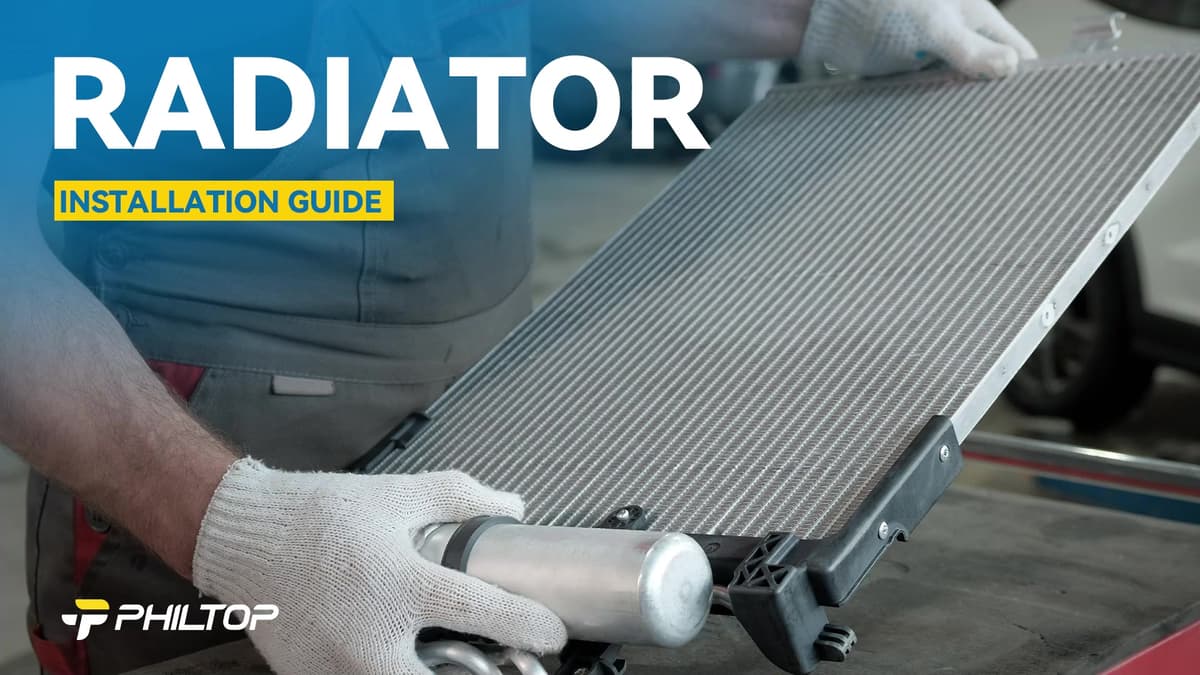
Minor fin movement can occur during handling and may not affect normal operation. Do not install the radiator if the tubes, tanks, or mounting points are damaged.
Many cooling systems require bleeding after refilling to remove trapped air. Follow the procedure specified for the vehicle.
Loading vehicle options...
Choose Year, Make, and Model to check exact fitment.Leak-Resistant
Check if this fits your vehicle
Select a vehicle to check this product.
5 reviews
5 star: 4
4 star: 1
Check if this fits your vehicle
| Year | Make | Model | Trim | Engine | Notes |
|---|---|---|---|---|---|
| 2007 - 2012 | Lexus | ES350 | Base | 3.5L V6 | 0.625 inch Core Thickness |
| 2011 - 2012 | Toyota | Avalon | Base | 3.5L V6 | w/o Towing Package; 0.625 inch Core Thickness |
| 2005 - 2012 | Toyota | Avalon | Limited | 3.5L V6 | w/o Towing Package; 0.625 inch Core Thickness |
| 2005 - 2008 | Toyota | Avalon | Touring | 3.5L V6 | w/o Towing Package; 0.625 inch Core Thickness |
| 2005 - 2010 | Toyota | Avalon | XL | 3.5L V6 | w/o Towing Package; 0.625 inch Core Thickness |
| 2005 - 2011 | Toyota | Avalon | XLS | 3.5L V6 | w/o Towing Package; 0.625 inch Core Thickness |
| 2007 | Toyota | Camry | CE | 2.4L L4 | Built in USA and Japan; w/o Towing Package; 0.625 inch Core Thickness |
| 2007 | Toyota | Camry | LE | 2.4L L4 | Built in USA and Japan; w/o Towing Package; 0.625 inch Core Thickness |
| 2007 - 2011 | Toyota | Camry | LE | 3.5L V6 | Built in USA and Japan; w/o Towing Package; 0.625 inch Core Thickness |
| 2007 | Toyota | Camry | SE | 2.4L L4 | Built in USA and Japan; w/o Towing Package; 0.625 inch Core Thickness |
| 2007 - 2011 | Toyota | Camry | SE | 3.5L V6 | Built in USA and Japan; w/o Towing Package; 0.625 inch Core Thickness |
| 2007 | Toyota | Camry | XLE | 2.4L L4 | Built in USA and Japan; w/o Towing Package; 0.625 inch Core Thickness |
| 2007 - 2011 | Toyota | Camry | XLE | 3.5L V6 | Built in USA and Japan; w/o Towing Package; 0.625 inch Core Thickness |
| 2009 - 2011 | Toyota | Venza | Base | 3.5L V6 | w/o Towing Package; 0.625 inch Core Thickness |
| 2012 - 2014 | Toyota | Venza | LE | 3.5L V6 | w/o Towing Package; 0.625 inch Core Thickness |
| 2012 - 2015 | Toyota | Venza | Limited | 3.5L V6 | w/o Towing Package; 0.625 inch Core Thickness |
| 2012 - 2015 | Toyota | Venza | XLE | 3.5L V6 | w/o Towing Package; 0.625 inch Core Thickness |
User manual (PDF)4.8/5
Based on 5 reviews
yer Thao
Jul 26,2024
Verified buyer
Perfect fit great value for, it's cost
bryston smith
Sep 16,2026
Verified buyer
great shopping came fast and affordable haven’t used it yet will update then
Stop the installation and contact Philtop customer support. Please provide your vehicle information, order number and photos of the original and received parts so we can help review the fitment.
Minor fin movement can occur during handling and may not affect normal operation. Do not install the radiator if the tubes, tanks, or mounting points are damaged.
Many cooling systems require bleeding after refilling to remove trapped air. Follow the procedure specified for the vehicle.
