


Kelly_SUV_Life_460

12/10/2025
Really happy with the quality of this starter for the price point. It is a solid, heavy part that seems like it will last a long time.

 Power: 1.7 kW
Pinion Teeth: 11
Quick Starting Response
Check if this fits your vehicle
Select a vehicle to check this product.
Check if this fits your vehicle
| Year | 2015 - 2017 | 2015 - 2017 | 2015 | 2015 - 2017 | 2017 - 2018 | 2016 - 2018 | 2017 - 2018 | 2019 | 2019 | 2016 | 2015 - 2020 | 2015 - 2019 | 2017 - 2020 | 2016 - 2021 | 2016 - 2020 | 2016 - 2021 | 2016 - 2021 | 2018 | 2016 - 2017 | 2016 - 2020 | 2016 - 2020 | 2019 - 2020 | 2016 - 2020 | 2016 - 2019 |
|---|---|---|---|---|---|---|---|---|---|---|---|---|---|---|---|---|---|---|---|---|---|---|---|---|
| Make | Hyundai | Hyundai | Hyundai | Hyundai | Hyundai | Hyundai | Hyundai | Hyundai | Hyundai | Kia | Kia | Kia | Kia | Kia | Kia | Kia | Kia | Kia | Kia | Kia | Kia | Kia | Kia | Kia |
| Model | Azera | Azera | Santa Fe | Santa Fe | Santa Fe | Santa Fe | Santa Fe | Santa Fe XL | Santa Fe XL | Cadenza | Cadenza | Cadenza | Cadenza | Sedona | Sedona | Sedona | Sedona | Sedona | Sedona | Sorento | Sorento | Sorento | Sorento | Sorento |
| Trim | Base | Limited | GLS | Limited | Limited Ultimate | SE | SE Ultimate | Limited Ultimate | SE | Base | Limited | Premium | Technology | EX | L | LX | SX | SX Limited | SXL | EX | LX | S | SX | SX Limited |
| Engine | 3.3L V6 | 3.3L V6 | 3.3L V6 | 3.3L V6 | 3.3L V6 | 3.3L V6 | 3.3L V6 | 3.3L V6 | 3.3L V6 | 3.3L V6 | 3.3L V6 | 3.3L V6 | 3.3L V6 | 3.3L V6 | 3.3L V6 | 3.3L V6 | 3.3L V6 | 3.3L V6 | 3.3L V6 | 3.3L V6 | 3.3L V6 | 3.3L V6 | 3.3L V6 | 3.3L V6 |
| Note | From 11/16/2014 | From 11/16/2014 | From 11/16/2014 | From 11/16/2014 | From 11/16/2014 | From 11/16/2014 | From 11/16/2014 | From 11/16/2014 | From 11/16/2014 | From 11/16/2014 | From 11/16/2014 | From 11/16/2014 | From 11/16/2014 | From 08/05/2015 | From 08/05/2015 | From 08/05/2015 | From 08/05/2015 | From 08/05/2015 | From 08/05/2015 | From 08/05/2015 | From 08/05/2015 | From 08/05/2015 | From 08/05/2015 | From 08/05/2015 |
 User manual (PDF)
Codes alone do not confirm starter failure. Definitions and diagnostic procedures vary by vehicle.


4.6/5
Based on 16 reviews
Kelly_SUV_Life_460
12/10/2025
Really happy with the quality of this starter for the price point. It is a solid, heavy part that seems like it will last a long time.
DaveTheMechanic_503
11/01/2025
The difference between this and my old starter is like night and day. My truck fires up instantly now without that weird grinding noise it used to make.
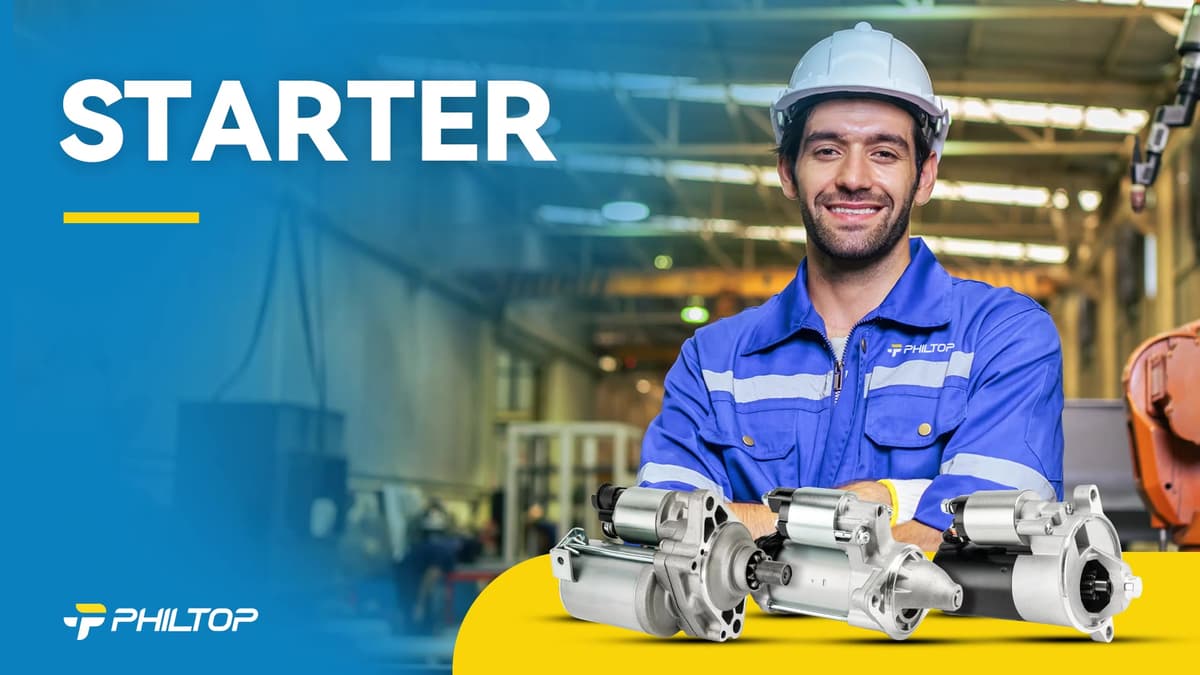
Proven in extreme temperatures, our starter delivers powerful torque and rapid response. Built with premium field coils and all-copper windings, its compact design ensures reliable operation and extended service life.
Avoid prolonged or repeated cranking. Follow your vehicle’s recommended starting intervals to prevent overheating.
Slow cranking can also result from low battery charge, poor ground connections, damaged cables, unsuitable engine oil viscosity, or mechanical resistance in the engine. Check these conditions before assuming the replacement starter is faulty.
Loading vehicle options...
Choose Year, Make, and Model to check exact fitment.Power: 1.7 kW
Pinion Teeth: 11
Quick Starting Response
Check if this fits your vehicle
Select a vehicle to check this product.
16 reviews
5 star: 11
4 star: 4
3 star: 1
Check if this fits your vehicle
| Year | Make | Model | Trim | Engine | Notes |
|---|---|---|---|---|---|
| 2015 - 2017 | Hyundai | Azera | Base | 3.3L V6 | From 11/16/2014 |
| 2015 - 2017 | Hyundai | Azera | Limited | 3.3L V6 | From 11/16/2014 |
| 2015 | Hyundai | Santa Fe | GLS | 3.3L V6 | From 11/16/2014 |
| 2015 - 2017 | Hyundai | Santa Fe | Limited | 3.3L V6 | From 11/16/2014 |
| 2017 - 2018 | Hyundai | Santa Fe | Limited Ultimate | 3.3L V6 | From 11/16/2014 |
| 2016 - 2018 | Hyundai | Santa Fe | SE | 3.3L V6 | From 11/16/2014 |
| 2017 - 2018 | Hyundai | Santa Fe | SE Ultimate | 3.3L V6 | From 11/16/2014 |
| 2019 | Hyundai | Santa Fe XL | Limited Ultimate | 3.3L V6 | From 11/16/2014 |
| 2019 | Hyundai | Santa Fe XL | SE | 3.3L V6 | From 11/16/2014 |
| 2016 | Kia | Cadenza | Base | 3.3L V6 | From 11/16/2014 |
| 2015 - 2020 | Kia | Cadenza | Limited | 3.3L V6 | From 11/16/2014 |
| 2015 - 2019 | Kia | Cadenza | Premium | 3.3L V6 | From 11/16/2014 |
| 2017 - 2020 | Kia | Cadenza | Technology | 3.3L V6 | From 11/16/2014 |
| 2016 - 2021 | Kia | Sedona | EX | 3.3L V6 | From 08/05/2015 |
| 2016 - 2020 | Kia | Sedona | L | 3.3L V6 | From 08/05/2015 |
| 2016 - 2021 | Kia | Sedona | LX | 3.3L V6 | From 08/05/2015 |
| 2016 - 2021 | Kia | Sedona | SX | 3.3L V6 | From 08/05/2015 |
| 2018 | Kia | Sedona | SX Limited | 3.3L V6 | From 08/05/2015 |
| 2016 - 2017 | Kia | Sedona | SXL | 3.3L V6 | From 08/05/2015 |
| 2016 - 2020 | Kia | Sorento | EX | 3.3L V6 | From 08/05/2015 |
| 2016 - 2020 | Kia | Sorento | LX | 3.3L V6 | From 08/05/2015 |
| 2019 - 2020 | Kia | Sorento | S | 3.3L V6 | From 08/05/2015 |
| 2016 - 2020 | Kia | Sorento | SX | 3.3L V6 | From 08/05/2015 |
| 2016 - 2019 | Kia | Sorento | SX Limited | 3.3L V6 | From 08/05/2015 |
User manual (PDF)Codes alone do not confirm starter failure. Definitions and diagnostic procedures vary by vehicle.
4.6/5
Based on 16 reviews
Kelly_SUV_Life_460
Dec 10,2025
Really happy with the quality of this starter for the price point. It is a solid, heavy part that seems like it will last a long time.
DaveTheMechanic_503
Nov 01,2025
The difference between this and my old starter is like night and day. My truck fires up instantly now without that weird grinding noise it used to make.
Proven in extreme temperatures, our starter delivers powerful torque and rapid response. Built with premium field coils and all-copper windings, its compact design ensures reliable operation and extended service life.
Avoid prolonged or repeated cranking. Follow your vehicle’s recommended starting intervals to prevent overheating.
Slow cranking can also result from low battery charge, poor ground connections, damaged cables, unsuitable engine oil viscosity, or mechanical resistance in the engine. Check these conditions before assuming the replacement starter is faulty.
