


How to Install a Headlight Assembly Like a Pro: Hands-On DIY Guide
Replacing a headlight assembly is one of the most satisfying DIY projects for any vehicle owner—whether you're refreshing a 2019 Ford F-150 or a 2021 Toyota Camry. It instantly improves your night vision and gives your car a fresh "face-lift". However, modern headlights on cars like the Honda Accord are sophisticated components that require a structured approach to ensure a First-Time-Fit. Follow this practical 6-Step Installation Protocol to get the job done right on the first try.
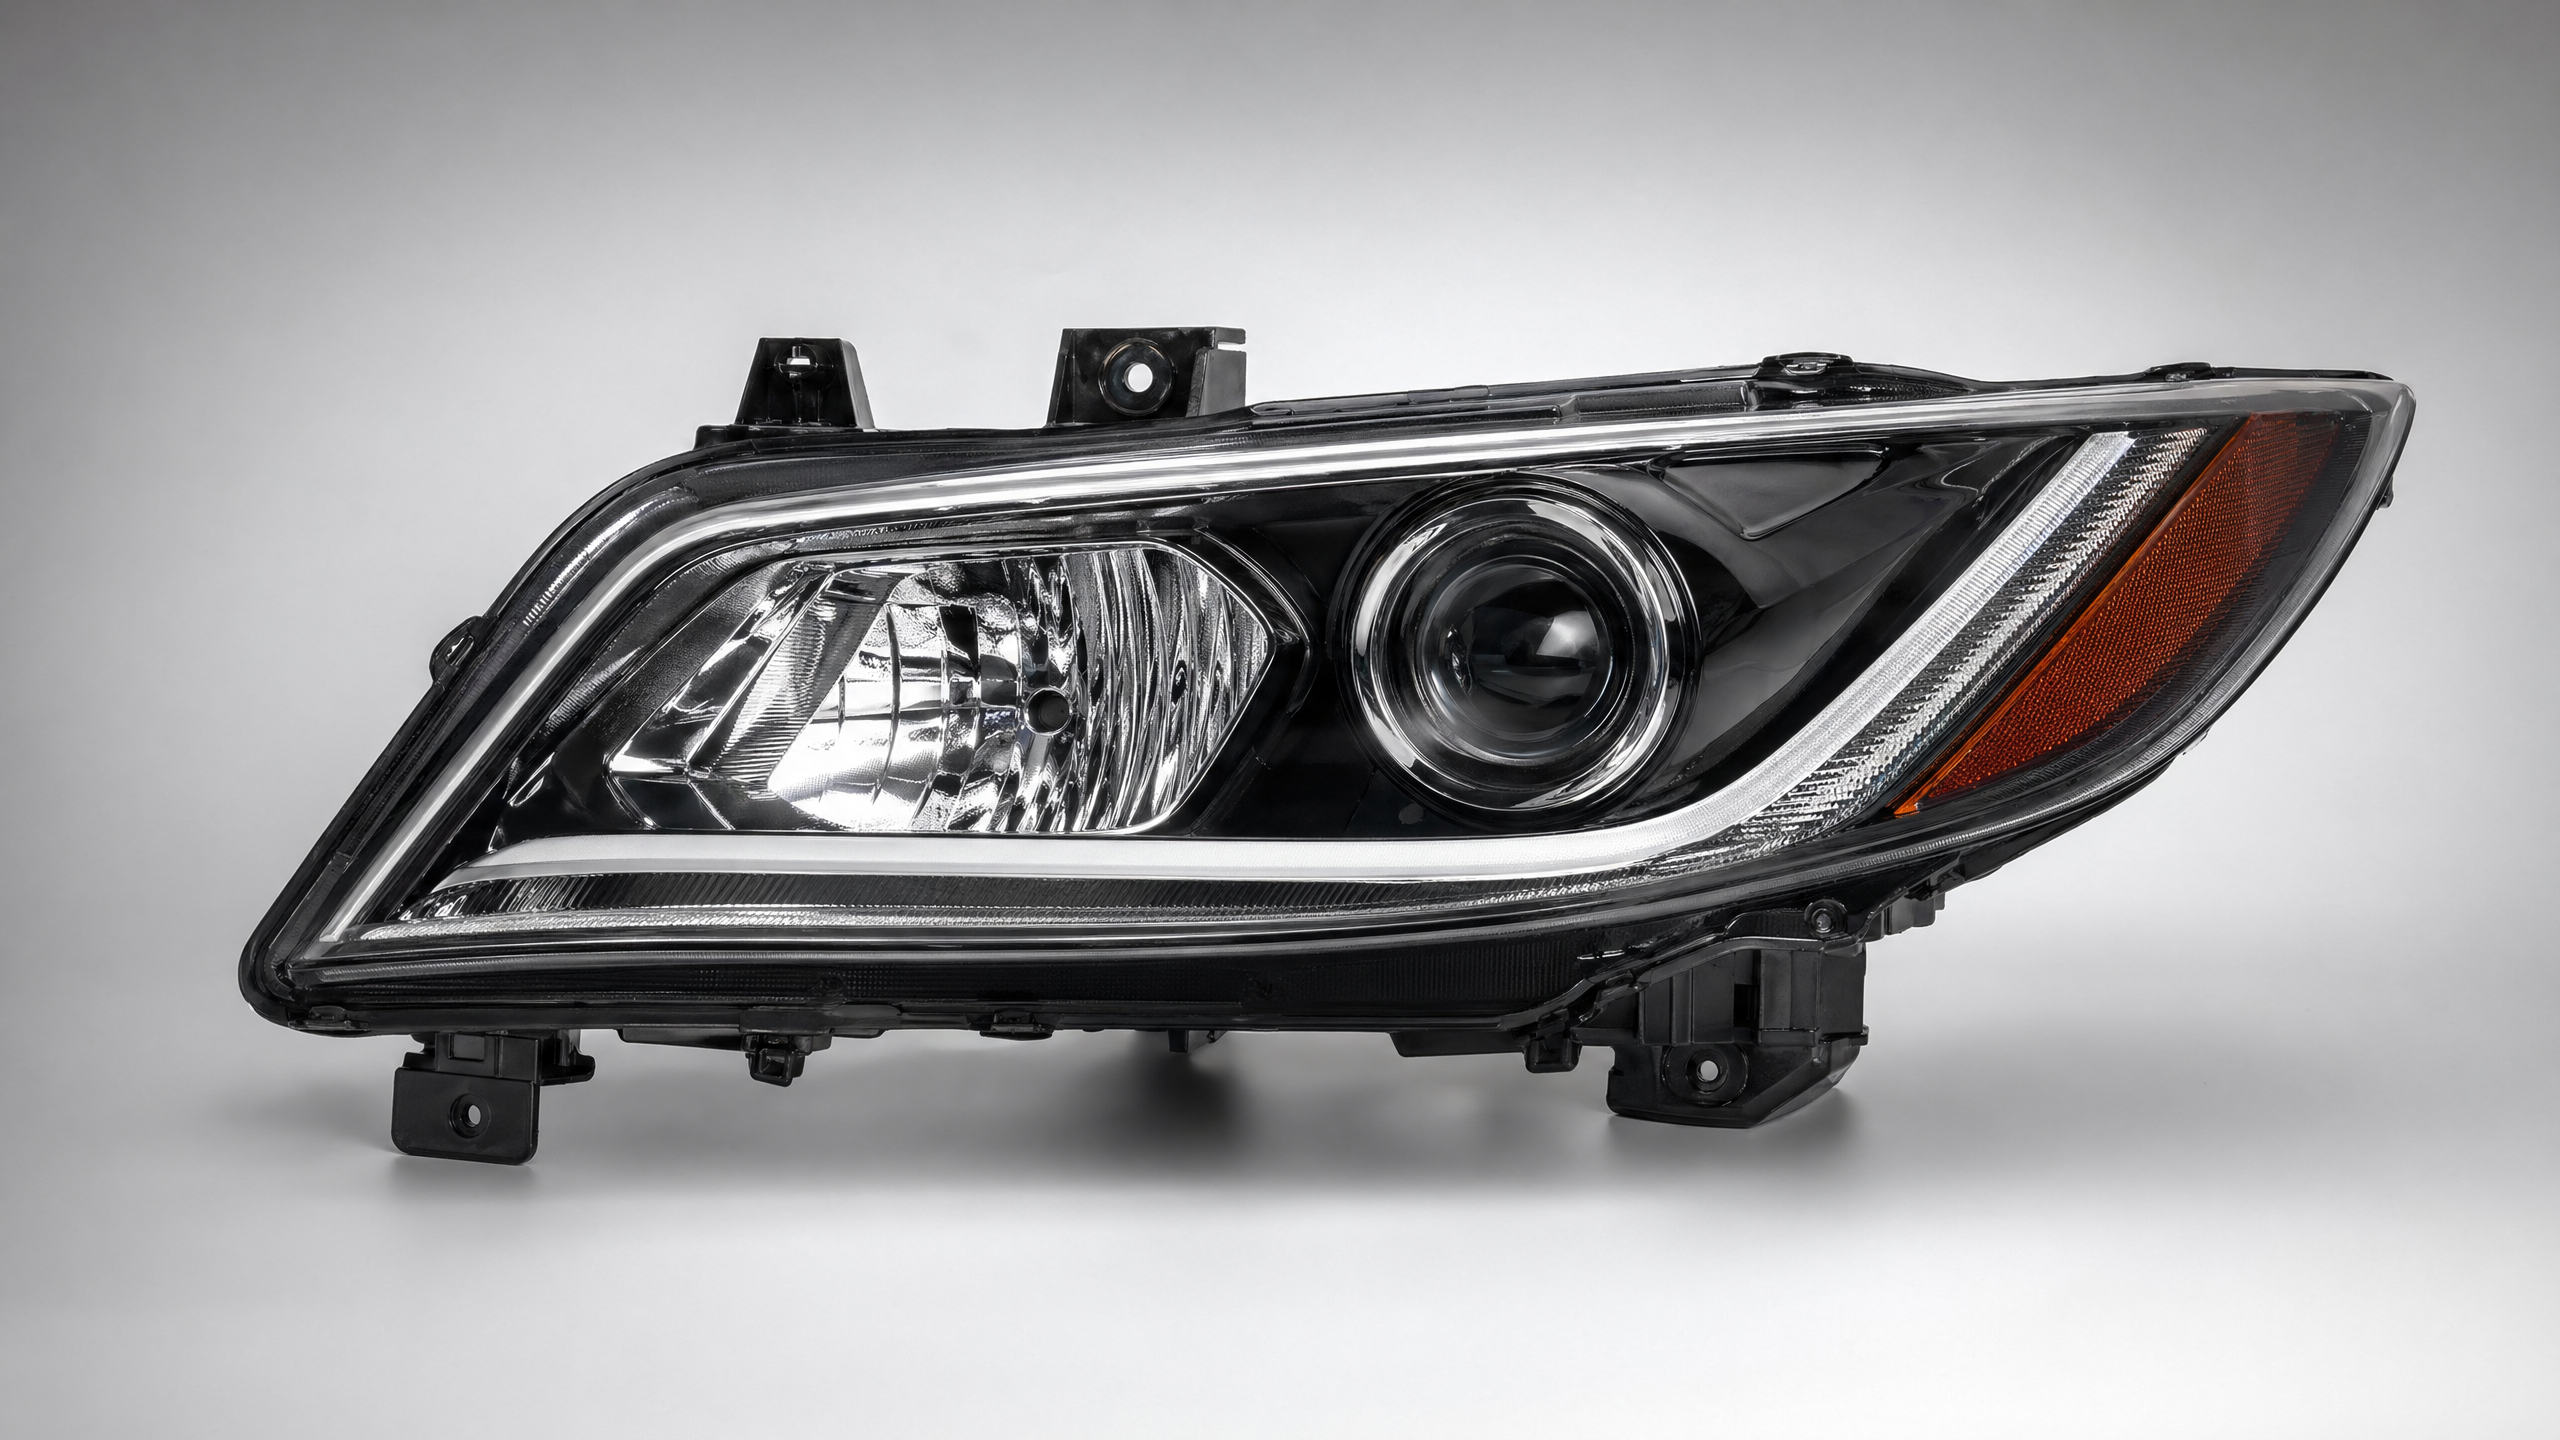
Step 1: Understanding Your Unit's DNA
Before grabbing your tools, identify exactly what kind of tech you're handling. A headlight assembly is primarily a Signal & Data component because it houses precise electrical sensors and LED/HID modules, but it also functions as a Structural unit that must be physically aligned to your vehicle's frame.
Step 2: The Master Tech's 6-Step Routine
1. Grab Your Arsenal (The Essentials)
- Physical Preparation: For most popular trucks and sedans, like the Chevy Silverado, you will need a 10mm socket, a ratchet, and a plastic trim tool to pop off bumper clips or the grille.
- Precision Preparation: If your vehicle features high-end lighting (common in the Jeep Grand Cherokee), keep an OBD-II scanner handy to clear any "Headlight Malfunction" codes after the swap.
2. Map the Layout (Don't Wing It)
- Mirror Mapping: Before removing the old unit, snap a photo of the original wiring harness path and the gaps between the headlight and the bumper—this is a lifesaver for tight engine bays like the BMW 3 Series.
- Feature Recognition: Note the location of the aiming adjustment screws on the back of the housing so you know how to calibrate the beam later.
3. Prep for Success (Safety First)
- Kill the Power: For any electronic component, you must disconnect the negative battery terminal to prevent short circuits or "static shock" to the internal LED drivers.
- Surface Cleaning: Clean the mounting area of the vehicle frame to ensure a perfect fit.
- Debris Removal: Use a non-woven cloth to wipe away road salt or grit that could prevent the new seals from seating correctly, especially on older workhorses like a 2015 Ford Explorer.
4. The Tear-Down (Careful Decoupling)
- Electrical First: Gently press the locking tabs on the electrical connectors and pull them away.
- Pro Tip:Never pull by the wires.
- Structural Release: Unscrew the mounting bolts. If the bumper needs to be partially lowered—a standard step for the Nissan Altima—do so carefully to avoid snapping fragile plastic tabs.
5. The Install (Precision Matters)
This is the most critical step:
- Contact Cleaning: Use an electronic contact cleaner on the harness plugs to ensure a solid "click" when re-engaging the locks.
- Manual Alignment: Carefully slide the new assembly into the frame, ensuring the locating pins align perfectly with the holes in the body.
- The "3-5 Turn" Rule: Hand-start all mounting bolts. Never lead with a power tool.
- Cross-Thread Prevention: Manually thread them 3 to 5 full turns before tightening.
- Tightening Standard: Once all bolts are in, snug them down. For these plastic-on-metal connections, use hand-tight plus a 1/4 turn to avoid cracking the mounting ears.
6. The Final Check (Validation)
- Functional Test: Reconnect the battery, turn on the lights, and cycle through the low beams, high beams, and turn signals.
- Clear the Codes: Use your scanner to wipe any lingering error codes.
- The Wall Test: Park 25 feet from a flat wall on level ground. Ensure the "Cut-off Line" is horizontal and properly aimed to avoid blinding a 2025 Ford Explorer driver in the oncoming lane.
Fitment Notes: Variations by Model
How you handle the swap depends on your specific Year-Make-Model:
- Standard Halogen: Usually a straightforward "Plug-and-Play" unit for most daily drivers.
- HID/Xenon Systems: These involve a high-voltage ballast. Pro Tip: Never touch the internal bulb glass with bare fingers, as oils can cause the bulb to explode.
- Adaptive (AFS) Headlights: If your lights "turn" with the steering wheel (standard on high-trim Audi A4s), you may need a System Calibration via a diagnostic tool after installation to re-center the internal motors.
By sticking to this professional protocol, you aren't just changing a part—you're ensuring your vehicle's safety system is back to factory-spec performance.
Disclaimer: Our Mechanic Advisor provides information for educational purposes only and not as professional automotive advice. DIY repairs involve risks. If unsure, consult a certified mechanic. We guarantee part fitment based on your selected vehicle details, but are not responsible for misdiagnosis or damage resulting from use of this guide.
