


Beyond the Bolt-On: A Technician’s Guide to Precision Catalytic Converter Installation
Replacing a catalytic converter is a significant project where the physical installation is only half the battle. To ensure your new investment lasts another 100,000 miles, you must follow a disciplined integration process that addresses both mechanical and systemic health. As a Structural & Power component, this part must withstand extreme exhaust temperatures, high-velocity gas flow, and constant road vibration.
Step 1: Arsenal (The Gear)
- Heavy-Duty Tools: You will need a long breaker bar or an impact wrench for stubborn, heat-cycled bolts.
- Safety Gear: High-quality jack stands or a vehicle lift are non-negotiable for stable under-car access.
- Precision Electronics: An OBD-II scanner is required to reset P0420/P0430 codes and perform a necessary Drive Cycle after the installation.
Step 2: Locate (Mapping the Layout)
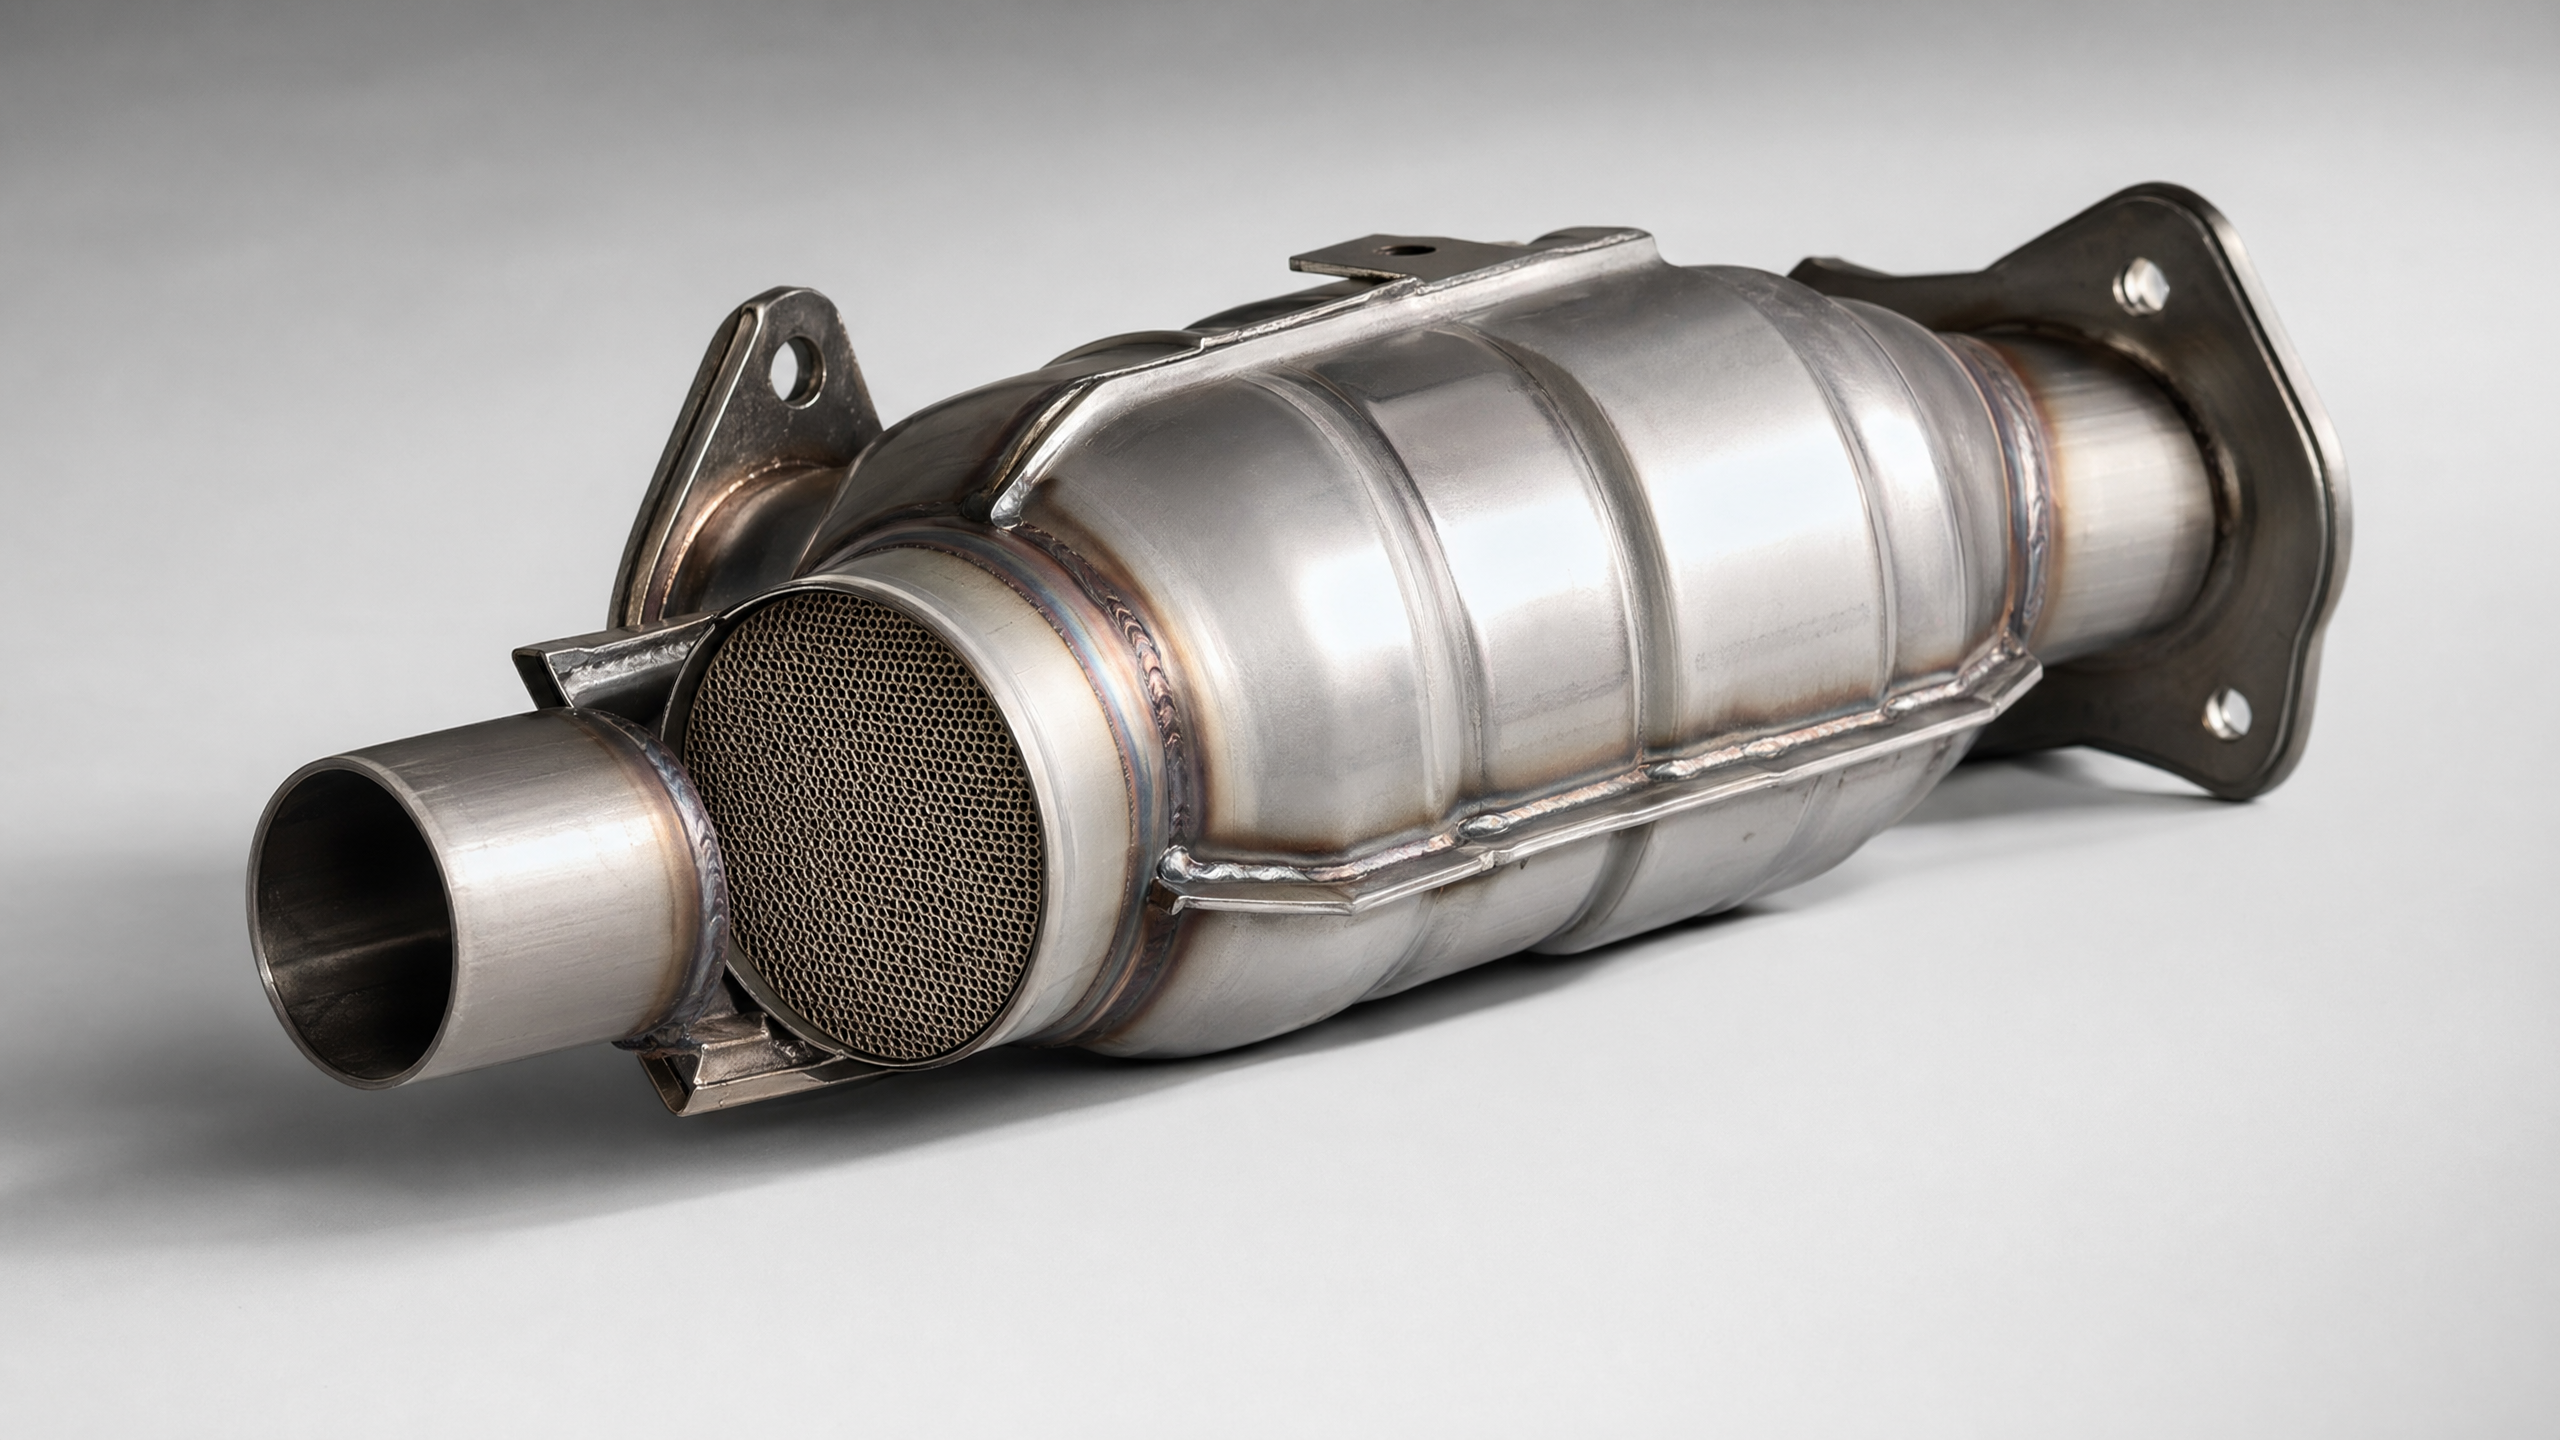
- Directional Flow: Confirm the flow arrow on the new unit matches the engine-to-tailpipe direction.
- Sensor Orientation: Note the exact angle of the upstream and downstream Oxygen (O2) sensors to ensure cables aren't pinched or stretched.
Step 3: Prep (Risk Isolation)
- Chemical Assistance: It is mandatory to soak all flange bolts and O2 sensors in high-quality penetrating oil for at least 30 minutes before removal. This is critical for high-mileage trucks like a 2015 Chevrolet Silverado where rust is common.
- Electrical Safety: Disconnect the negative battery terminal to protect the ECU during sensor handling.
Step 4: Removal (Strategic Decoupling)
- Electronics First: Carefully unplug the O2 sensor harnesses before unbolting the converter to prevent wire twisting.
- Structural Release: Support the exhaust pipe with a stand before removing the final hanger to avoid putting stress on the manifold.
- Fragile Internals: Never strike the new converter with a hammer; the internal ceramic honeycomb is fragile and can shatter.
Step 5: Install (The Precision Integration)
This is the most critical step for ensuring a permanent, leak-free seal:
- Surface Preparation: Use a wire brush or die grinder to buff the mating flanges on the engine manifold and the rear exhaust pipe down to bare metal.
- Gasket Seating: Install new high-temperature gaskets. If using anti-seize on bolts, apply it sparingly and ensure none contacts the sensor tips.
- The "3-5 Turn" Rule: Hand-thread all bolts at least 3 to 5 full turns before using any tools. This prevents cross-threading, which is a common "project killer".
- Torque Sequence: Tighten the flange bolts in a cross-pattern (star pattern) to ensure even pressure. Use a torque wrench to meet manufacturer specs, or follow the "hand-tight plus 1/4 turn" rule for a secure, crush-proof seal.
Step 6: Run (The Logic Loop)
- System Calibration: Reconnect the battery and use your diagnostic tool to clear all old P0420/P0430 codes.
- Leak Check: Start the engine and perform a static idle check, listening for any "ticking" or hissing sounds at the flanges.
- Drive Cycle: Perform a 15-minute mixed-condition test drive—typical for a Nissan Altima—to allow the ECU to re-calibrate the fuel trim and confirm the "Readiness" monitors are set.
Vehicle Model Considerations
- V-Engine Configurations: Vehicles with V6 or V8 engines typically feature two "Banks" (Bank 1 and Bank 2). Always verify which side failed using live sensor data to avoid replacing a healthy unit.
- Integrated Designs: Many modern 4-cylinder cars utilize a converter integrated directly into the exhaust manifold. This requires extreme care during the Prep step, as a broken manifold stud can turn a simple swap into a major engine repair.
Pro Tip: Always double-check your state's emissions requirements (CARB vs. Federal) before purchasing. Installing a non-compliant SKU will result in a failed inspection even if the physical installation is perfect.
Disclaimer: Our Mechanic Advisor provides information for educational purposes only and not as professional automotive advice. DIY repairs involve risks. If unsure, consult a certified mechanic. We guarantee part fitment based on your selected vehicle details, but are not responsible for misdiagnosis or damage resulting from use of this guide.
