


Fuel Pump Replacement Guide | Prevent False Failures & Installation SOP
Replacing a fuel pump can range from a garage-level repair to a high-stakes professional overhaul. To ensure your DIY success and minimize the risk of "false failures," we have synthesized a standardized installation logic based on first principles.
Evaluating Your Vehicle’s Architecture
Before picking up a wrench, identify your vehicle’s layout to determine your "DIY Green Lane" status.
- Type A: The "Green Lane" (Interior Access): Common in most Japanese models like the 2014 Honda Accord and many European sedans. Access is via a hatch under the rear seat—no need to drop the fuel tank.
- Type B: The "Red Alert" (Tank Drop Required): Standard for most American SUVs and pickups like the 2016 Chevrolet Silverado. You must support and lower the heavy tank to reach the pump.
- Type C: Professional Only: Modern GDI vehicles with dual-pump systems. These involve high-pressure fuel rails (up to 2,000+ PSI) and are best left to pros.
The Standardized Installation SOP
1. The Tool Audit: Do You Have the "Right Arsenal"?
- Basic Tier: Breaker bars for torque and extensions/swivels for tight spaces.
- Pro Tier: A dedicated fuel pump lock ring tool or a brass punch to safely rotate the locking ring without causing sparks.
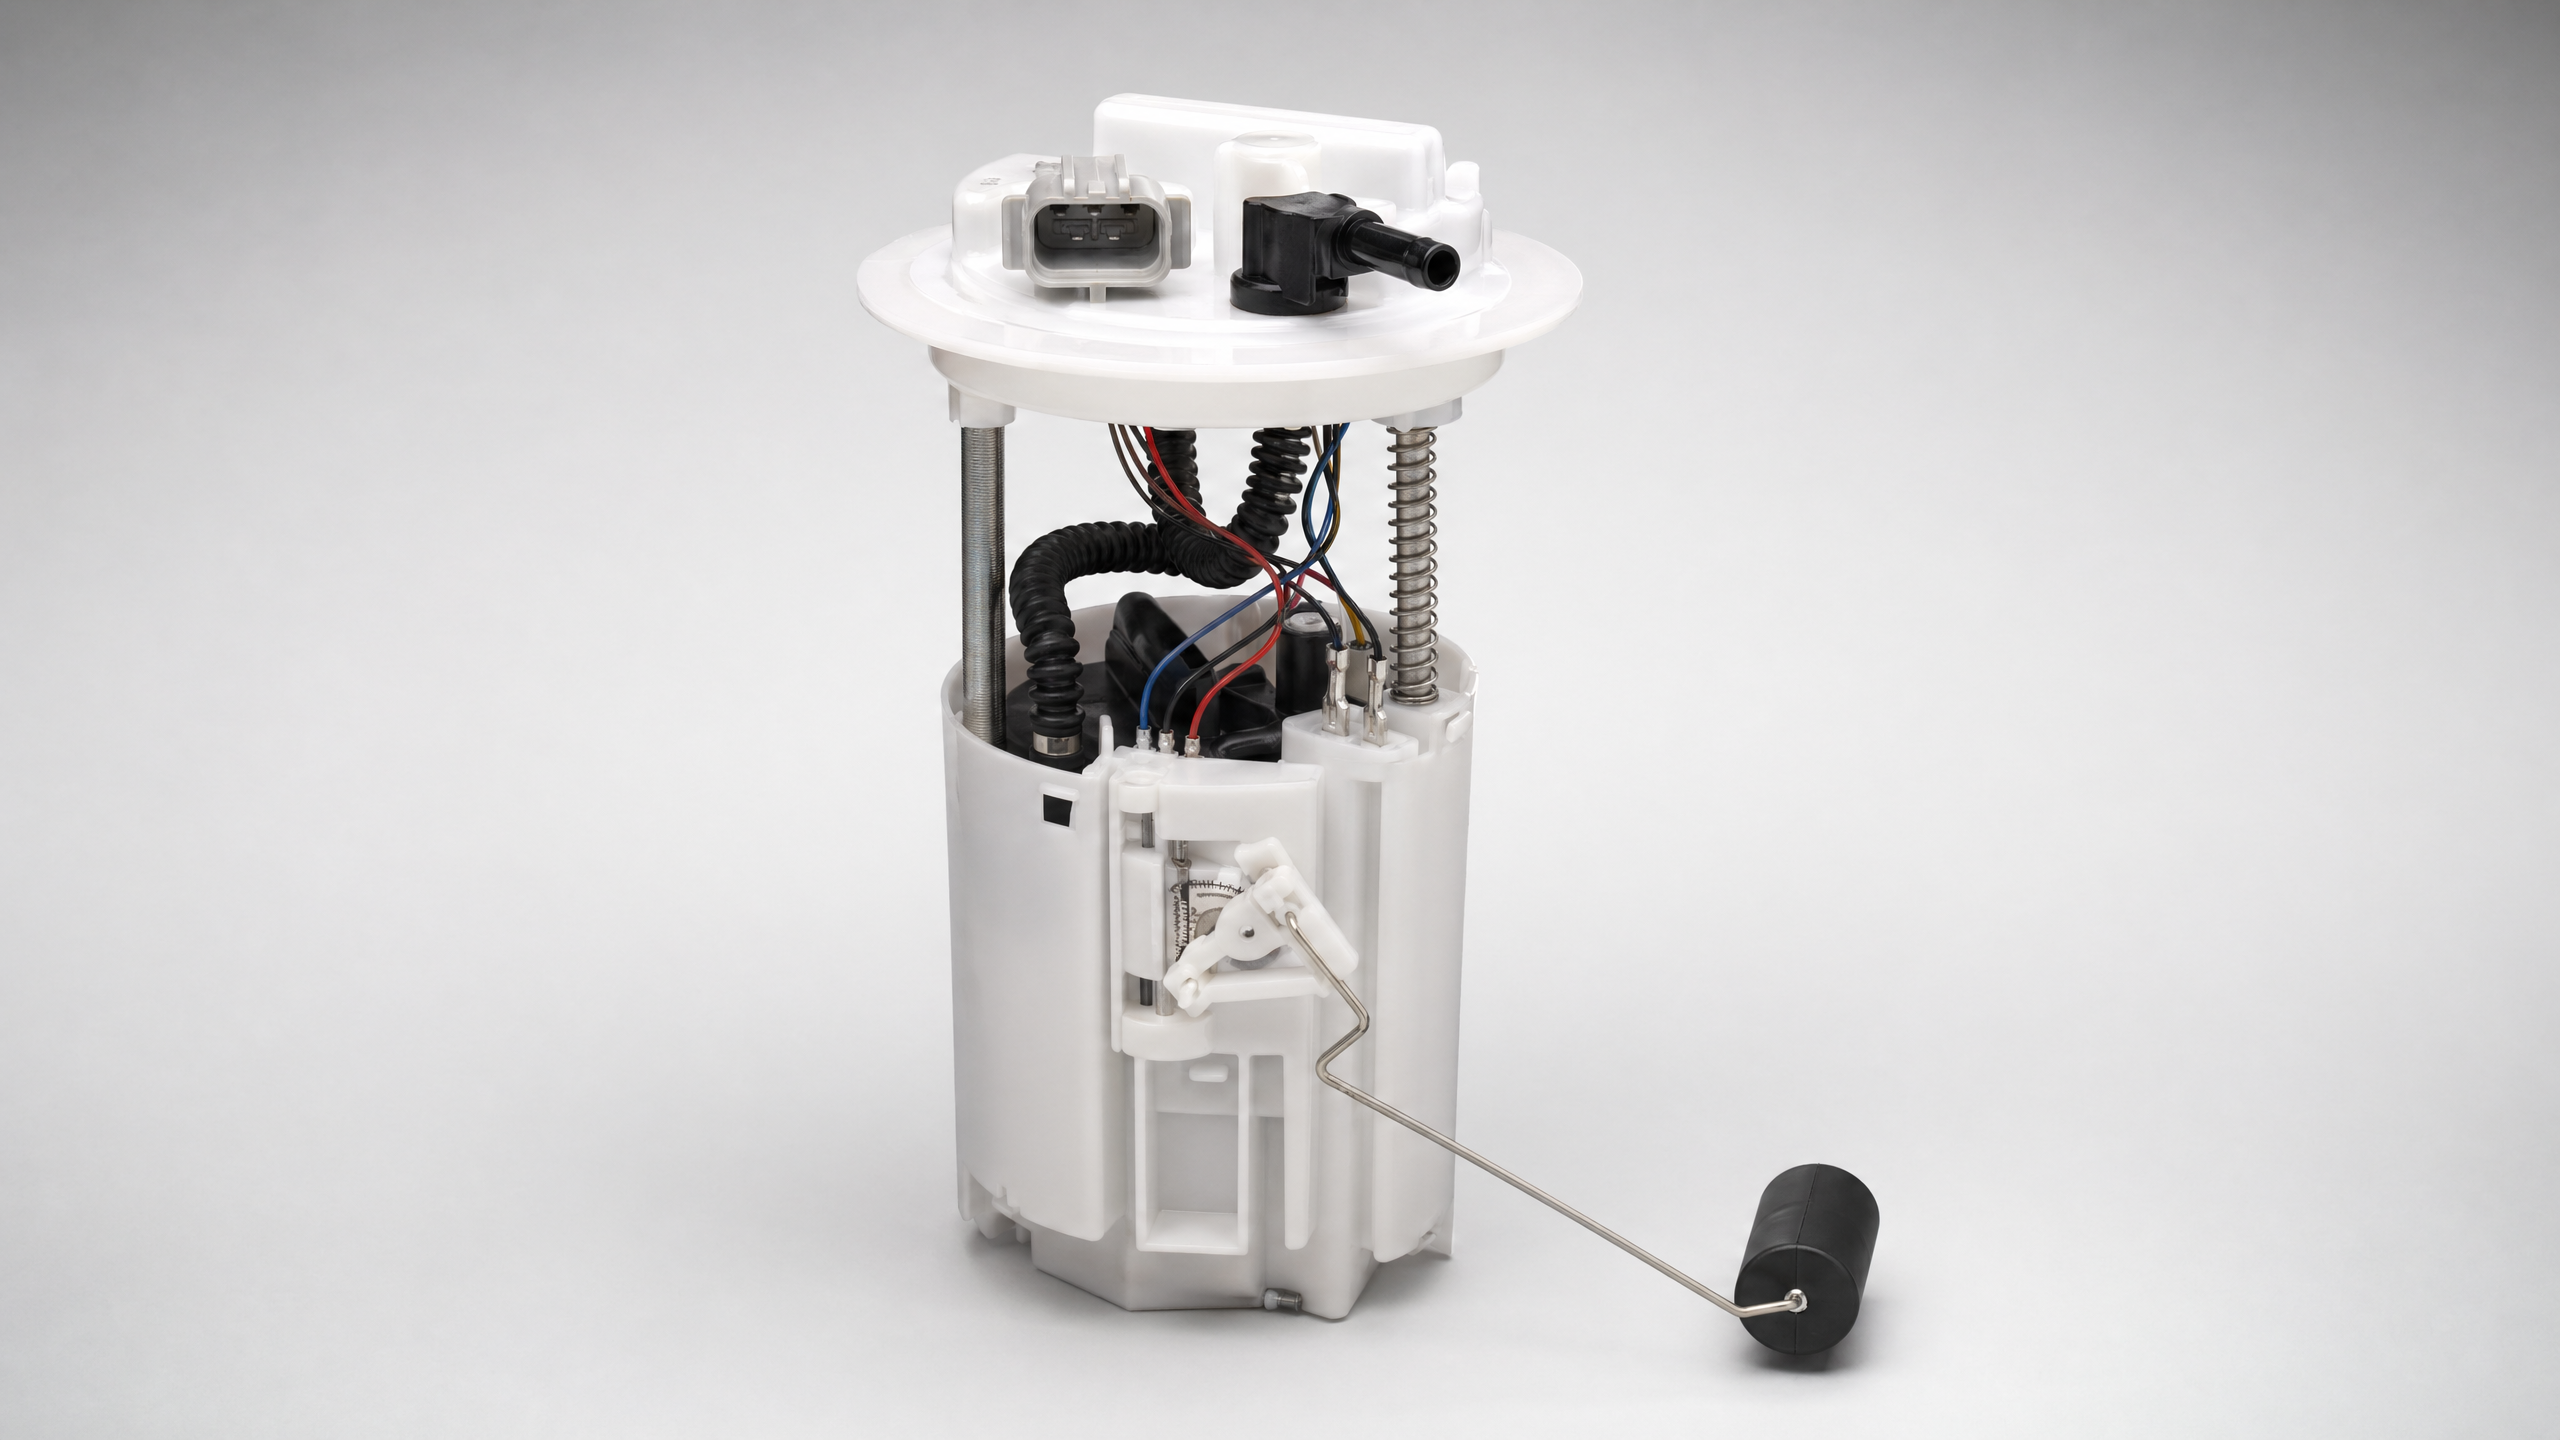
2. Status Recording: Map the "Signal Topology"
Find the assembly by following the fuel lines to the tank entry point. Pro Tip: Use your phone to snap a photo of the electrical connector and hose orientations before disconnecting anything to prevent reversal errors.
3. Purification: The "5-Minute Decision Rule"
Environmental hygiene is the difference between a 10-year fix and a 10-day fail. Use compressed air or a brush to clean the top of the pump area. If dirt is present, clean it before opening the tank to prevent engine-destroying contamination.
4. Extraction: Electrics First
- Isolate Power: Disconnect the negative battery terminal to prevent arcs that could ignite fuel vapors or fry ECU chips.
- Soft Before Hard: Unplug electrical connectors and plastic fuel line clips before loosening the metal lock ring or structural components.
5. The "Pro-Fit" Execution: Sealing the Interface
- Physical Cleaning: Use a wire brush to clean the tank's mounting surface until it's 100% free of rust.
- Mandatory Component Refresh: Always use the new gasket (seal ring) included with your fuel pump assembly. Never reuse an old, flattened seal.
- Torque Management: Ensure the pump is seated flush. If using bolts, follow a Star Pattern (Cross-Pattern) to ensure uniform pressure across the seal.
6. System Activation: Reset & Calibrate
- Clear Ghost Codes: Use an OBD2 scanner to wipe any "Lean Mixture" (P0171/P0174) or "Low Rail Pressure" (P0087) codes.
- The Drive Cycle: Do not just let the car idle. Conduct a 20-30 minute drive in mixed conditions to allow the ECU to relearn fuel trims and verify the fix.
Summary: The Professional Edge
By following the Locate-Prep-Removal logic, you treat the vehicle's sensors as the "brain" that must be protected. Using fresh gaskets and proper cleaning eliminates the "false failures" caused by air leaks or poor grounding.
Disclaimer: Our Mechanic Advisor provides information for educational purposes only and not as professional automotive advice. DIY repairs involve risks. If unsure, consult a certified mechanic. We guarantee part fitment based on your selected vehicle details, but are not responsible for misdiagnosis or damage resulting from use of this guide.
