

So you’ve got your new All-in-One Kit. Whether you are working on a high-mileage Ford F-150, a precision Toyota Camry, or a Chevrolet Silverado, the installation is where the magic happens.
To ensure a "First-Time Fix" without snapping a plug or frying an ECU, follow this specialized 6-Step Professional Installation Flow.
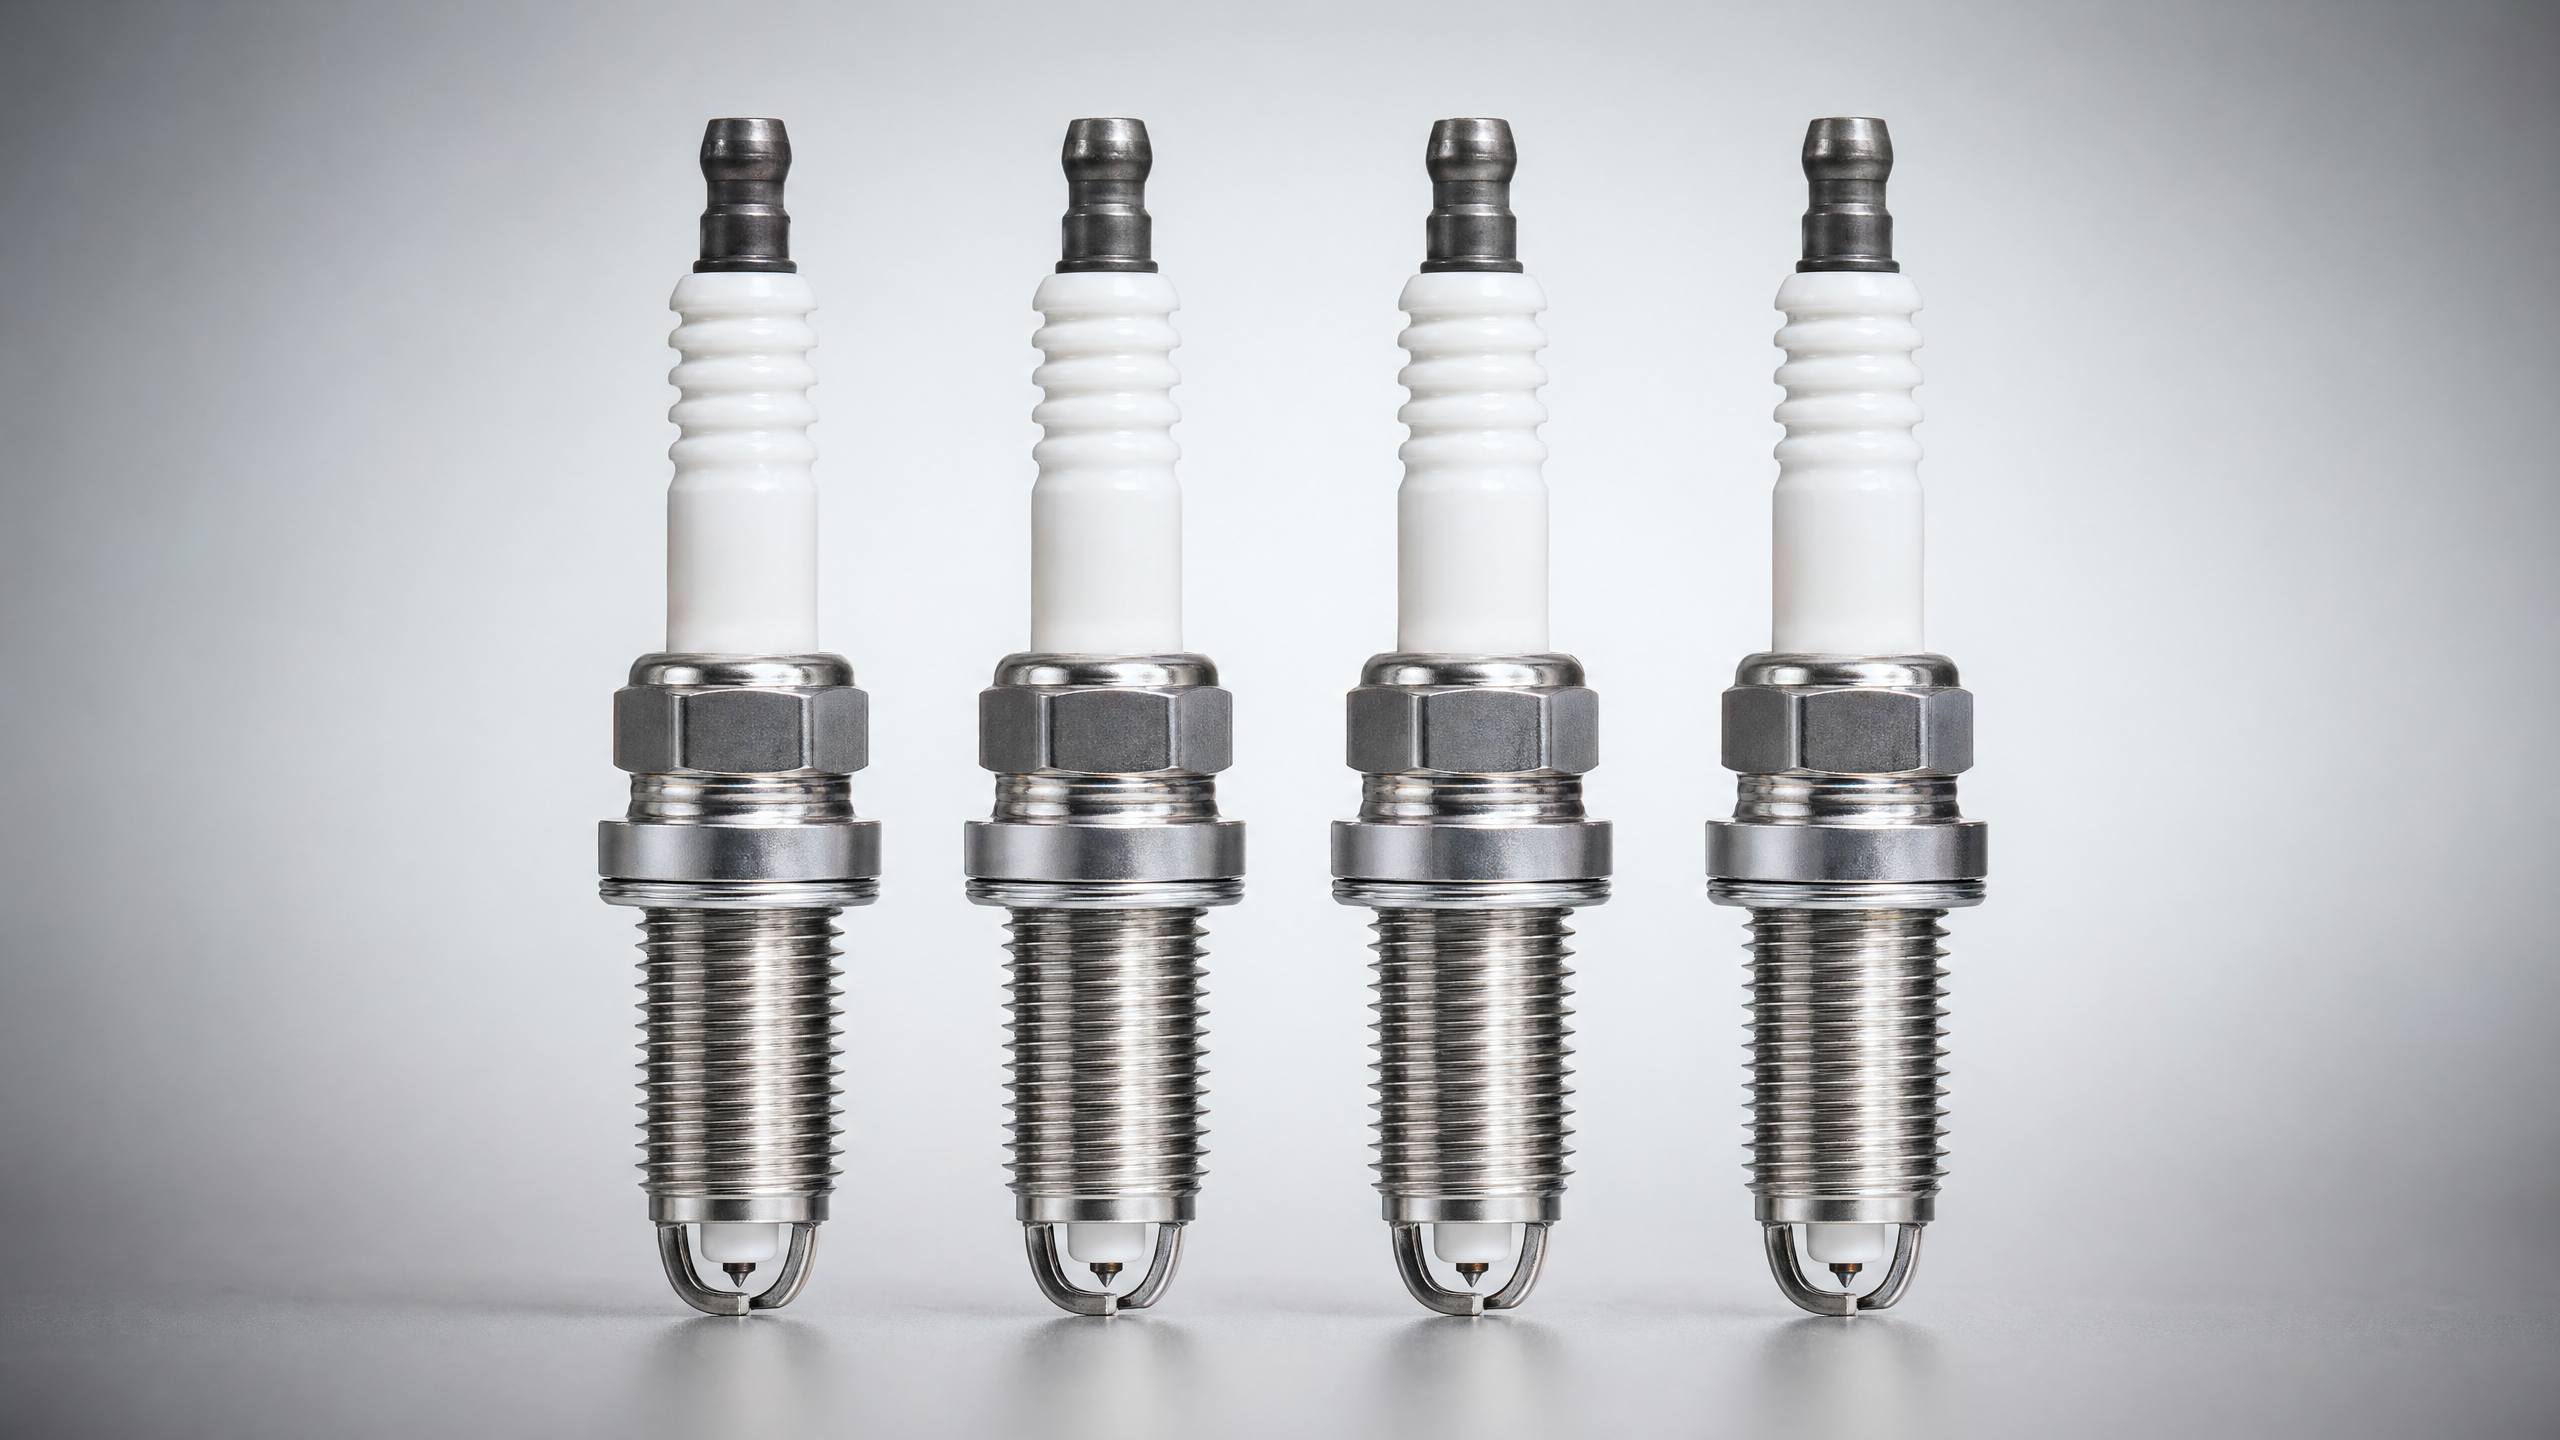
Step 1: The Tool Audit — Do You Have the "Right Arsenal"?
Don't start the job only to realize you're missing a socket. You are dealing with Precision Electronics (coils) and Metallic Mechanicals (plugs).
- The Essentials: A dedicated magnetic spark plug socket (16mm or 21mm), a torque wrench (non-negotiable for aluminum heads), and an OBD-II scanner for the final calibration.
- Pro Tip: If you’re working on a BMW or Nissan, check if you need a specialized "thin-wall" socket.
Step 2: Orientation — Mapping the "Signal Topology"
Before you pull anything, record the layout.
- The "Click" Factor: Plastic clips on older engines (like a 2010 Honda Accord) become brittle with heat. Use your phone to snap a photo of the wiring harness path.
- Safety First: Documenting the orientation prevents you from accidentally cross-wiring cylinders during a "blind" operation.
Step 3: Purification — Don't Let Debris Kill Your Combustion
Environmental hygiene is the difference between a 10-year fix and a 10-day fail.
- Electronic Isolation: Disconnect the negative battery terminal. This stops induction currents from frying sensitive ECU chips.
- The Air Blast: Use compressed air to blow dirt away from the ignition coils before removal. On engines like the Dodge Ram Hemi, debris falling into an open cylinder can cause catastrophic internal scratching.
Step 4: The Extraction — Dealing with Heat-Seized Components
Old plugs and coils don't always want to leave.
- The Soft Touch: If a coil boot is stuck, don't yank it. Twist it gently to break the heat seal.
- The "Break-Away" Torque: When removing old plugs from an aluminum engine head (common in Toyota RAV4), go slow. If it feels "crunchy," use a drop of penetrating oil and wait 10 minutes.
Step 5: The "Pro-Fit" Execution — Hand-Threading & The "Click"
This is where 90% of DIY mistakes happen.
- Hand-Start Only: Never use power tools to start a spark plug. Hand-thread the plug for 3–5 full turns first. This prevents "cross-threading"—the $2,000 mistake of destroying your engine’s internal threads.
- The Dielectric Seal: Apply a tiny amount of dielectric grease to the inside of the coil boot. This prevents the rubber from fusing to the porcelain under high heat.
- The "Click" Verification: When re-plugging the harness, listen for a clear "Click." On a vibrating V8 like the GMC Sierra, a loose clip will eventually trigger a "False Misfire."
- Torque to Spec: Use your torque wrench. A loose plug leaks compression; an over-tightened plug snaps.
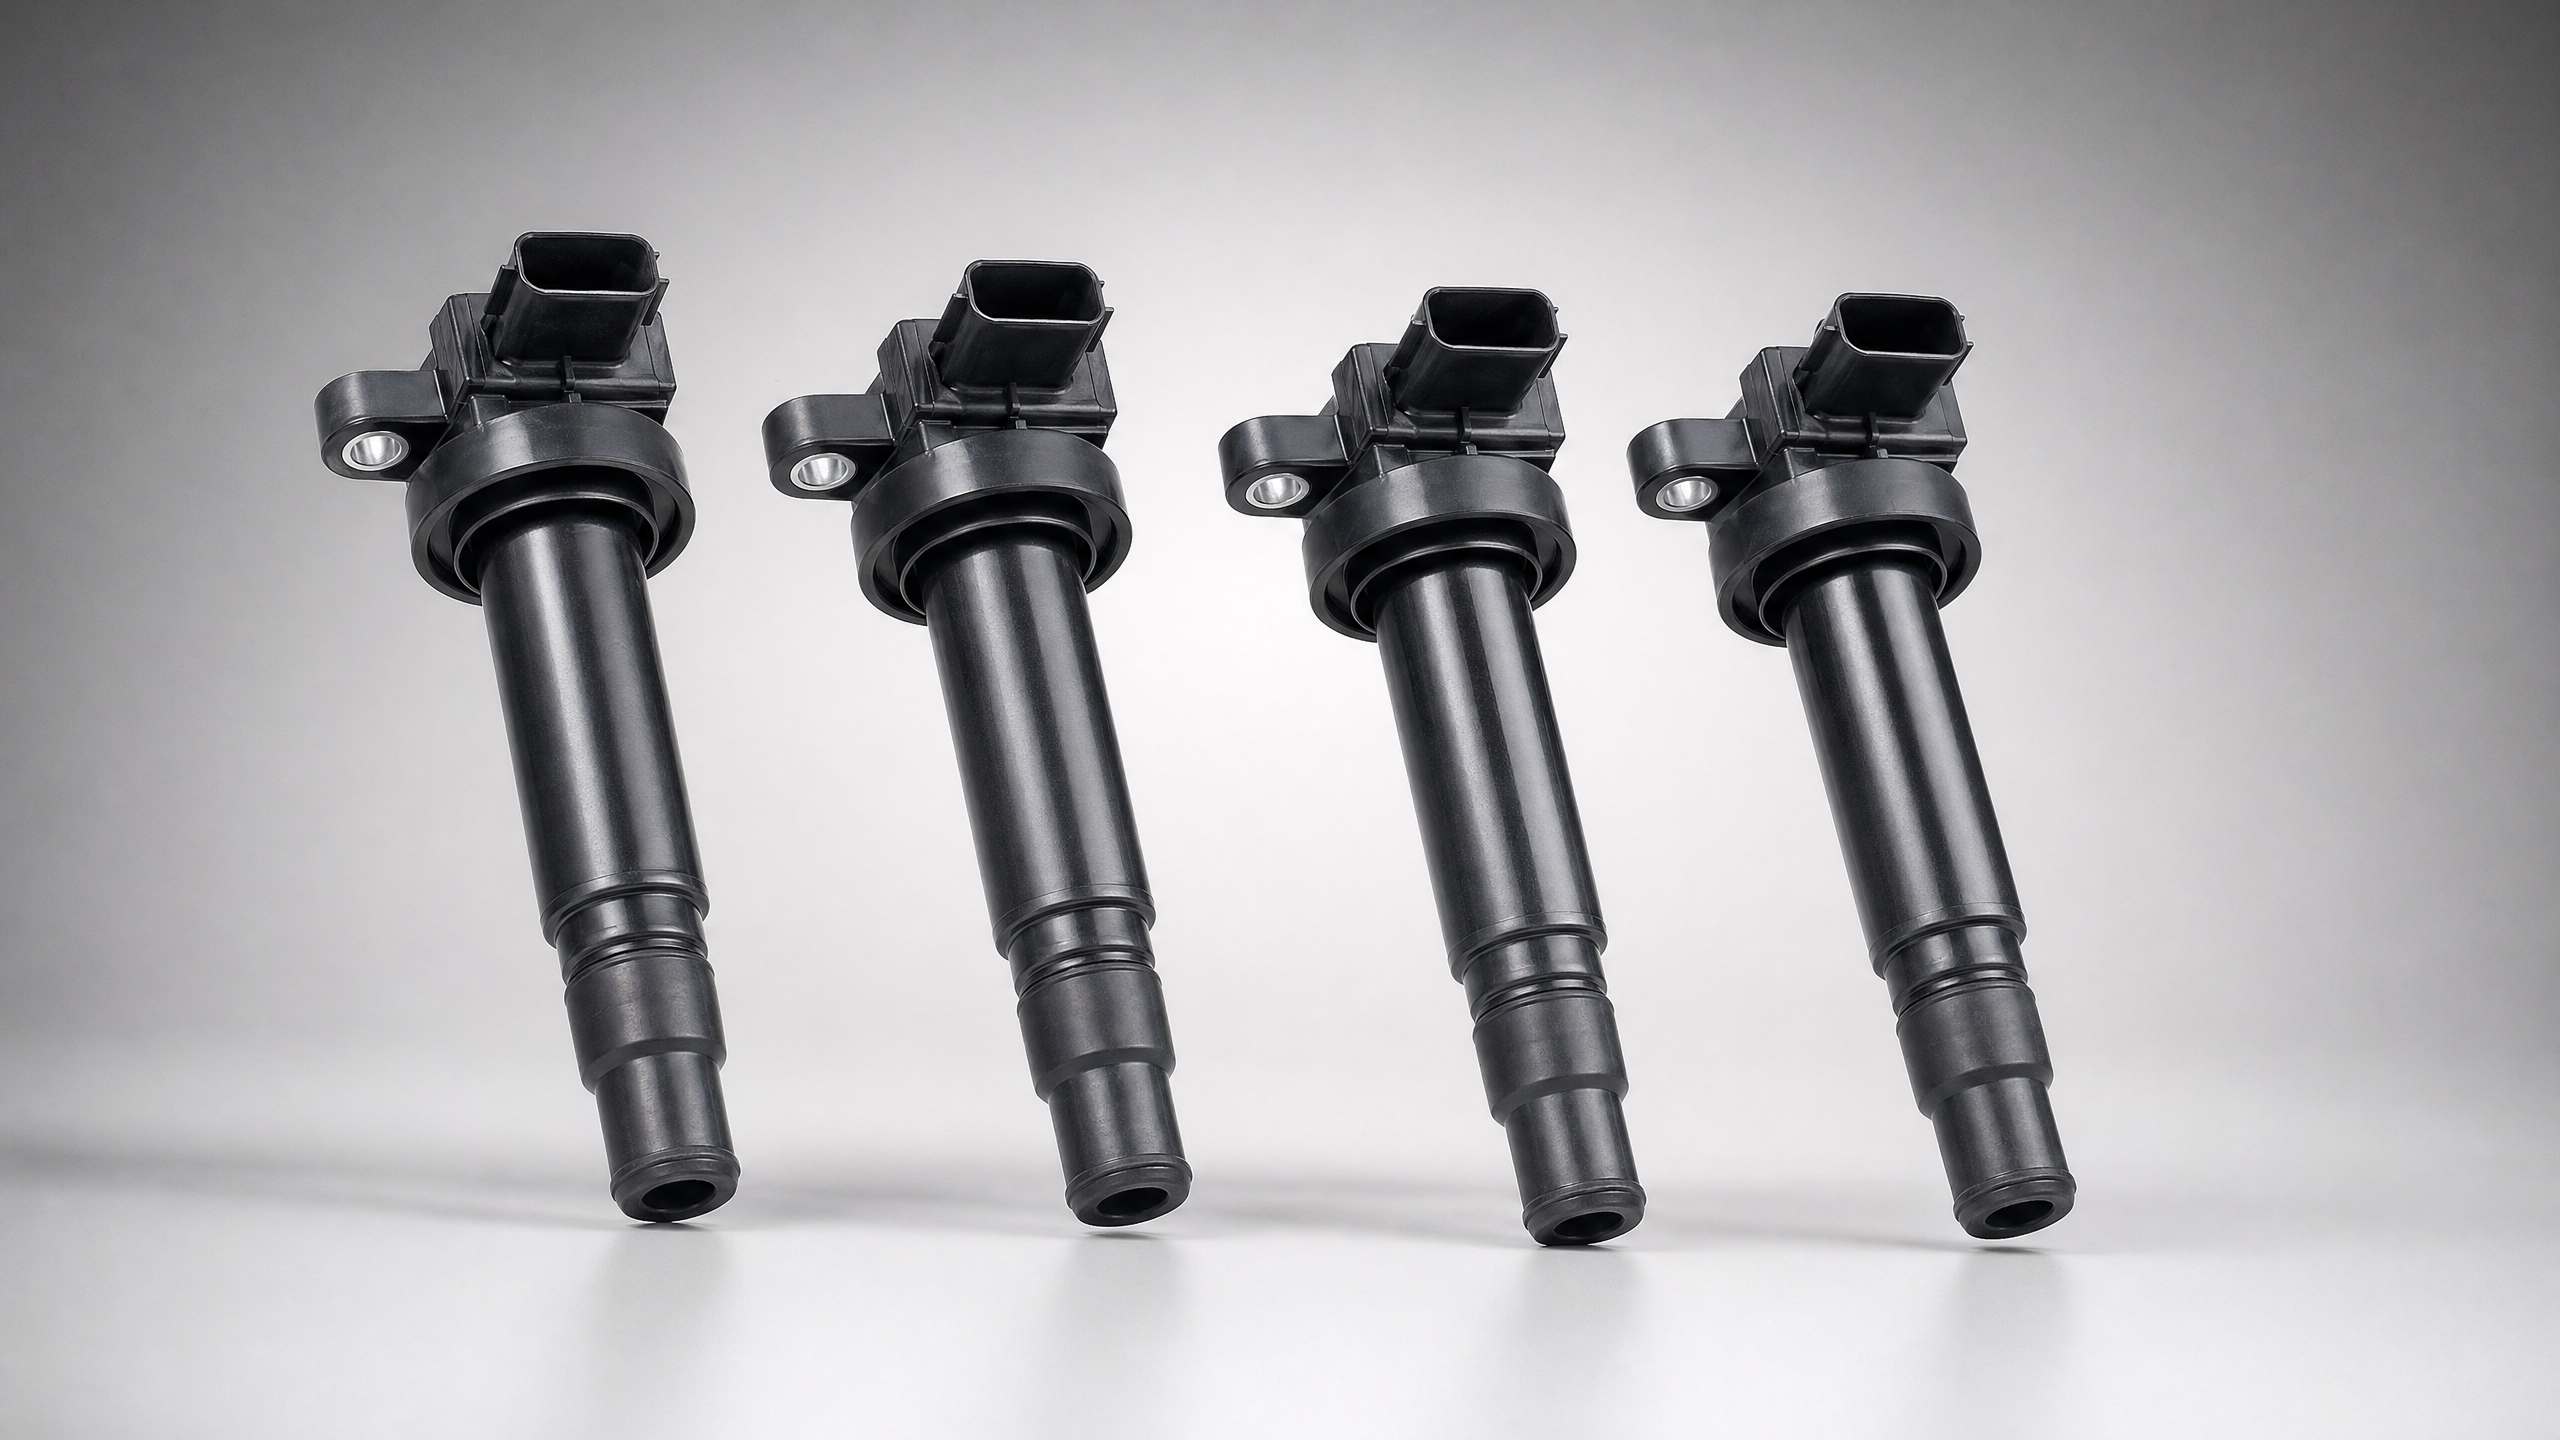
Step 6: The "Brain" Reset — Verification & Calibration
The hardware is in, but the ECU needs an update.
- Clear the Ghost Codes: Use your OBD-II scanner to wipe old P0300-P0304 codes.
- The Drive Cycle: Take a 15-minute drive. This allows the ECU to recalibrate ignition timing for your new high-performance hardware.