


Beyond the Jack: A Professional Protocol for Seating and Securing New Tires | DIY
Whether you are swapping out aged rubber or replacing a sudden puncture, the quality of your installation dictates both vehicle safety and fuel economy. By treating the wheel as a complete "system," you ensure every component—from the sensor to the stud—is verified and secure.
Phase 1: The Essential Arsenal – Tool Grading
Before you start, intercept the risk of being stranded by organizing your gear into three functional tiers:
- Tier 1 (Basic Access): A heavy-duty Breaker Bar is essential for gaining core torque on stubborn nuts, paired with a reliable Lug Wrench.
- Tier 2 (Precision & Speed): Use an Impact Wrench to break through road rust quickly, but always keep a Torque Wrench ready for the final, precise tightening.
- Tier 3 (Professional Safety): For older vehicles with worn hardware, have a Bolt Extractor ready for rounded lug nuts. Never work without a Floor Jack supported by Jack Stands.
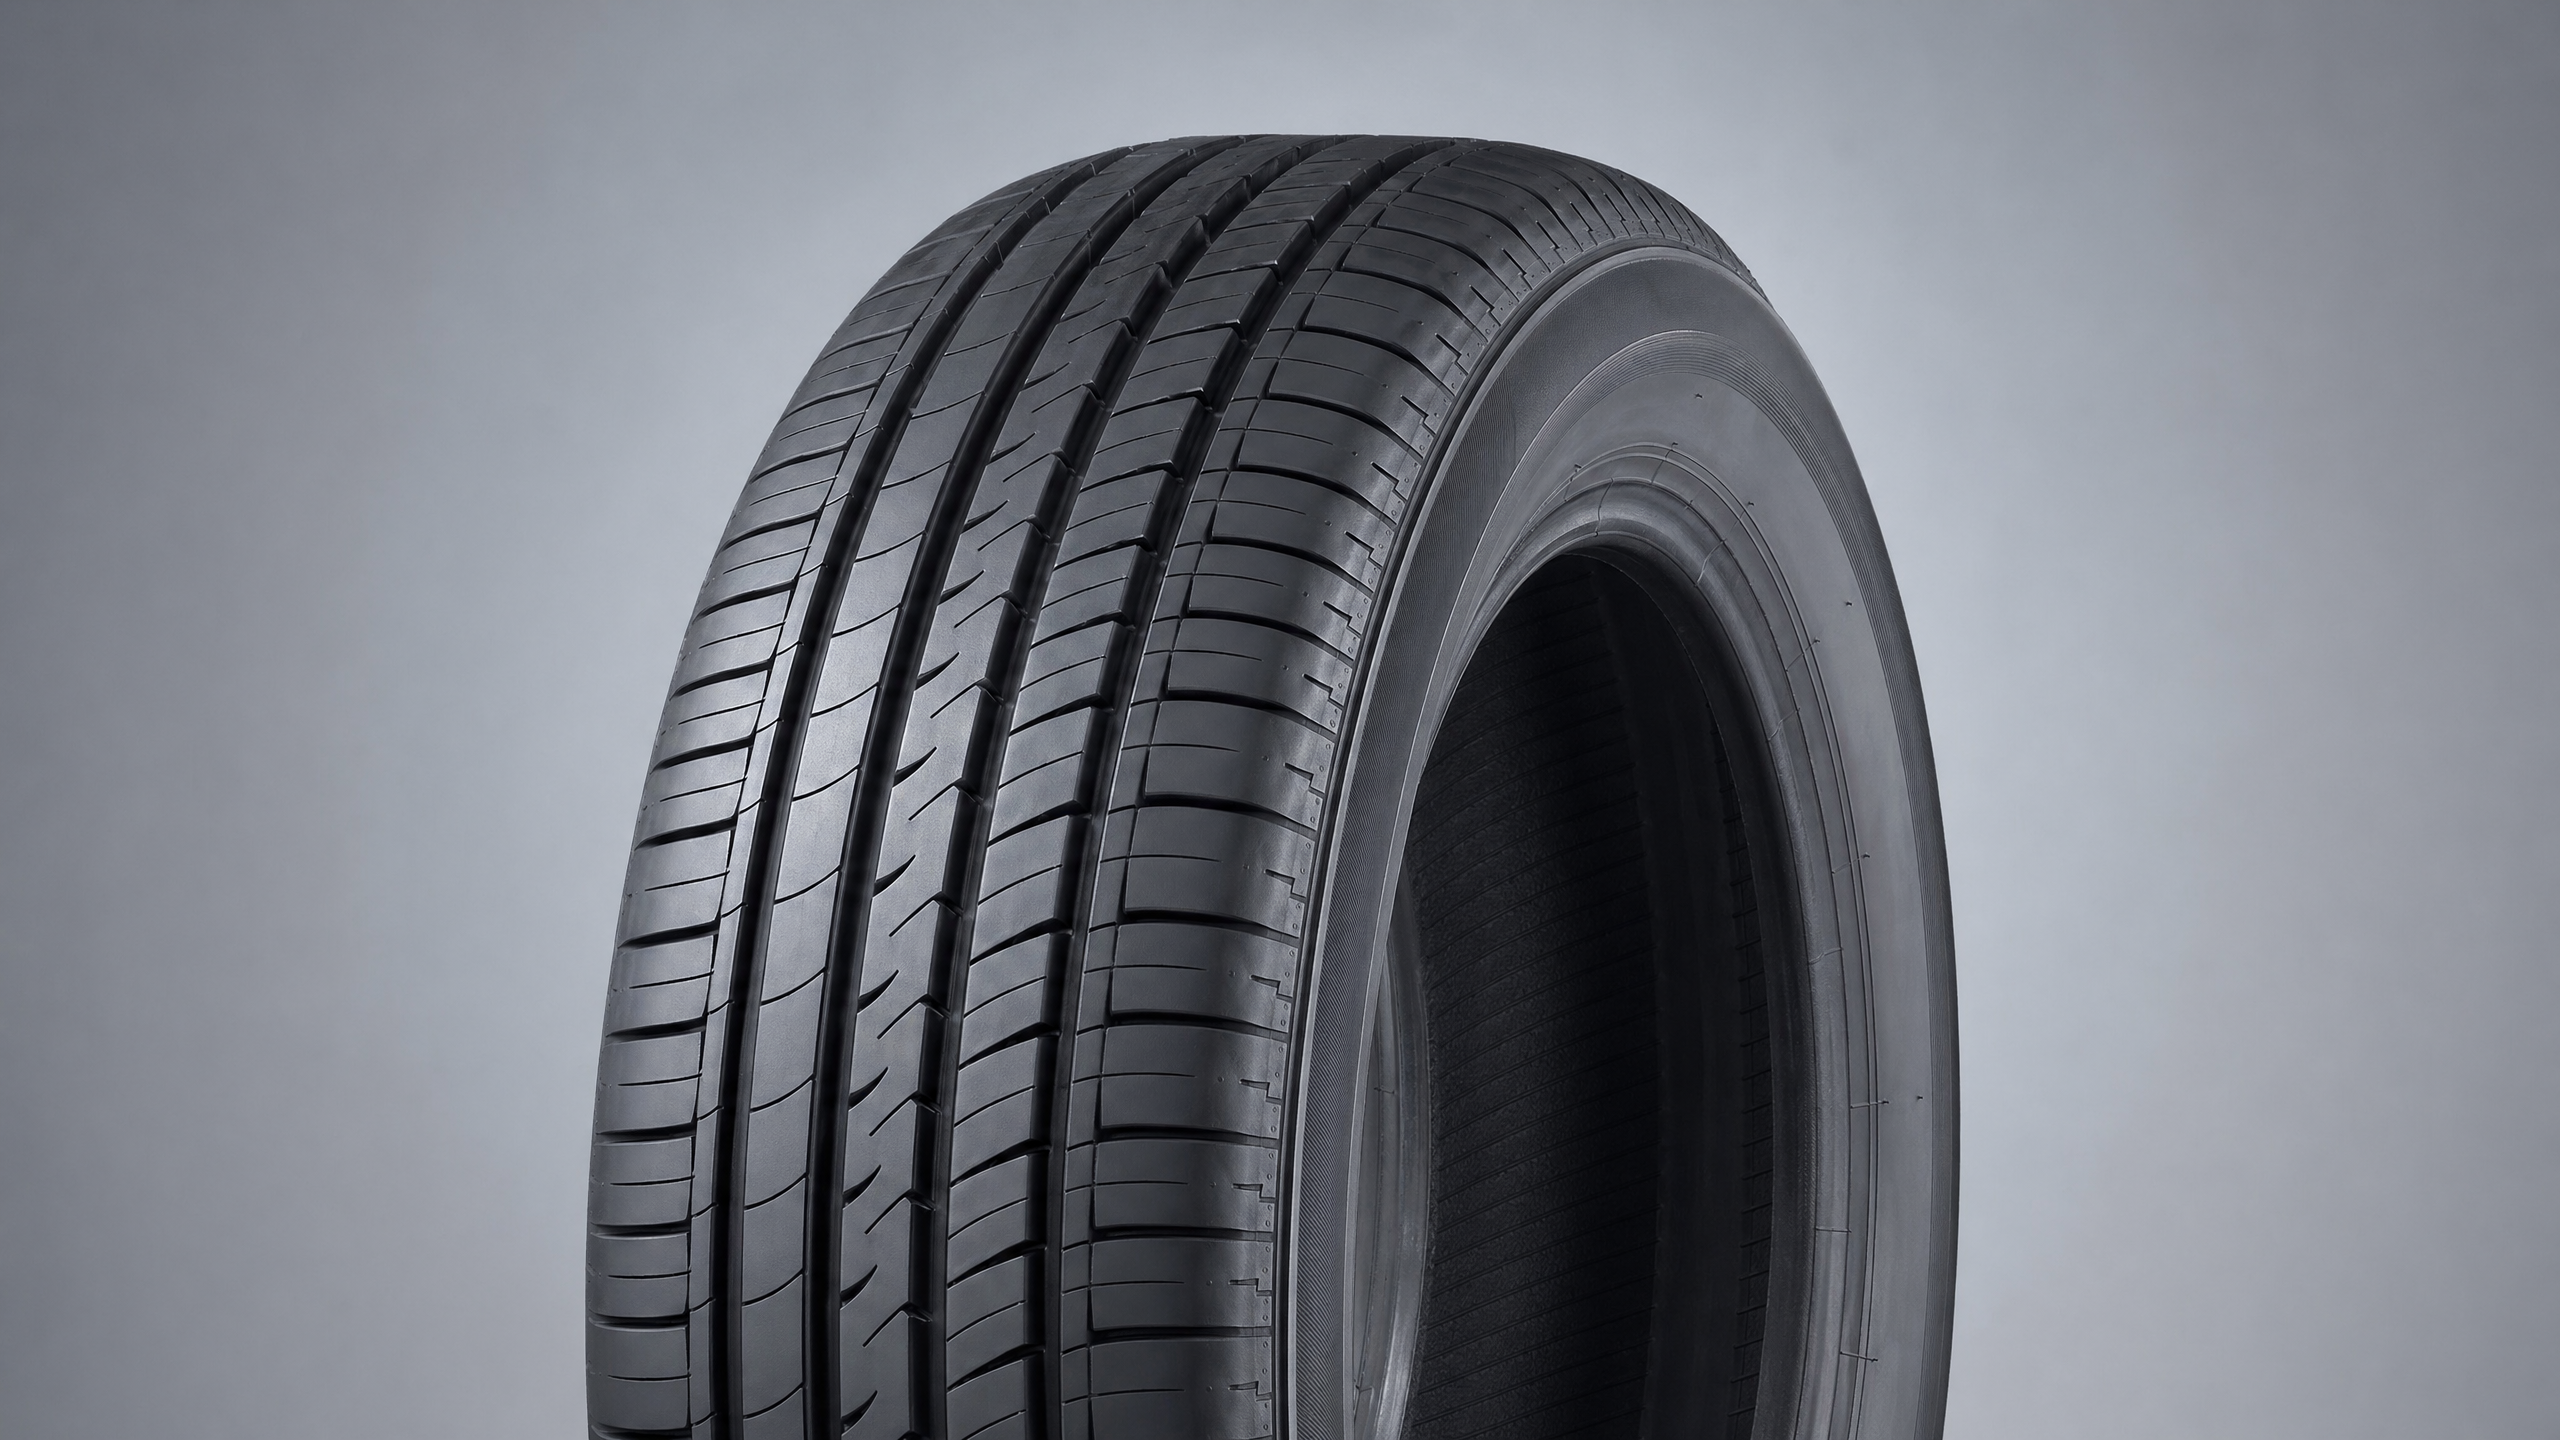
Phase 2: Anchors & Orientation
Prevent "wrong fitment" by identifying these critical physical markers before the tire meets the rim:
- Directional Tread: Many high-performance tires for sedans and sports cars are directional. Look for the arrow anchor on the sidewall to ensure the tread faces forward for optimal water evacuation.
- TPMS Integrity: Locate the TPMS sensor at the valve stem. This is vital to prevent crushing the electronics during the bead-breaking process.
Phase 3: Chemistry Over Violence
In North America, road salt makes rust the primary enemy of wheel hardware.
- Soak Before You Stroke: Spray rusted lug nuts with Penetrating Oil at least 30 minutes before you attempt removal.
- The 5-Minute Rule: If a nut on a heavy-duty truck like a Ford Super Duty is seized, stop after 5 minutes. Apply controlled heat with a torch rather than using brute force that might snap the wheel stud.
Phase 4: Protecting the Electronic "Senses"
Modern vehicles rely on sensitive sensors that require careful handling during removal.
- Sensor Care: If your vehicle features a high-sensitivity TPMS, handle the wheel assembly with care to avoid shocking the electronic components.
- Complete Deflation: Ensure the tire is fully deflated and the sensor is cleared before you apply pressure to break the tire bead.
Phase 5: The Professional Seating Process
Installation success depends on the quality of the mating surfaces.
- Flange Prep: Use a Wire Brush to clean the wheel hub flange and the rim's mounting surface. This ensures 100% seating and prevents the "false" vibrations often blamed on bad balancing.
- Mandatory Renewal: Airtight sealing is only guaranteed if you replace the Valve Stem or TPMS Service Kit during every new tire installation.
- Bead Lubrication: Apply dedicated tire mounting lubricant to the bead to ensure it slides into place without tearing the rubber.
- The Star Pattern: Tighten lug nuts in a Diagonal (Star) Pattern. This distributes pressure evenly across the hub, which is critical for preventing brake rotor warping.
- Precision Torque: Always finish with a torque wrench to meet the specific foot-pound requirements of your vehicle manufacturer.
Phase 6: The Drive Cycle Verification
A closed-loop installation ends with a real-world test.
- Reset the Light: Use a diagnostic tool to clear any TPMS light codes triggered by the previous low pressure.
- Mixed-Condition Test: Perform a 20-30 minute test drive covering both city streets and highway speeds. This allows the ECU to recalibrate and confirms the absence of high-speed vibrations.
Vehicle-Specific Pro Tips
- Trucks & SUVs: These heavy-load vehicles (like a Chevrolet Tahoe or RAM 1500) require significantly higher torque. Re-verify the star pattern, as towing or hauling puts extreme stress on the wheel studs.
- Electric Vehicles (EVs): Owners of a Tesla Model 3 or Rivian should be aware that EVs are heavier and run much quieter. Any debris left on the flange (forgetting the Wire Brush) will result in noticeable cabin noise that wouldn't be heard in a gas car.
By following this professional guide, you ensure your new tires perform at their absolute peak while saving on professional labor costs.
Disclaimer: Our Mechanic Advisor provides information for educational purposes only and not as professional automotive advice. DIY repairs involve risks. If unsure, consult a certified mechanic. We guarantee part fitment based on your selected vehicle details, but are not responsible for misdiagnosis or damage resulting from use of this guide.
