


Stop the Hum: A Real-World Guide to Replacing Your Wheel Hub Assembly | DIY
Replacing a wheel hub bearing is a critical repair that restores your vehicle's safety and ensures a quiet cabin. To ensure a successful DIY fix and avoid the frustration of "comebacks," this guide follows a field-tested installation workflow designed to make the repair last for years.
Phase 1: The Essential Arsenal (Tools You'll Actually Need)
Before you start, avoid the "stuck vehicle" trap by ensuring you have the right gear ready.
- Standard Access: A heavy-duty breaker bar is a must for stubborn hub nuts. You'll also need extensions and swivels to reach those tight mounting bolts tucked behind the steering knuckle.
- For Rust-Belt Drivers: If you live in a snowy climate, road salt is your enemy. An impact wrench and a propane torch are essential for heating up and breaking through seized bolts.
- The Rescue Kit: For heavy-duty trucks like the Chevrolet Silverado, have a hub puller or slide hammer on standby. These hubs can fuse to the knuckle and require mechanical force to extract.
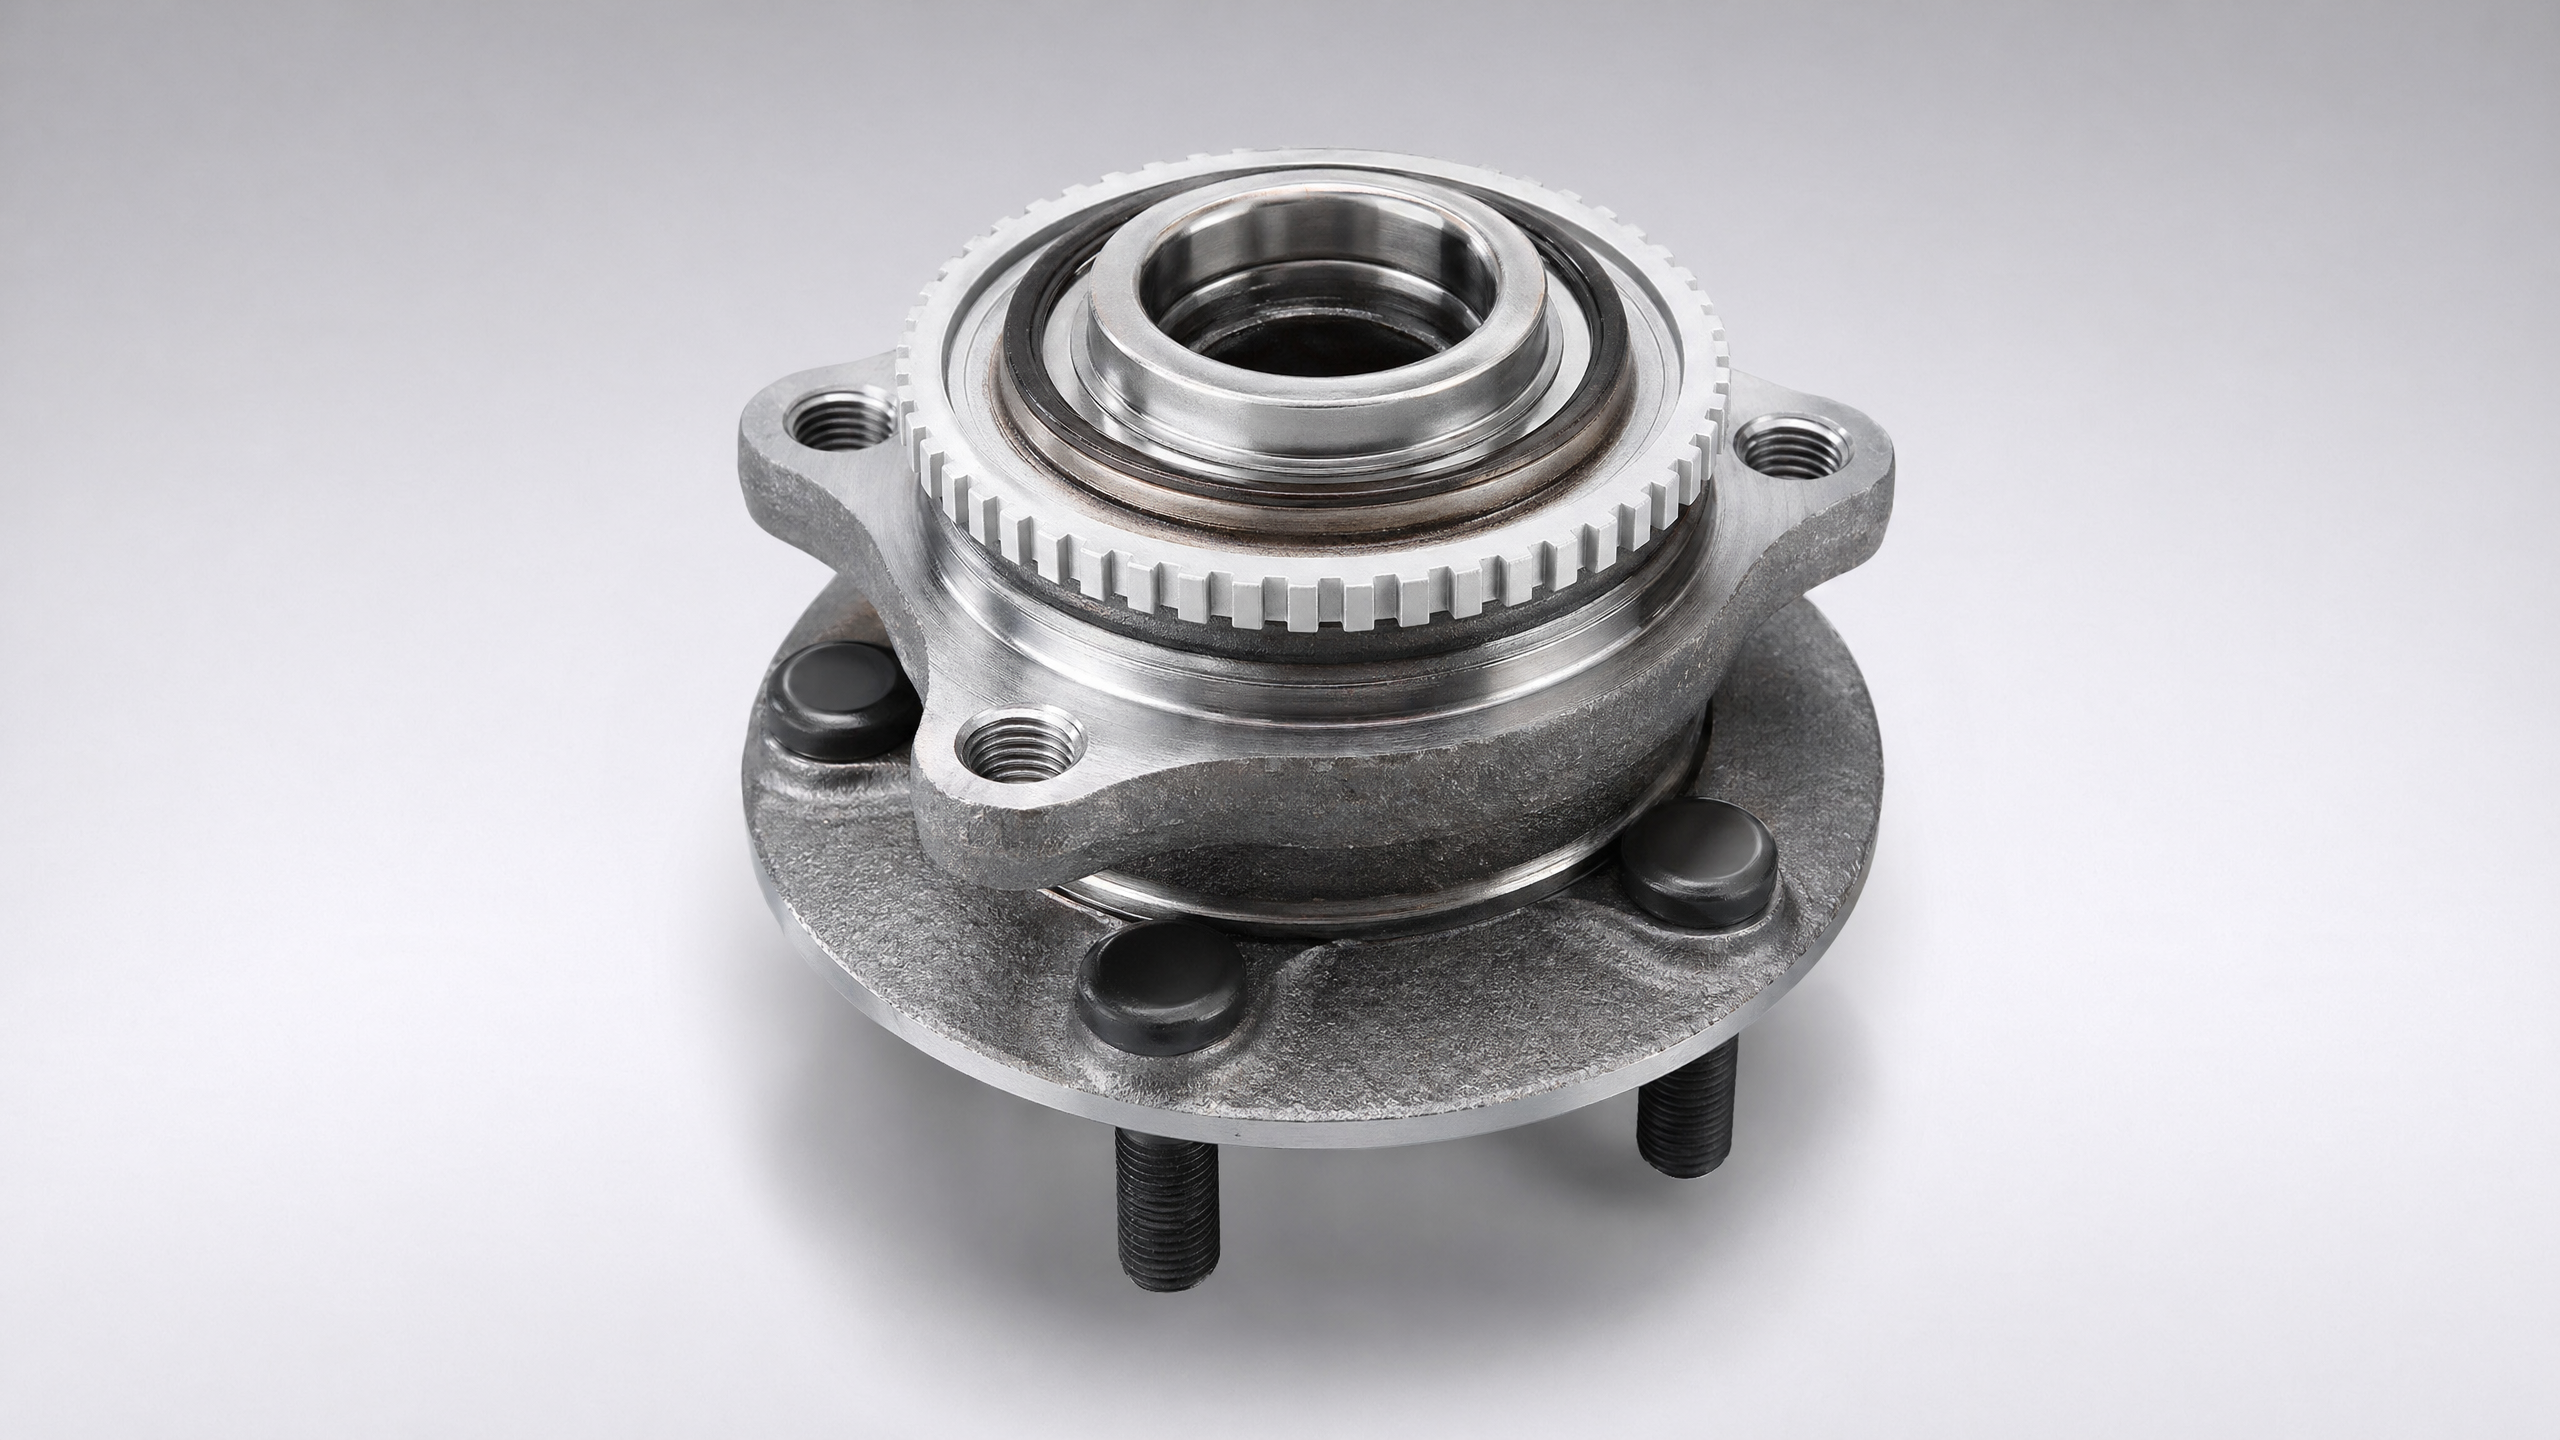
Phase 2: Locating the Anchors
Ensure you are working on the correct components by identifying the physical "anchors" of the system.
- Identify the ABS Sensor: The hub is anchored between the CV axle and the brake rotor.
- Pro Tip (Record the State): Take a photo of the ABS cable routing before disconnecting anything. On vehicles like the Ford F-150, incorrectly routed wires can be pinched by suspension travel or melted by brake heat.
Phase 3: Chemistry Over Force
In North America, chemical preparation is often more effective than raw strength.
- The Deep Soak: Spray all mounting bolts and the large center axle nut with penetrating oil for at least 30 minutes before you touch them with a wrench.
- The 5-Minute Rule: If a bolt won't budge after 5 minutes of effort, stop. Apply heat with a torch to avoid snapping the bolt inside the knuckle.
Phase 4: Safely Removing the Hub
Protecting your vehicle's electronics is just as important as the mechanical work.
- Isolate the Power: For modern cars with sensitive stability control (like a Toyota Camry), disconnect the negative battery terminal before unplugging sensors.
- Soft Before Hard: Always unplug the ABS connector and secure the wire safely out of the way before unbolting the hub. Never let the heavy metal hub hang by the delicate sensor wire.
Phase 5: The Professional Install
The longevity of your new bearing depends entirely on the quality of the mating surfaces.
- The Wire Brush Rule: Use a wire brush to scrub every bit of rust and corrosion off the steering knuckle's mounting bore. A clean surface ensures the hub sits perfectly flat, preventing future brake pulsation.
- Mandatory Hardware Renewal: Always use the new axle nut and mounting bolts provided in your kit. Never reuse old, stretched bolts that have lost their tension.
- Torque Management: Tighten mounting bolts in a star pattern (diagonal). Use a torque wrench to meet the manufacturer's spec; an over-tightened nut can crush the new bearing, while an under-tightened one leads to premature failure.
Phase 6: Verification & The Drive Cycle
A repair isn't finished until the system is verified and the ECU is calibrated.
- Clear the Codes: Use an OBD2 scanner to clear any old "ABS Wheel Speed Sensor" codes.
- The 20-Minute Test: Don't just idle in the driveway. Perform a 20-30 minute test drive in mixed conditions (city and highway). This allows the computer to calibrate the new sensor signals and ensures warning lights stay off for good.
Quick Specs for Your Vehicle Type
- Sedans (e.g., Honda Accord): Most use Generation 3 Hubs, which are convenient bolt-on units.
- Trucks & SUVs (e.g., GMC Sierra): These heavy-duty 4WD hubs often require a specialized 35mm or 36mm deep socket for the axle nut. Remember, trucks require significantly higher torque than passenger cars.
By following these professional steps— "Follow the anchors, soak before you stroke, and always use a wire brush"—you ensure your vehicle is safer and quieter than when it entered the garage.
Disclaimer: Our Mechanic Advisor provides information for educational purposes only and not as professional automotive advice. DIY repairs involve risks. If unsure, consult a certified mechanic. We guarantee part fitment based on your selected vehicle details, but are not responsible for misdiagnosis or damage resulting from use of this guide.
