


Radiator Fan Replacement Guide: Step-by-Step DIY Installation
Installing a radiator fan is a critical task that bridges the gap between mechanical cooling and electronic control. Whether you are wrestling with a single-fan setup on a Honda Accord or a high-performance Ford Mustang with dual brushless motors, following this precise protocol ensures a safe, "one-and-done" replacement.
Step 1: The Arsenal (Modular Tool Preparation)
- Tier 1 (Basic Access): Prepare Extensions and Swivels to reach those stubborn lower shroud clips or bolts often tucked behind the front bumper or frame rails. This is a lifesaver for tight engine bays like the Toyota RAV4.
- Tier 2 (Torque & Speed): A Torch or heat gun may be necessary if the fan motor is mounted with metal bolts into an aged, brittle plastic shroud.
- Tier 3 (The Rescue Kit): Keep Bolt Extractors ready for rounded-off mounting bolts and a Grinder to safely cut away any brittle aftermarket zip-ties that prevent the assembly from sliding out.
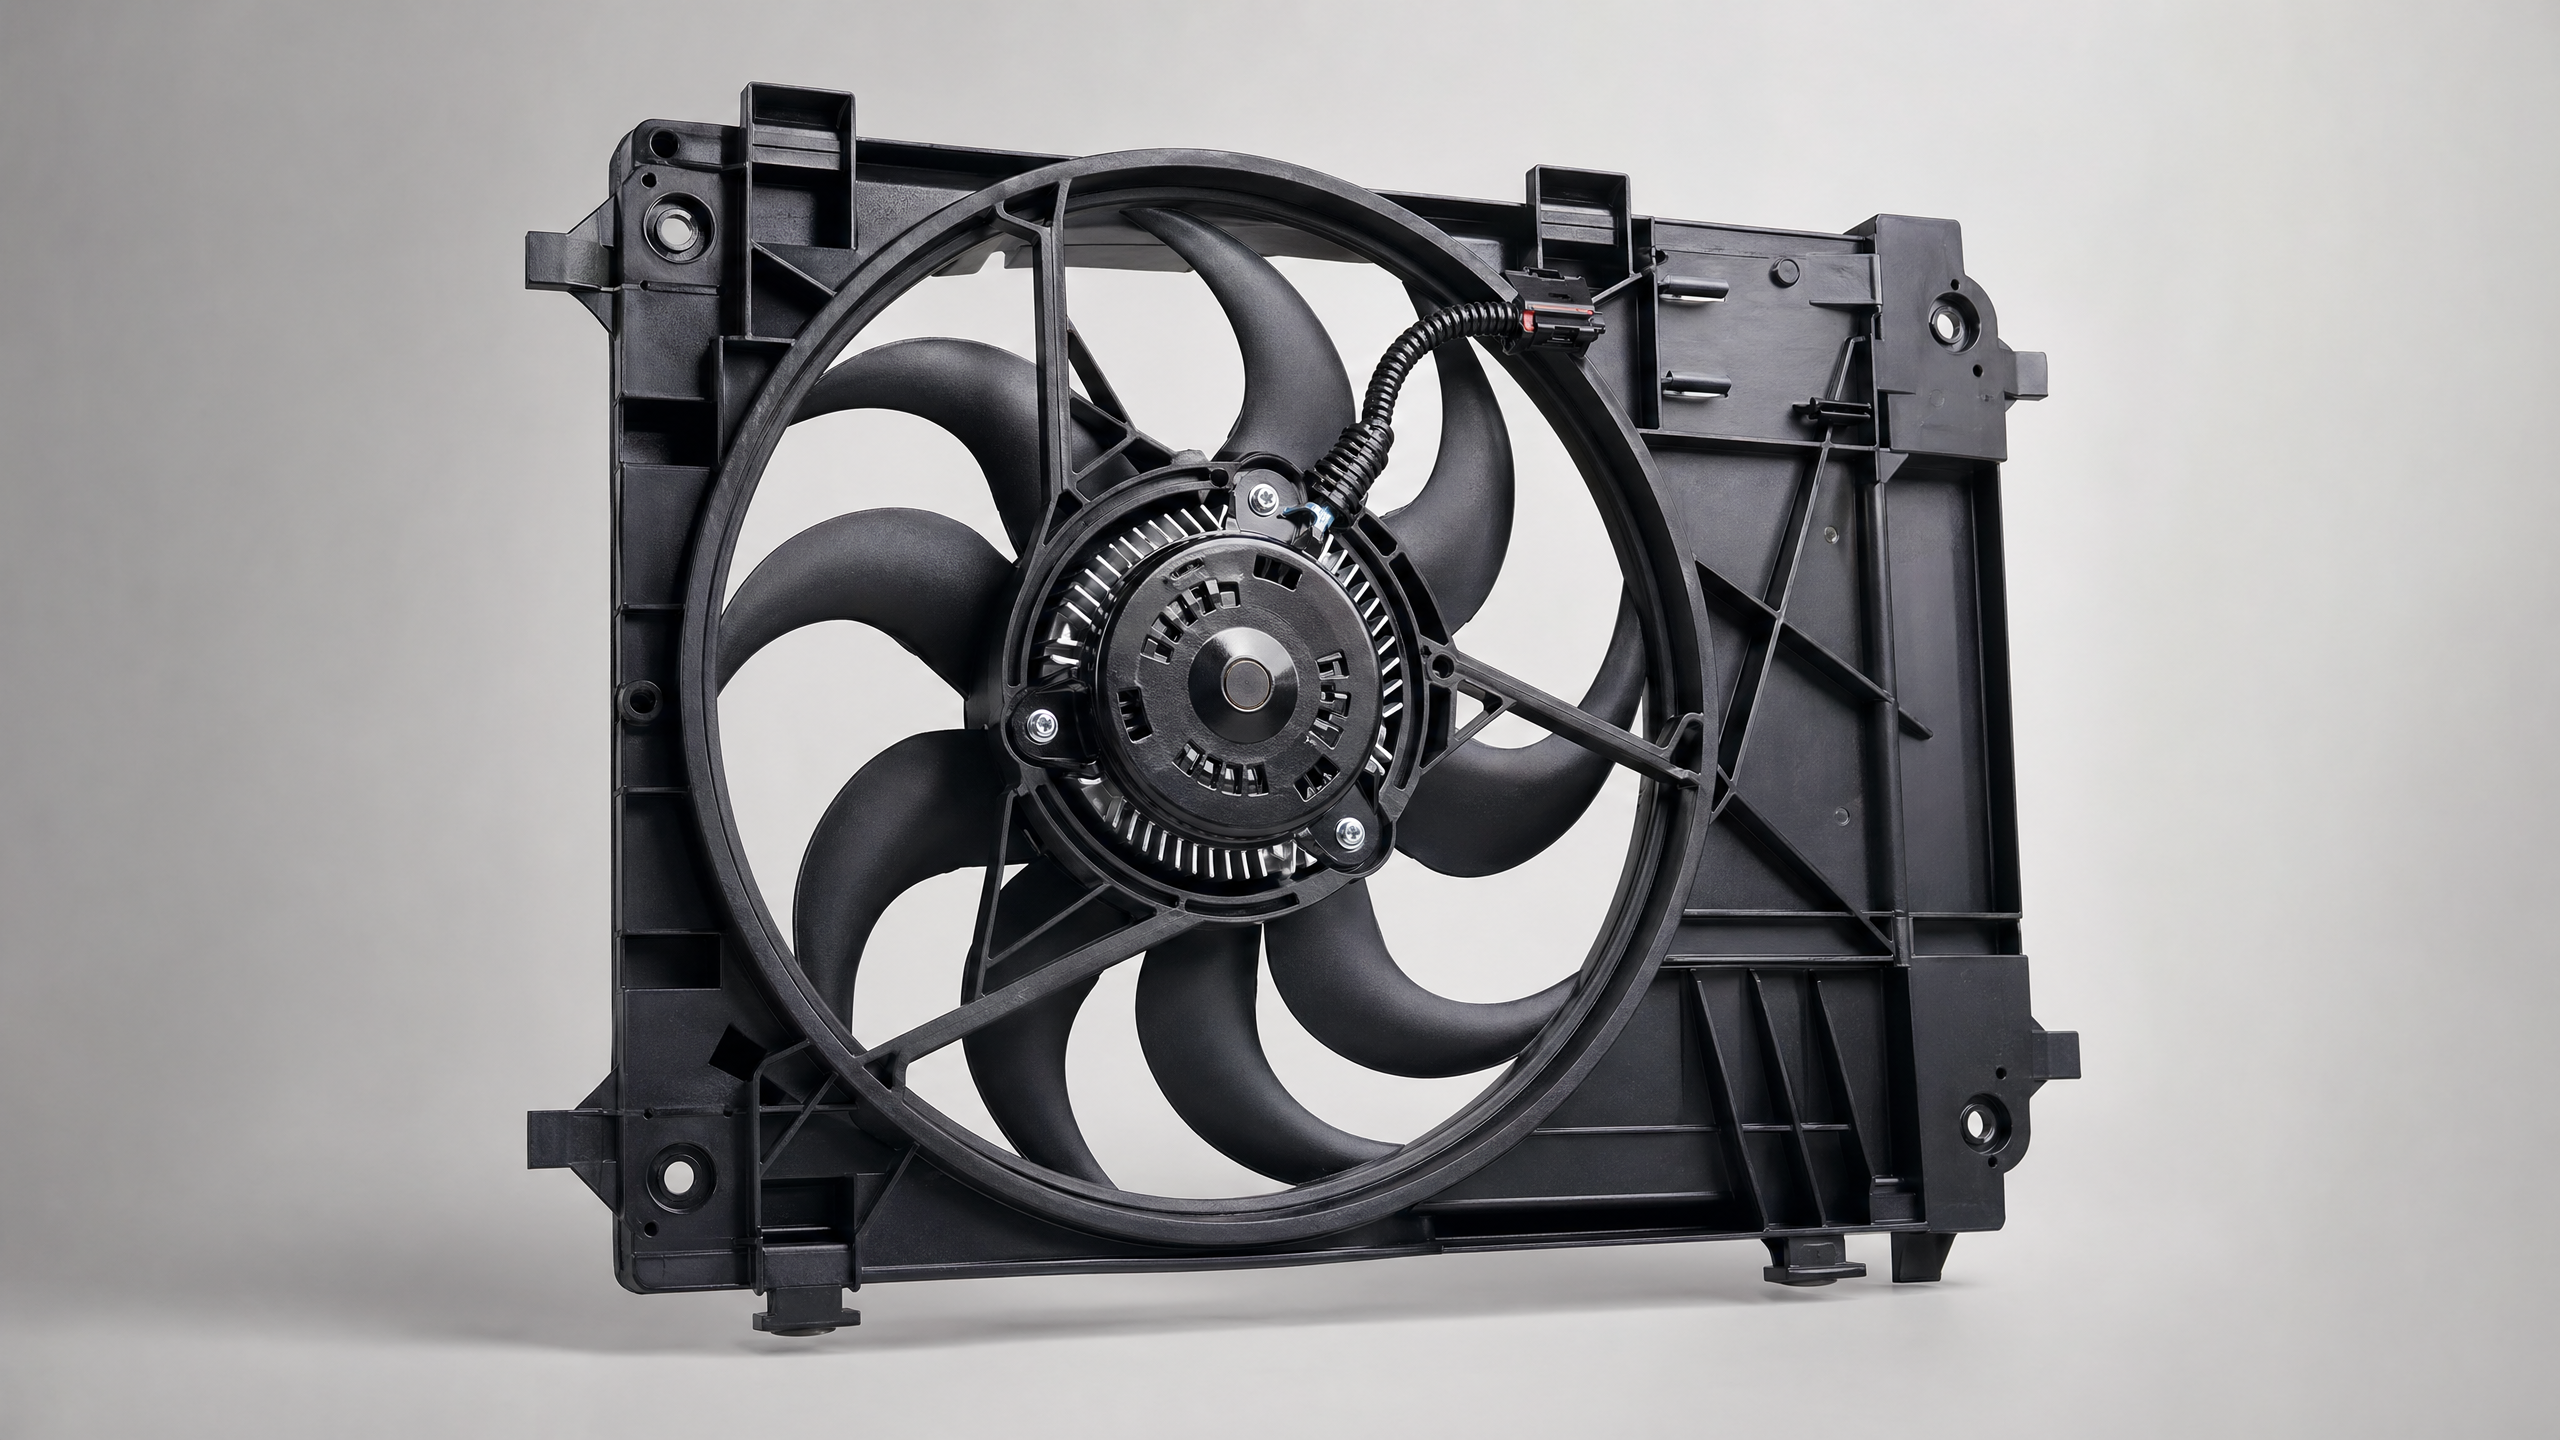
Step 2: Locate (Identifying Physical Anchors)
- Finding Anchors: The fan assembly is anchored to the radiator core and is typically positioned at the intersection of the Serpentine Belt and the main electrical harness.
- State Recording: You must take a photo of the electrical connector orientation and the exact Wiring Routing Diagram before removal. This prevents wires from being pinched or melted by moving engine parts—a common mistake on vehicles like the Chevrolet Silverado.
Step 3: Prep (Chemical Intervention)
- Soak Before You Stroke: Spray all metal-to-plastic mounting bolts with Penetrating Oil for 30 minutes to reduce friction.
- The 5-Minute Rule: If a mounting bolt does not turn after 5 minutes of steady pressure, stop and use heat. This avoids cracking the plastic radiator tanks—an expensive error on a Jeep Grand Cherokee or Nissan Altima.
Step 4: Removal (Electrical Isolation)
- Isolate Energy: You must first disconnect the negative battery terminal to prevent high-current electrical arcs when unplugging the fan's main power connector.
- Soft Before Hard: Always unplug the electrical harnesses and sensors before unbolting the heavy fan shroud. This prevents the motor's weight from snapping or stretching sensitive wires.
Step 5: Install (Surface Renewal & Sealing)
- Physical De-scaling: Use a Wire Brush to clean the electrical grounding points and connector pins. This ensures 100% conductivity and prevents "ghost failures" later on.
- Mandatory Refresh: If your new fan assembly includes New Relays or Clips, use them. Never reuse aged, heat-damaged electrical pins from your old Dodge Ram or BMW 3 Series.
- Torque Management: Tighten the shroud bolts in a Diagonal Star Pattern to ensure the fan sits perfectly flush against the radiator for maximum airflow efficiency.
Step 6: Run (System Activation & Validation)
- Clear Codes: Use a diagnostic tool to Clear All Historical Fault Codes related to "Fan Control Circuit" or "Engine Overheat".
- The Real-World Test: Do not just let the car idle. Perform a 20-30 minute mixed-condition drive to ensure the fan triggers correctly under both city (low-speed) and highway (high-speed) conditions.
Operation Risk & Value Summary
| Step | Key Fan Task | Value Added |
|---|---|---|
| Step 1 | Extension preparation | Prevents "Halfway Stuck" scenarios in tight engine bays. |
| Step 2 | Wiring routing photos | Prevents 100% of wire-melting or fan-jamming errors. |
| Step 3 | Chemical soaking | Intercepts the risk of snapping bolts into plastic radiator tanks. |
| Step 4 | Wire brush ground points | Ensures stable voltage and eliminates erratic fan behavior. |
| Step 5 | Mixed driving test | Verifies the repair and ensures the vehicle passes inspections. |
Disclaimer: Our Mechanic Advisor provides information for educational purposes only and not as professional automotive advice. DIY repairs involve risks. If unsure, consult a certified mechanic. We guarantee part fitment based on your selected vehicle details, but are not responsible for misdiagnosis or damage resulting from use of this guide.
