


Radiator Replacement Guide: Step-by-Step DIY Installation for Any Vehicle
Installing a radiator is a high-stakes task because it involves both thermal pressure and fragile cooling surfaces. Whether you’re working on a heavy-duty Ford F-150, a high-mileage Honda Civic, or a modern Jeep Grand Cherokee, following this specialized protocol ensures you protect your engine's core and avoid a "part-matching" nightmare.
Stage 1: The Arsenal (Tool Grading)
Before draining the system, prepare your gear to handle the specific hardware of a modern cooling system.
- Tier 1 (Basic Access): Use Extensions and Swivels to reach those lower mounting bolts often hidden behind the bumper or splash shield. This is crucial for tight engine bays like those found in the Toyota Camry or Nissan Altima.
- Tier 2 (Torque & Speed): A Torch is essential for heat-expanding rusted petcock valves or frame-mounted bracket bolts that refuse to budge.
- Tier 3 (The Rescue Kit): Keep Bolt Extractors ready for rounded drain plugs and a Grinder to safely cut away old, seized spring-style hose clamps.
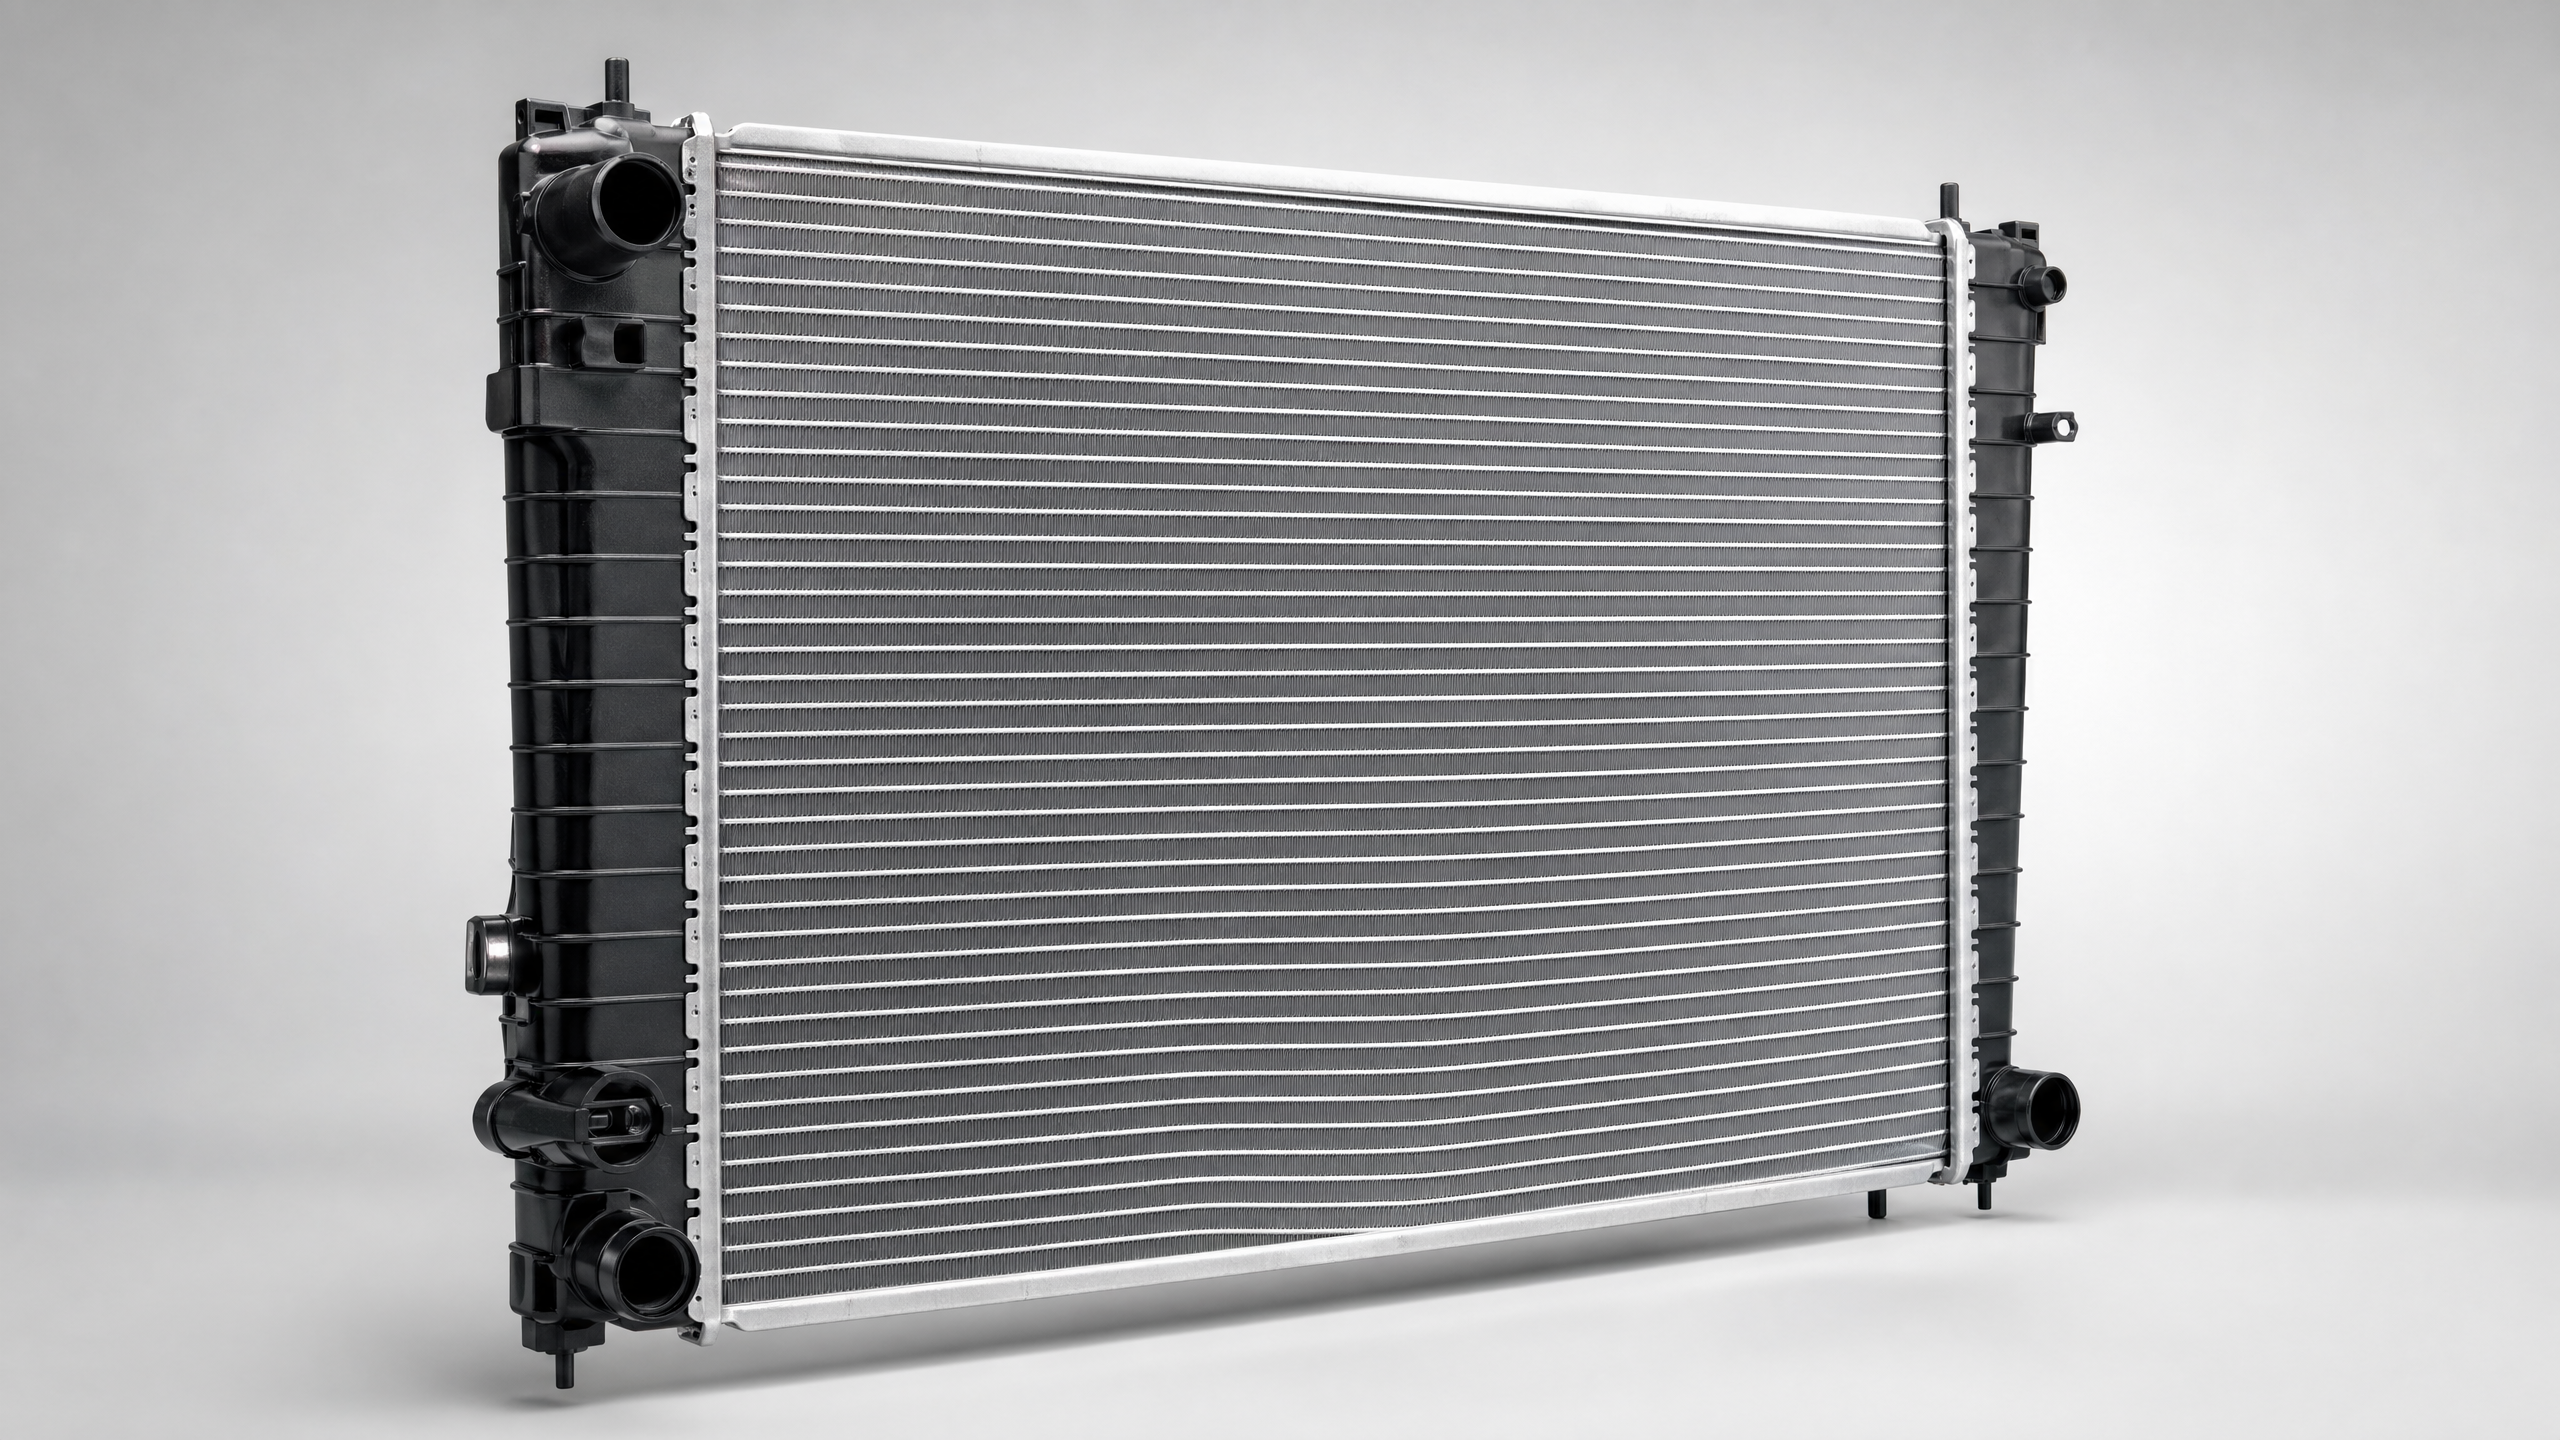
Stage 2: Locate (Anchor Logic)
Identify the physical anchors of the radiator to prevent common installation errors.
- Anchor Point: The radiator is always anchored between the upper and lower radiator hoses and sits directly behind the A/C condenser.
- The Routing Map: Take a photo of the Fan Shroud mounting points and the transmission cooler line positions before disassembly. This ensures 100% accurate fitment for complex setups in vehicles like the Chevrolet Silverado or BMW 3 Series.
Stage 3: Prep (Chemical Intervention)
Aluminum is soft; never use brute force on a cooling system.
- Soak Before You Stroke: Spray all mounting bolts and hose connections with Penetrating Oil for 30 minutes to soften the rust.
- The 5-Minute Rule: If a mounting bolt doesn't turn after 5 minutes of steady pressure, stop and use heat (torch). This simple step can save you ~$200 in labor costs from snapped bolts.
Stage 4: Removal (Electrical Isolation)
Protect the vehicle’s "Brain" (ECU) by isolating power before touching the fans.
- Disconnect Power: You must disconnect the negative battery terminal to prevent electrical shorts when unplugging the cooling fan assembly.
- Soft Before Hard: Unplug all electrical sensors and fan harnesses before unbolting the radiator's metal structure to avoid tearing the wire looms.
Stage 5: Install (Surface Renewal & Sealing)
The success of your new radiator depends entirely on the quality of the mating surfaces.
- Wire Brush is Your Friend: Use a Wire Brush to scrub the hose inlets and ground points. This eliminates "Ghost Leaks" caused by debris—a common issue when replacing parts in an older Dodge Ram or Hyundai Elantra.
- Mandatory Refresh: Always replace the Radiator Cap and Gaskets provided with the unit; never reuse an aged, brittle seal.
- Star Pattern Tightening: Tighten the mounting bolts in a Diagonal Star Pattern to ensure the radiator frame sits perfectly level and stress-free.
Stage 6: Run (The Drive Cycle)
Validation requires more than just idling in the driveway.
- Clear the History: Use a diagnostic tool to Clear Old Fault Codes like "Engine Overheat" or "Low Coolant".
- Drive It, Don’t Just Idle: Conduct a 20-30 minute mixed-condition drive (city and highway). This allows the ECU to purge air from the system and confirms the warning lights stay off—guaranteeing the system is truly air-free.
Operation Risk & Value Summary
| Stage | Key Radiator Task | Value Added |
|---|---|---|
| Arsenal | Extension preparation | Prevents "Halfway Stuck" scenarios. |
| Locate | Hose routing photos | Ensures 100% accurate fitment across various YMM attributes. |
| Prep | Chemical soaking | Saves ~$200 in labor from snapped bolts. |
| Install | Wire brush hose necks | Eliminates "Ghost Leaks" caused by debris. |
| Run | Mixed driving test | Guarantees the system is truly air-free. |
Disclaimer: Our Mechanic Advisor provides information for educational purposes only and not as professional automotive advice. DIY repairs involve risks. If unsure, consult a certified mechanic. We guarantee part fitment based on your selected vehicle details, but are not responsible for misdiagnosis or damage resulting from use of this guide.
