


Blower Motor Not Working? 6-Step DIY Diagnosis to Restore Car AC Airflow
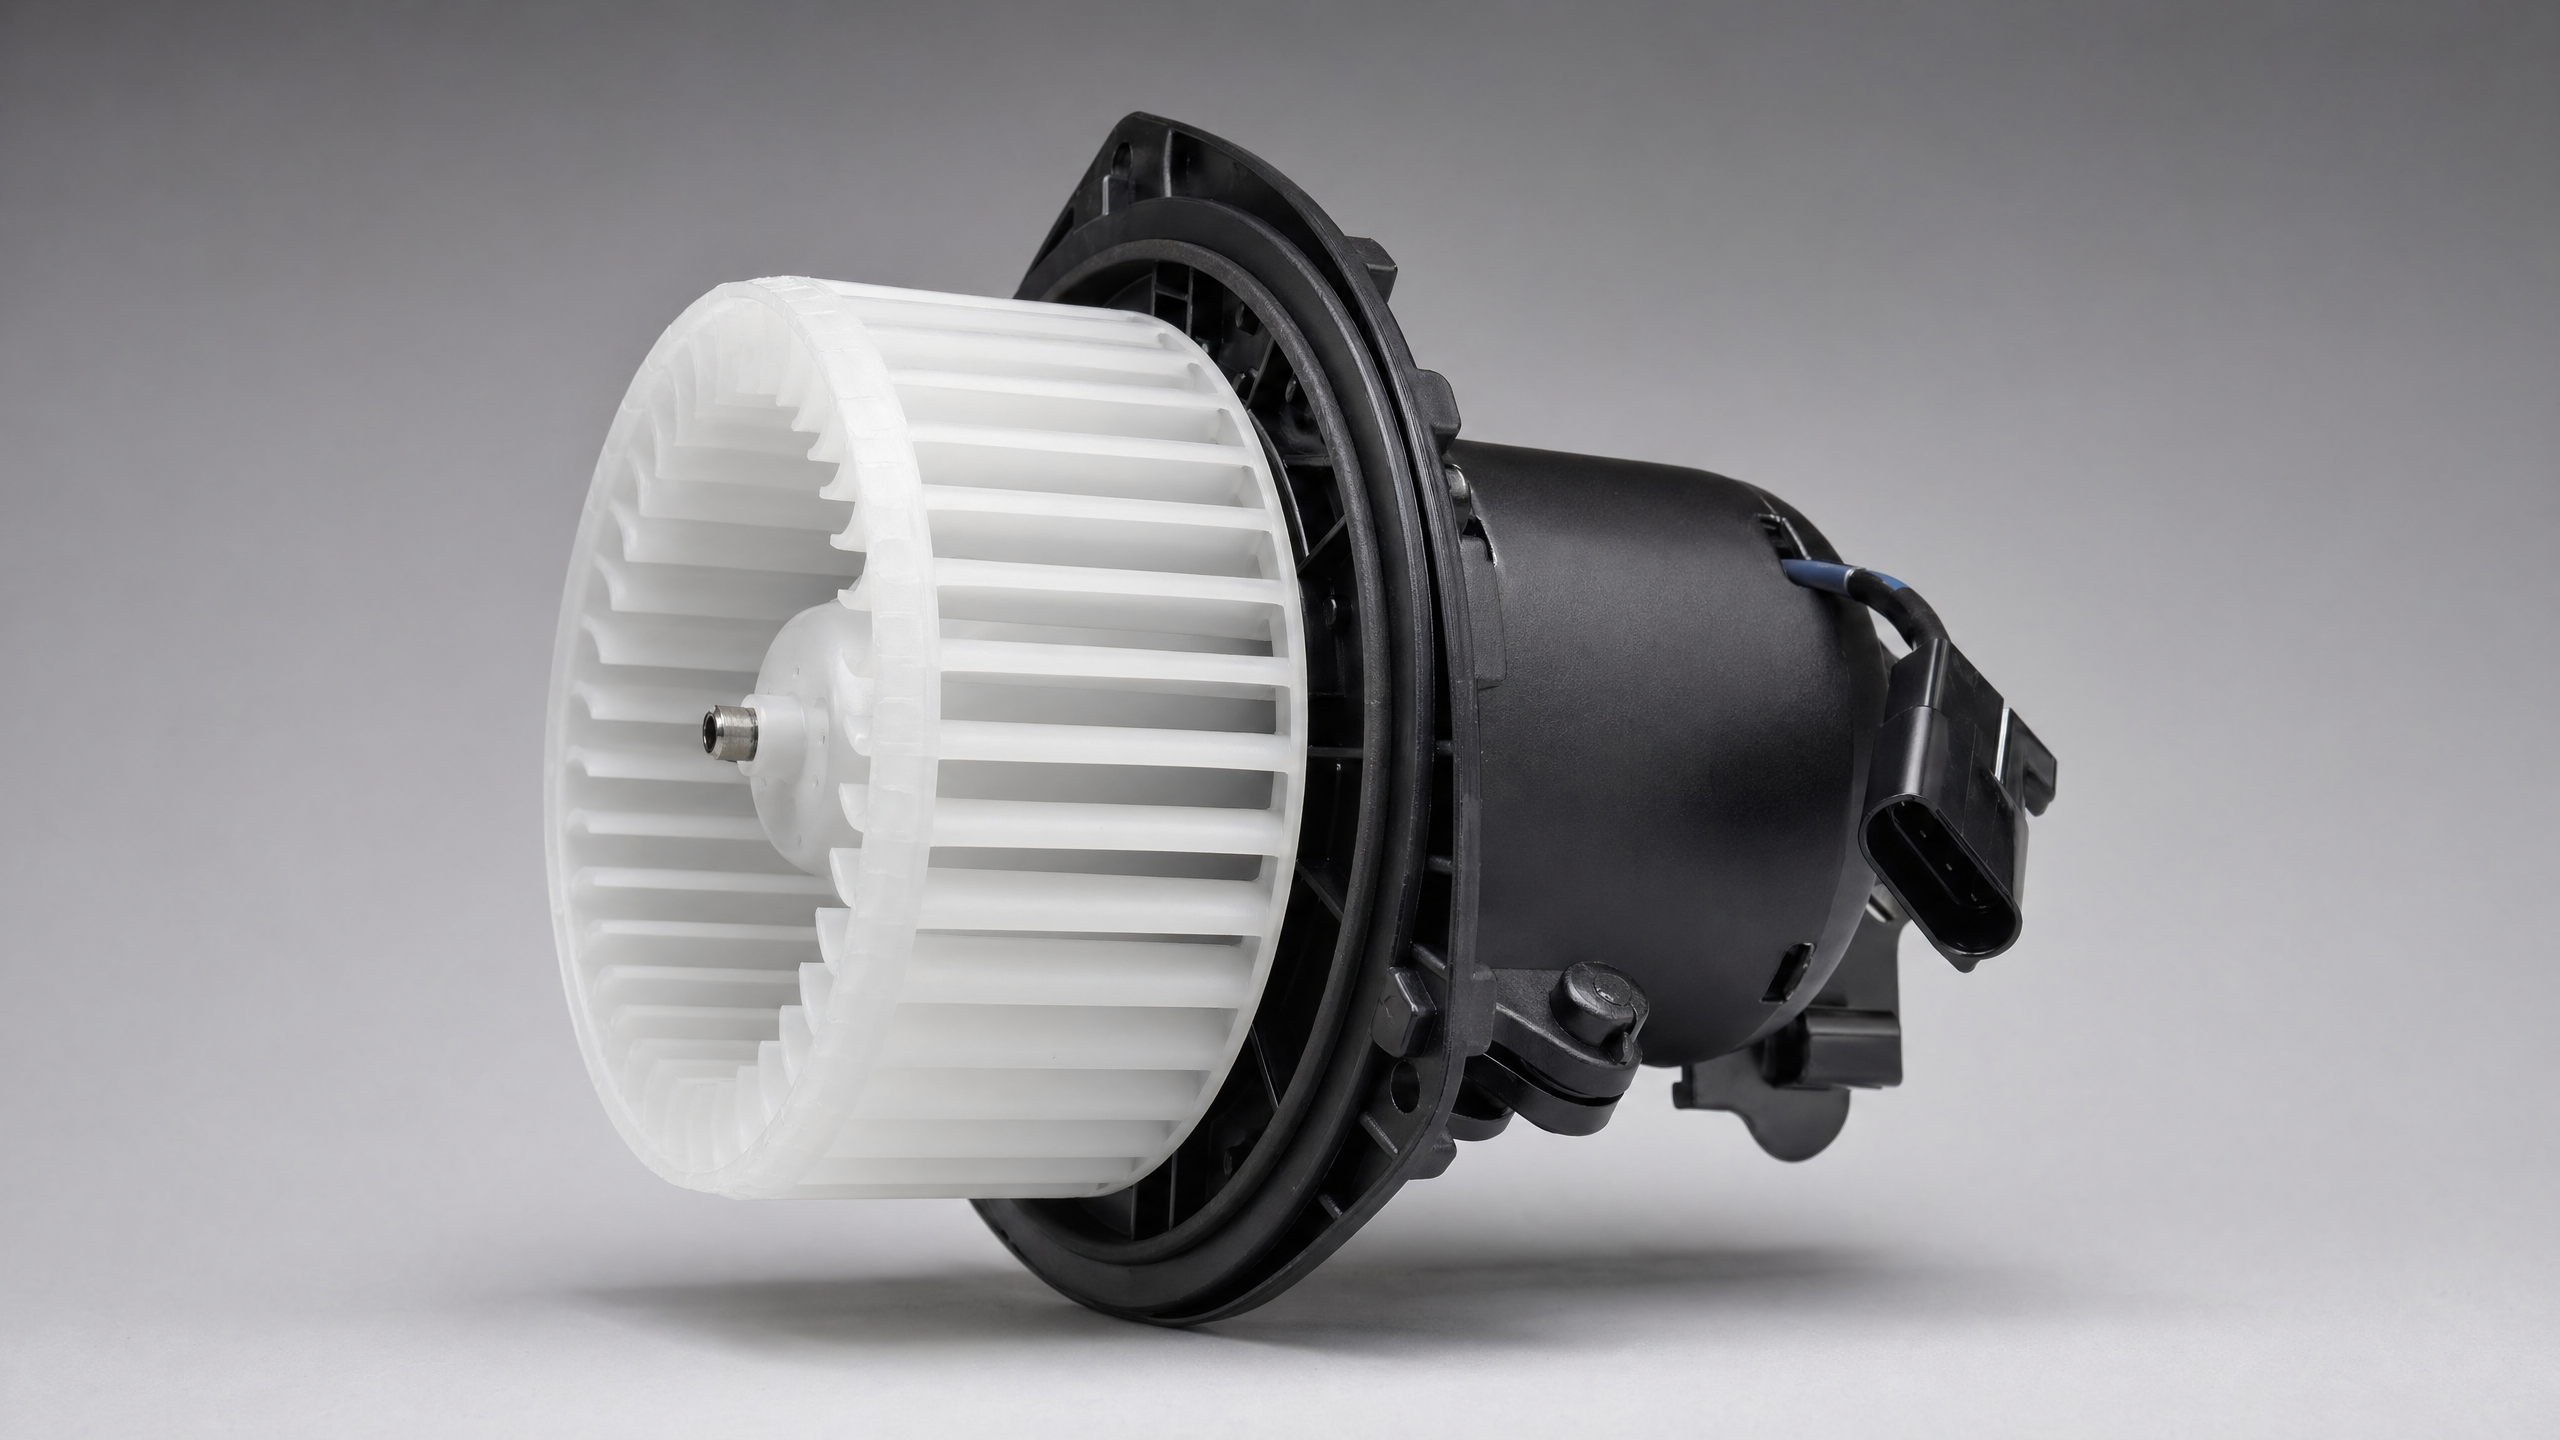
If your AC vents have gone silent or are barely pushing out a breeze, the culprit is likely the Blower Motor. While the compressor and condenser create the "cold," the blower motor acts as the "lungs" of your HVAC system—it is responsible for physically moving that air into the cabin.
Replacing a blower motor is often a manageable DIY task, but you must ensure the motor itself has failed before tearing into your dashboard.
Common Symptoms of a Failing Blower Motor
Before starting your diagnostic, look for these "red flags":
- Weak Airflow: Even at the highest setting, the air coming from the vents is faint. This is frequently seen in high-mileage Toyota Camry or Honda Civic models when the motor begins to lose torque.
- Strange Noises: Squealing, rattling, or a "playing card in bicycle spokes" sound coming from the passenger side dash.
- Intermittent Operation: The fan only works on certain speeds (usually high) or starts only after hitting a bump.
- Burning Smell: A distinct electrical ozone or burning plastic scent coming through the vents.
The 6-Step Precise Diagnosis Protocol
Step 0: The "Can I Do This?" Reality Check
Determine if you have the practical bandwidth to perform this repair. In most vehicles, like the Ford Explorer or Nissan Altima, the blower motor is an "external attachment" located under the glovebox, making it a relatively simple fix. However, if your vehicle requires removing the entire dashboard to access the motor, it enters "Professional Overhaul" territory.
Step 1: Rule Out the Easy Fixes First
Ensure the "environment" is healthy so you don't misdiagnose the motor:
- Cabin Air Filter: A completely clogged filter, common in a Hyundai Santa Fe, can mimic a dead motor by blocking all airflow.
- Electrical Feed: Check the blower motor fuse; if it is blown, the motor cannot spin.
- Upstream Health: Ensure there is no debris (like mouse nests or leaves) blocking the air intake.
Step 2: Reading the Electronic Signals
Confirm functional electrical failure by using an OBD2 scanner to look for HVAC-specific codes. While blower motors are often mechanical, high-end systems may throw codes for "Blower Motor Feedback Circuit" failures. The Resistor Logic: If the fan only works on High, the motor is likely fine, but the Blower Motor Resistor (which controls lower speeds) has failed—a classic issue for the Chevrolet Silverado.
Step 3: Sensory Verification (Sight & Sound)
Locate physical damage through touch and hearing. A "chirping" sound points to failing bearings, while a heavy vibration suggests the plastic "squirrel cage" fan is out of balance or broken. A burning smell often indicates the motor windings are melting.
Step 4: Spotting the "Smoking Gun"
Lock in the final part requirement:
- Connector Integrity: Unplug the motor and look for melted plastic or charred pins on the wiring harness.
- Physical Obstruction: Remove the motor and check for a cracked fan blade or debris stuck inside the housing.
- Heat Damage: If the motor casing shows signs of melting or blue/purple discoloration, it has experienced severe electrical overload.
Step 5: Final Part Selection
Choose the right assembly and necessary accessories:
- Scenario A: Motor is dead but wiring is clean. Purchase a new Blower Motor Assembly.
- Scenario B: Motor works only on high. Purchase a Blower Motor Resistor.
- Scenario C: Melted wires found. You must purchase a Replacement Unit AND a Replacement Pigtail/Harness to prevent the new motor from shorting out.
Vehicle Variations: What Changes?
- Standard Passenger Vehicles: Usually feature a simple 12V brushed motor. Diagnosis is straightforward using a basic multimeter to check for power at the plug.
- European & Luxury Vehicles: Often use Brushless DC (BLDC) Motors. These cannot be tested by simply jumping them to a battery; they require a "PWM" signal from the car's computer to spin.
- Dual-Zone HVAC Systems: Some large SUVs, like the Jeep Grand Cherokee, or luxury sedans have two blower motors—one for the front and one for the rear. Ensure you are diagnosing the correct unit before ordering parts!
Disclaimer: Our Mechanic Advisor provides information for educational purposes only and not as professional automotive advice. DIY repairs involve risks. If unsure, consult a certified mechanic. We guarantee part fitment based on your selected vehicle details, but are not responsible for misdiagnosis or damage resulting from use of this guide.
