


How to Install an AC Compressor the Right Way | 6 Pro Tips for Leak-Free Repair
Replacing your AC compressor is a high-reward project that can save you hundreds in labor costs. However, because this involves your car’s fluid and sealing systems, precision is everything. One small mistake—like a pinched O-ring or an over-tightened bolt—can lead to a total system meltdown.
Crucial First Check: Before you pick up a wrench, ensure the refrigerant has been professionally recovered. Never vent refrigerant into the atmosphere.
Step 1: Gather Your Gear
Since the compressor is a heavy, belt-driven component, you’ll need a mix of heavy-duty and precision tools:
- Physical Tools: A standard socket set, a serpentine belt tool (or a long breaker bar), and a floor jack if you're working on a vehicle where the compressor is accessed from underneath.
- Precision Tools: A torque wrench is non-negotiable for the mounting bolts.
- Cleanliness: Keep lint-free cloths handy to prevent debris from entering the open lines.
Step 2: Map Your Layout
- The Belt Routing: Before removing the belt, draw a diagram or snap a photo of the routing.
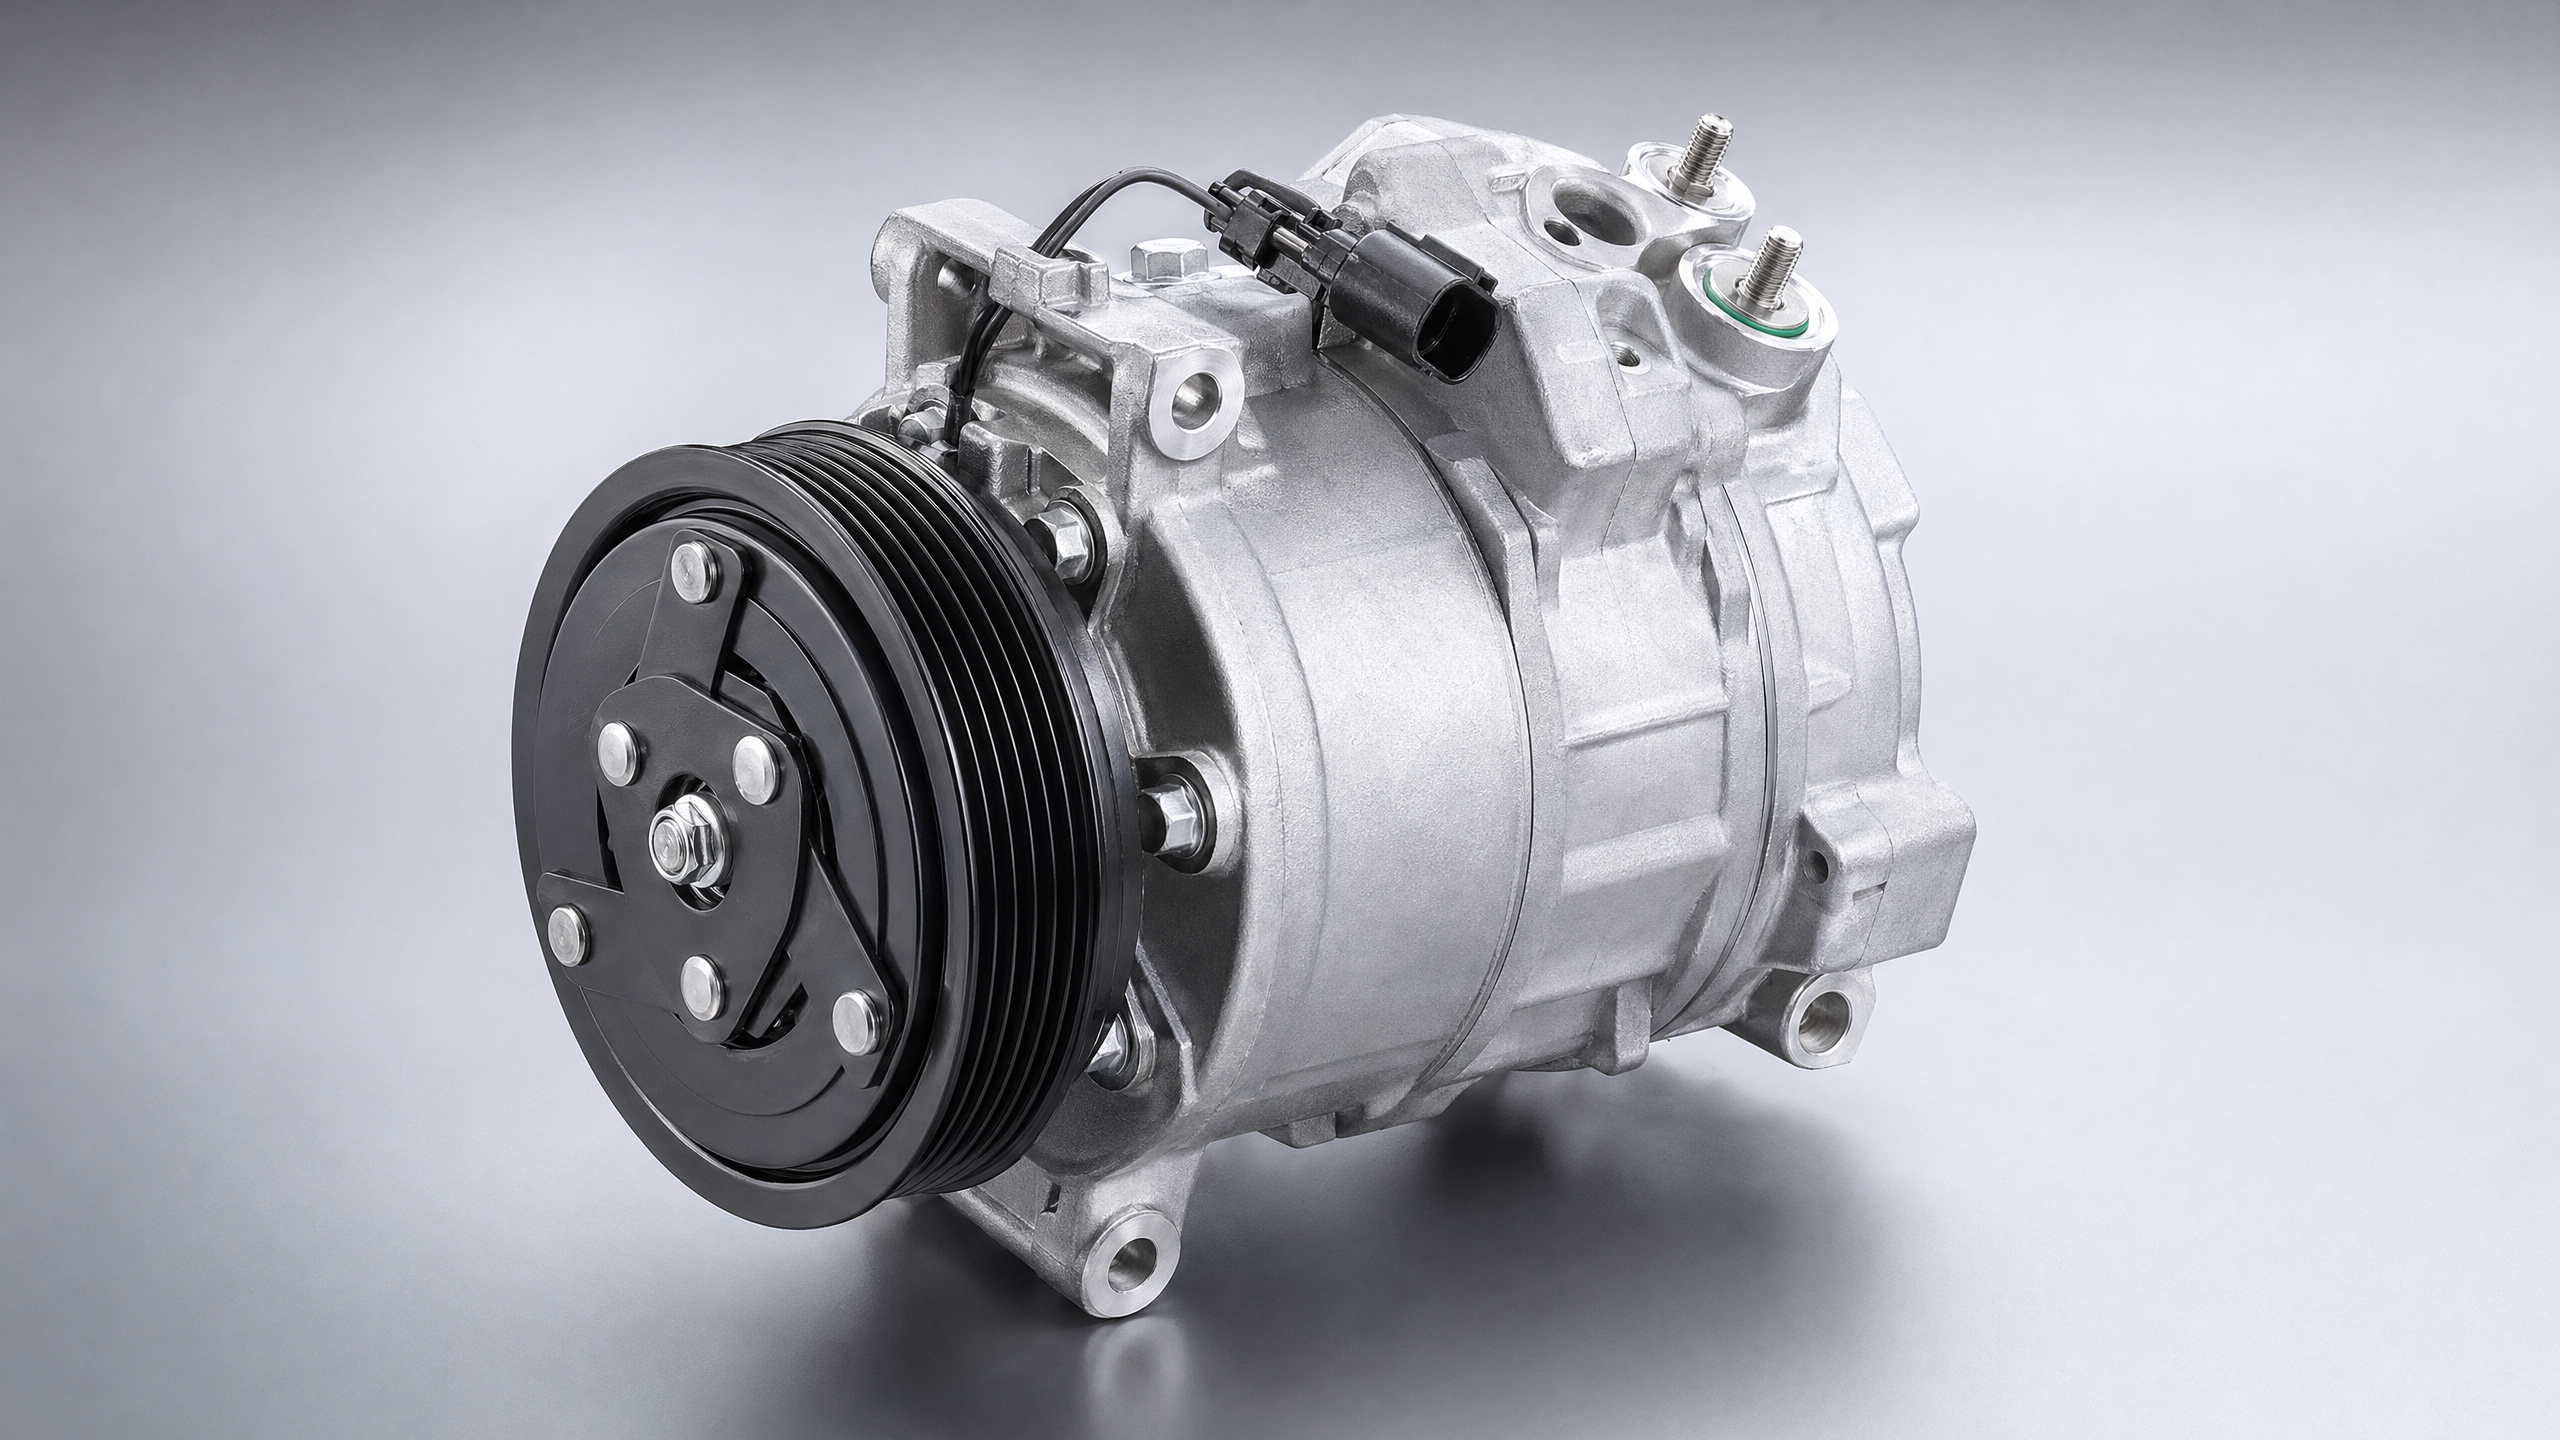
- Orientation: Identify the electrical connector and the high/low pressure line ports. Take note of the exact angle of the aluminum lines; they must go back the same way to avoid putting stress on the metal tubing.
Step 3: Risk Isolation
- Power Down: Disconnect the negative battery terminal. This is vital to prevent short-circuits, especially since you'll be working close to the alternator or starter.
- Decontamination: Use a brush or compressed air to clean around the line fittings before you open them. This keeps grit from falling into the system and destroying the internal valves.
Step 4: Removing the Old Unit
- Unplug First: Unplug the clutch wire harness before loosening the heavy mounting bolts.
- The Extraction: Loosen the mounting bolts in a cross-pattern. Make sure to support the compressor as you pull the final bolt so it doesn't fall and damage the delicate aluminum refrigerant lines.
Step 5: The Precision Integration
This is the "make or break" stage where a perfect installation is required.
- Surface Prep: Inspect the mounting brackets on the engine block. If you see corrosion, lightly sand them so the compressor sits perfectly flat.
- The "Wet Seal": Remove the shipping plugs from the new unit. Mandatory: Dip your new O-rings in fresh PAG oil (or the oil specific to your system) before sliding them onto the lines. This prevents the rubber from tearing during assembly.
- Hand-Tighten First: Position the compressor and hand-thread all bolts 3–5 turns. Never use an impact wrench to start these; aluminum engine block threads strip very easily.
- Torque it Down: Tighten in a star pattern using a torque wrench to factory specs (usually 15–25 ft-lbs).
- Seating the Lines: When connecting the lines, you should feel a distinct "seat" as the block fits into the port. Tighten the hold-down nut firmly, but don't over-torque and crush that O-ring.
Step 6: The Validation Loop
- Belt & Battery: Reinstall the serpentine belt and reconnect the battery.
- Vacuum & Charge: You must now use a professional-grade vacuum pump to remove all air and moisture before adding refrigerant. Most DIYers take the car to a shop for this final "Vacuum and Charge".
- The Load Test: Start the engine, engage the AC, and listen for the clutch "click".
Vehicle Variations: What to Look For
The job can vary significantly depending on your ride:
- Standard Gas/Diesel Engines: Common on trucks like the Chevrolet Silverado or SUVs like the Honda CR-V, these are belt-driven. Always check your belt tensioner's health before finishing the job.
- Hybrids & EVs: Vehicles like the Toyota Prius or Tesla Model 3 use High-Voltage Electric Compressors. These have no belts and are powered by thick orange cables. Safety Warning: Unless you are trained in high-voltage safety, this is a job for the pros.
- Compact Cars: On some smaller cars, like the Ford Fiesta or Hyundai Accent, you might actually need to remove the front bumper or cooling fan assembly just to reach the compressor bolts.
Disclaimer: Our Mechanic Advisor provides information for educational purposes only and not as professional automotive advice. DIY repairs involve risks. If unsure, consult a certified mechanic. We guarantee part fitment based on your selected vehicle details, but are not responsible for misdiagnosis or damage resulting from use of this guide.
