


How to Replace Your Blower Motor: A Real-World Guide to Restoring Your Cabin’s Airflow
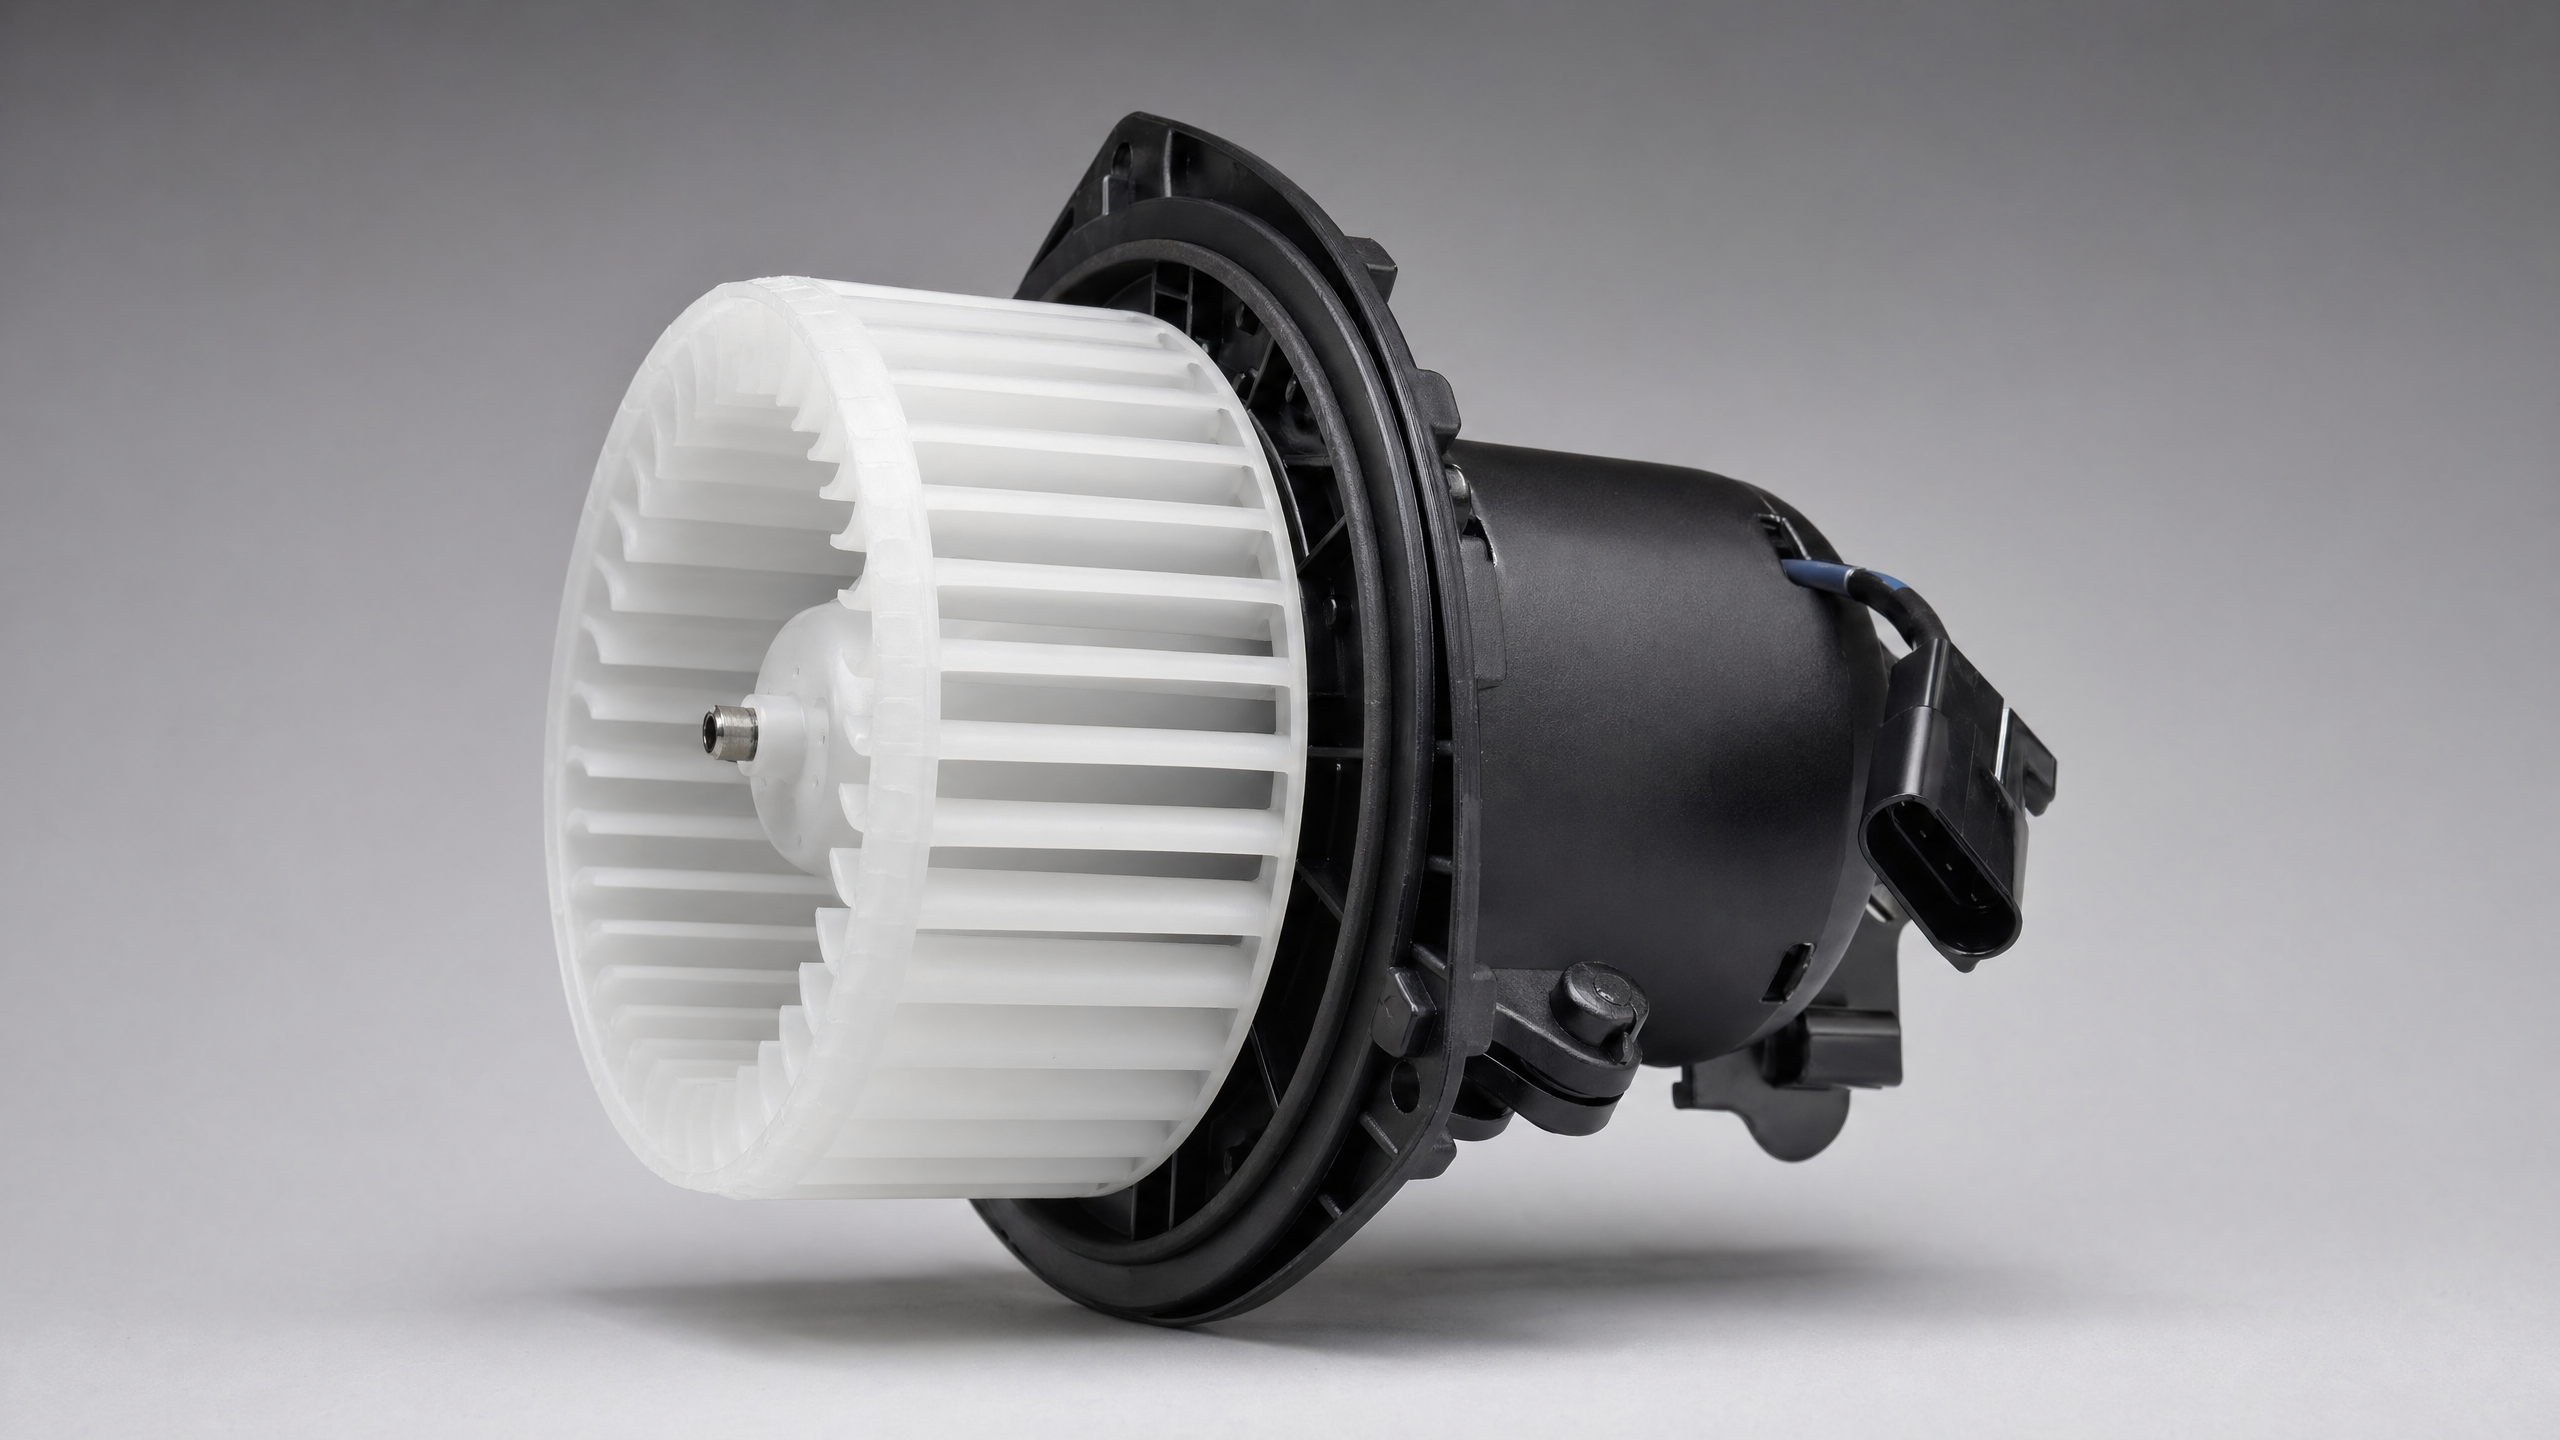
When your car's vents go silent, the culprit is almost always the Blower Motor. While it might seem like a simple fan, it is the heart of your cabin’s climate control. Replacing it yourself is one of the most satisfying "High-ROI" DIY projects, saving you hundreds in professional labor while restoring immediate comfort.
Here is our expert-led, 6-step protocol to ensure a "First-Time-Fit" success.
Step 1: Tools & Gear (What to Have Ready)
The blower motor moves a massive volume of air and relies on a clean environment to function properly.
- Essential Tools: A 1/4" drive socket set (typically 5.5mm, 7mm, or 8mm sockets) and a trim removal tool.
- The "Precision" Extra: A reliable headlamp—since you’ll be working in the dark footwell—and a vacuum cleaner to clear out debris from the HVAC housing.
Step 2: Identify Your Layout & Access
Most blower motors are tucked under the passenger-side dashboard, either behind or below the glovebox.
- Model Variations: On common models like the 2011-2016 Jeep Grand Cherokee or Toyota Camry, access is straightforward from the footwell. However, some modern vehicles use a "twist-and-lock" design instead of traditional screws.
- Connection Check: Note the orientation of the electrical connector and whether your specific motor has a dedicated rubber cooling tube.
Step 3: Prep & Safety (Risk Isolation)
- Electrical Safety: Always disconnect the negative battery terminal. This protects the blower motor resistor and the vehicle’s sensitive climate control module from accidental shorts.
- Debris Removal: Clear the area of floor mats and use your vacuum to clean the intake area. A single leaf left inside can cause a lifetime of annoying "ticking" noises in your new motor.
Step 4: Removing the Old Motor Safely
- Unplug First: Carefully disconnect the wiring harness and any cooling tubes.
- Controlled Descent: Support the motor with one hand while removing the final screws. Blower motors are surprisingly heavy; dropping one can crack the delicate plastic HVAC Case.
- YMM Caution: For European models like the BMW 3 Series (E90) or Volkswagen Jetta, you may need to remove the entire glovebox assembly or access the unit through the engine bay cowl.
Step 5: Pro-Tips for a Perfect Install
Precision is key to avoiding future vibrations.
- Gasket Seating: Wipe down the mounting surface with a lint-free cloth. If your new motor includes a foam or rubber gasket, ensure it sits perfectly flat. A pinched gasket creates a permanent "hissing" air leak.
- The "Hand-Thread" Rule: Lift the motor into place and hand-thread every screw 3–5 turns before using a tool. This prevents cross-threading the soft plastic housing.
- Torque Warning: Tighten screws in a "star pattern" until snug, then add a 1/4 turn. Never use an impact driver, as it will crack the plastic mounting "ears".
- Final Snap: Reattach the electrical harness until you hear a distinct "click".
Step 6: Testing & Validation
- Pre-Trim Check: Reconnect the battery before reinstalling the trim panels.
- Load Test: Turn the ignition on and run the fan through every speed setting (Low to High). Listen for any vibrations or chirps.
- Airflow Check: Switch between modes (Defrost, Floor, Face) to ensure the airflow is strong and consistent across all vents.
Important Vehicle Variations
- Standard Domestic/Asian Vehicles: Typically secured by 3 screws—an easy 20-minute DIY job.
- Luxury Features: Vehicles with Dual-Zone Climate Control may have two separate blower motors.
Ordering Accuracy
Always verify your specific Year-Make-Model (YMM) to ensure you are ordering the correct side (Left vs. Right) and motor type (Standard vs. Heavy Duty).
Disclaimer: Our Mechanic Advisor provides information for educational purposes only and not as professional automotive advice. DIY repairs involve risks. If unsure, consult a certified mechanic. We guarantee part fitment based on your selected vehicle details, but are not responsible for misdiagnosis or damage resulting from use of this guide.
