


Beyond the Spark: Professional's Manual for Car Battery Installation & System Calibration
A car battery is far more than just a box of electricity; it is the chemical core of your vehicle's entire power system. Whether you are maintaining a high-mileage Toyota Camry or a hardworking Ford F-150, proper installation is critical to avoid the common pitfalls of North American "Rust Belt" maintenance. To ensure a first-time-fit and protect your vehicle's sensitive electronics, follow this standardized progression for a successful replacement.
Phase 1: Arsenal (Tool Tiering)
Before opening the hood of your Honda Civic or Chevrolet Silverado, prepare your tools based on the difficulty of the task to avoid being stranded mid-repair.
- Tier 1 (Basic Access): A standard socket set and a breaker bar for initial leverage.
- Tier 2 (Torque & Speed): An impact wrench to break through terminal corrosion.
- Tier 3 (The Rescue Kit): Bolt extractors for rounded terminal nuts and a wire brush for cleaning.
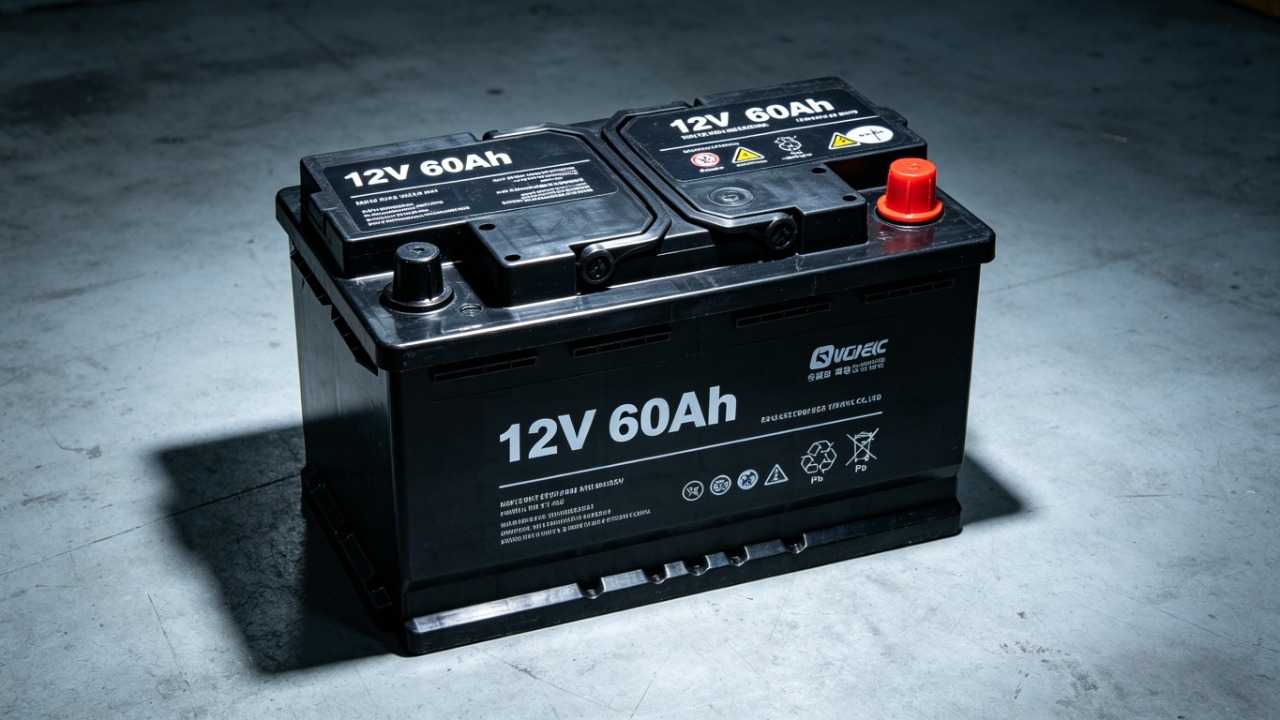
Phase 2: Locate (The Anchor Point)
The secret to avoiding the mistake of pulling the wrong part is identifying your physical anchors.
- Identify Anchors: Locate the positive (+) and negative (-) terminals, which serve as your primary electrical anchors.
- Record the State: Take a photo of the battery's orientation and cable positions before removal to prevent dangerous reverse-polarity errors.
Phase 3: Prep (Chemical First)
Chemical intervention is always superior to physical force, especially when dealing with battery acid corrosion on older models like a Nissan Altima.
- Chemical Soaking: Spray terminal nuts with penetrating oil or battery cleaner 30 minutes before starting.
- The 5-Minute Rule: If a terminal nut doesn't move after 5 minutes of effort with a breaker bar, stop and use a specialized terminal puller or heat to avoid breaking the battery post.
Phase 4: Removal (Electrical Safety)
This phase is dedicated to protecting the vehicle's "brain" (ECU) and "senses" (sensors).
- Isolate Energy: You must disconnect the negative (-) terminal first. This breaks the circuit and prevents dangerous electrical arcs if your tool touches the car's metal frame.
- Soft Before Hard: Unplug any small sensor wires, such as an Intelligent Battery Sensor found in a modern Jeep Grand Cherokee, before removing the heavy metal hold-down brackets.
Phase 5: Install (Integrity & Seal)
The success of your installation depends entirely on the quality of the connection interface.
- Physical De-scaling: You must use a wire brush to clean the cable connectors and the new battery posts until they show shiny metal.
- Forced Renewal: Do not reuse heavily corroded bolts or brackets; replace them with new hardware to ensure structural integrity.
- Torque Management: Tighten the hold-down bracket evenly to prevent the battery from vibrating, which can lead to internal plate failure over time.
Phase 6: Self-Check (Drive Cycle)
The repair is only truly complete once the system has self-validated.
- Clear the History: Use an OBD scanner to clear any "Low Voltage" historical fault codes that might remain in the system.
- Drive Cycle: Do not just idle in the driveway of your Ram 1500. Conduct 20–30 minutes of mixed city and highway driving to allow the ECU's Readiness Monitor to calibrate the charging system to the new battery.
Expert Tactical Tip: By strictly following the "negative-first" removal and wire brush cleaning steps, you intercept 90% of the common "false failures" associated with battery replacements. Proper maintenance ensures you avoid the shop headache and keep your vehicle's electrical heart beating strong.
Disclaimer: Our Mechanic Advisor provides information for educational purposes only and not as professional automotive advice. DIY repairs involve risks. If unsure, consult a certified mechanic. We guarantee part fitment based on your selected vehicle details, but are not responsible for misdiagnosis or damage resulting from use of this guide.
