


Still Hearing That Steering Noise? Why a New Pump or Rack Might Not Be the Cure
If you've just swapped in a new Power Steering Pump, Rack & Pinion, or Steering Knuckle Assembly and the symptoms persist, don't pull the part off just yet. Most post-install frustrations aren't caused by a "dud" part, but by Systemic Residue, Bleeding Errors, or Secondary Component Failure. In the world of chassis repair, the problem is often in the upstream fluid supply or the downstream suspension joints.
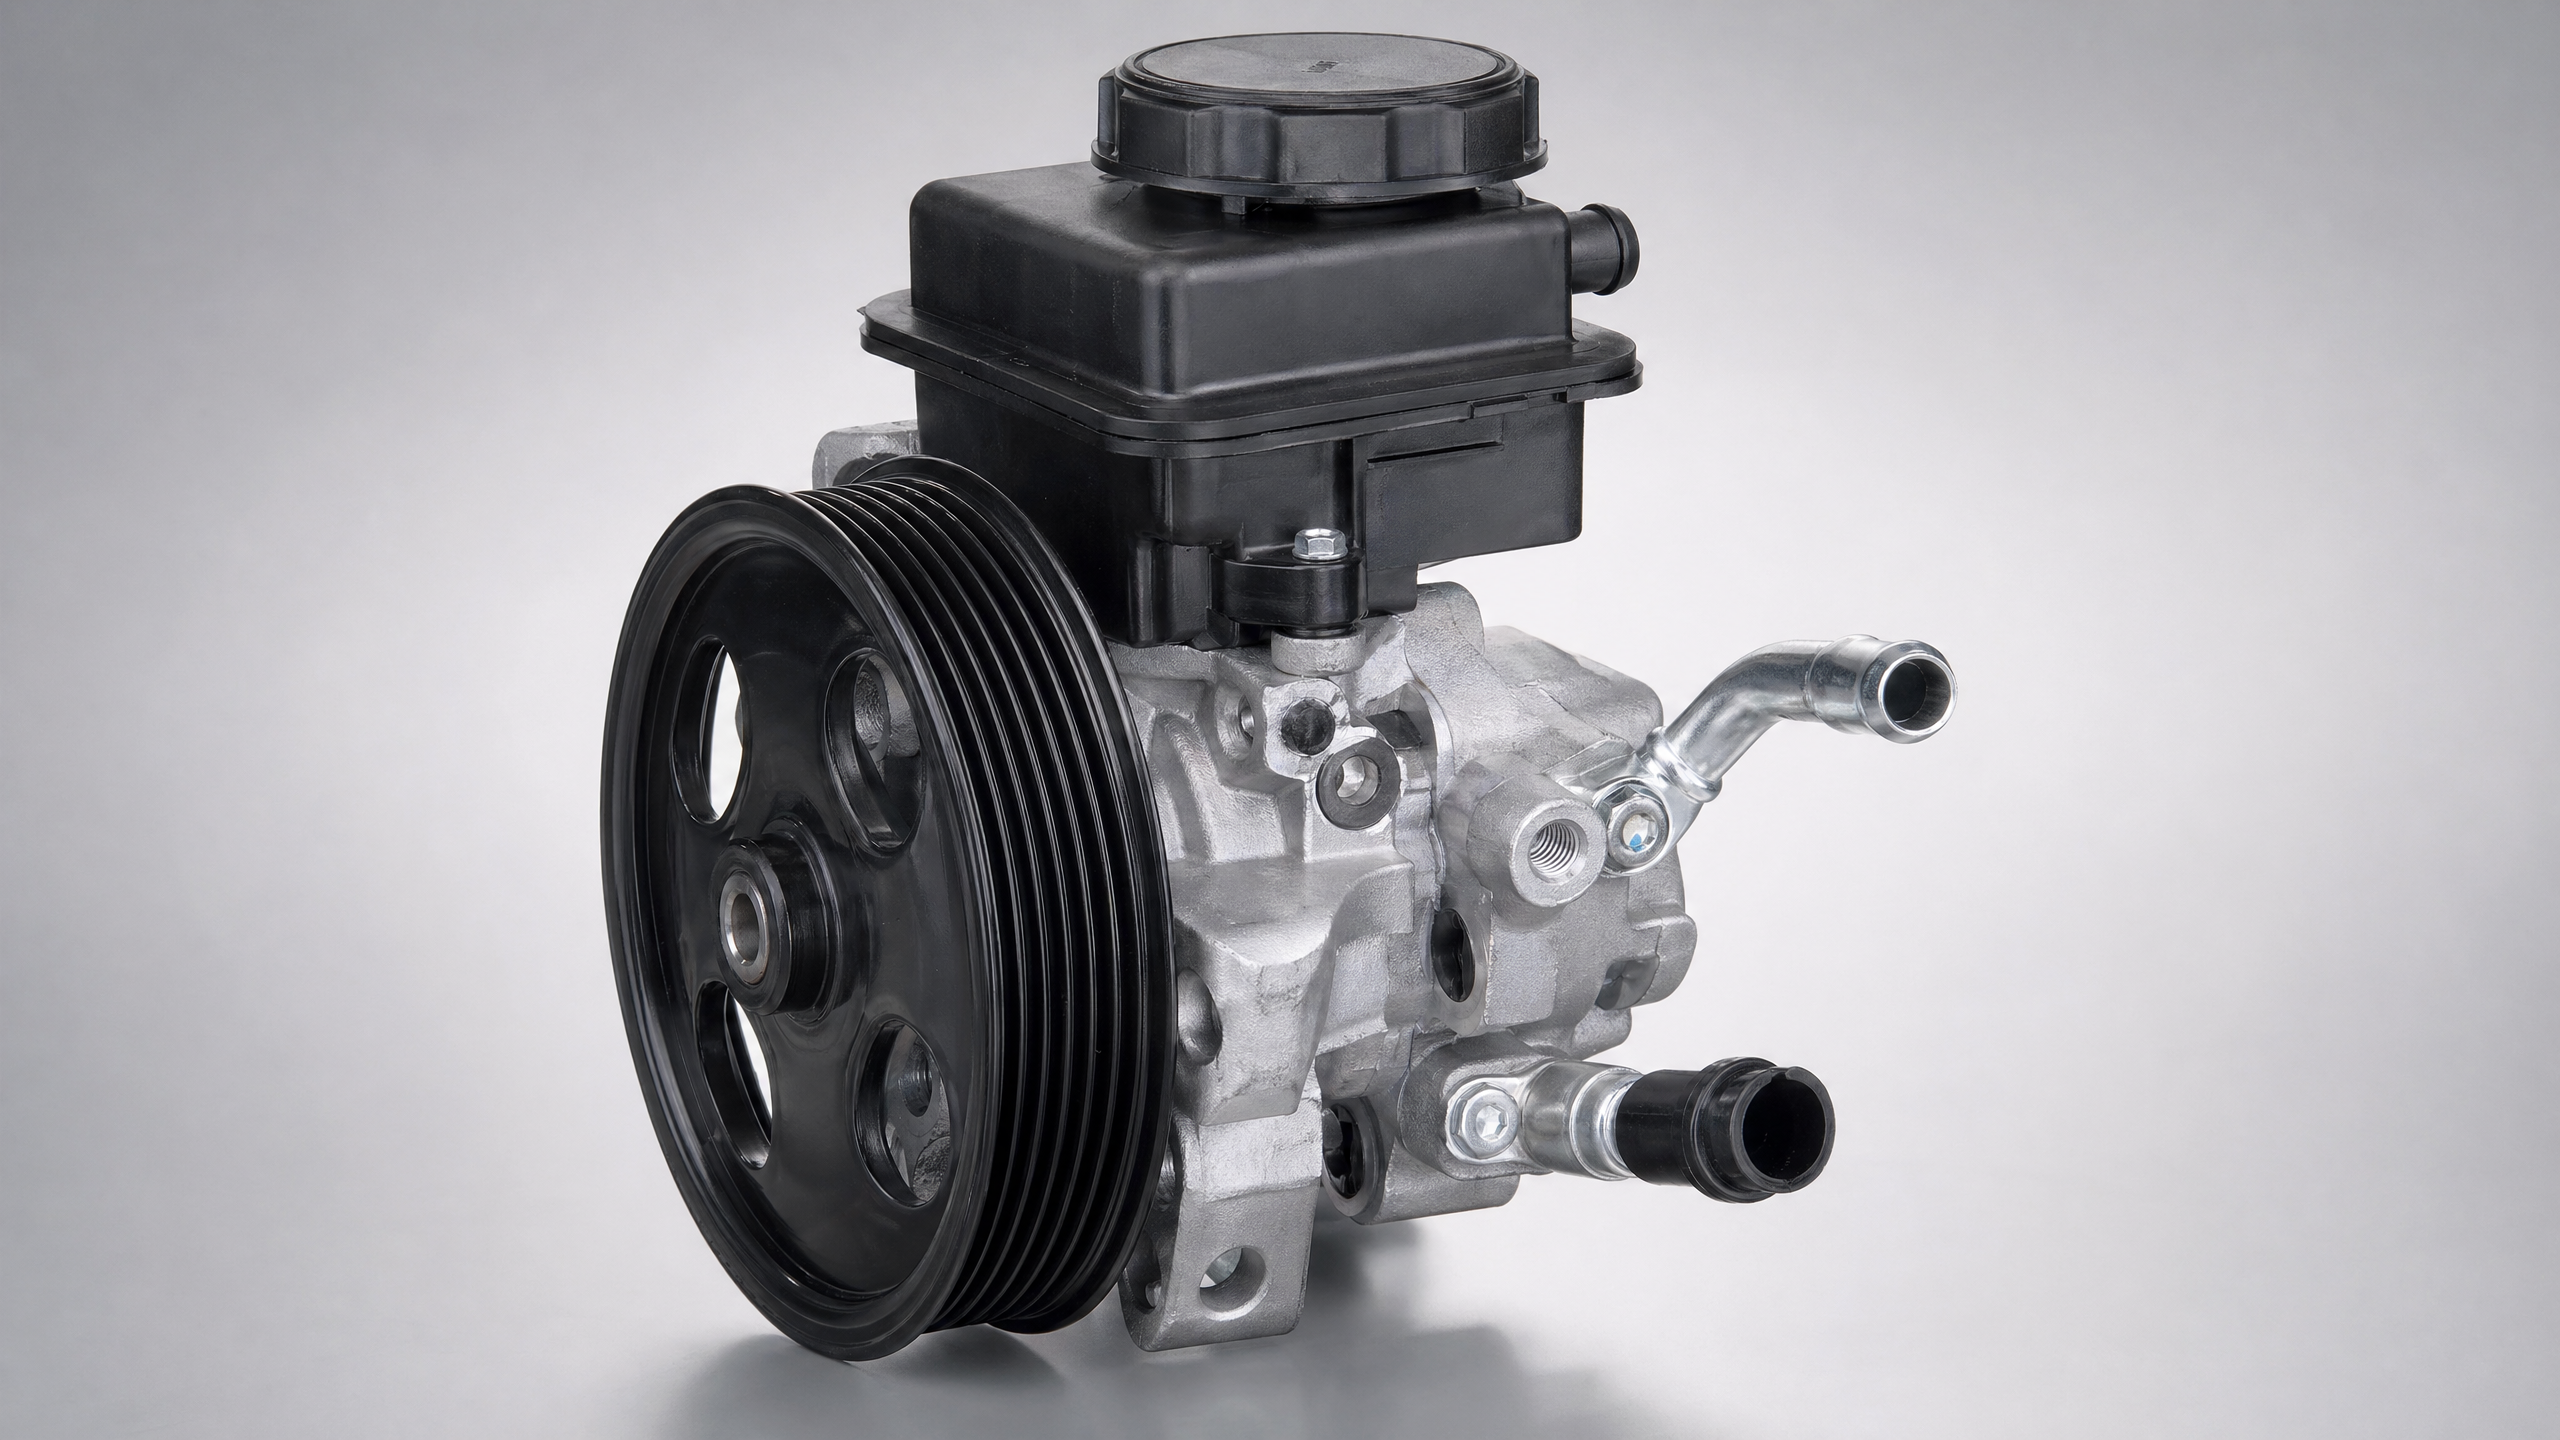
1. Power Steering Pump: Resolving "Air & Flow" Issues
Whether you're working on a heavy-duty Ford F-150 or a Toyota Camry, pump issues usually boil down to fluid dynamics.
- Q: Why is my new pump whining louder than the old one?
- The Reality: You likely have trapped air or a pinched inlet seal. The Fix: Power steering systems are stubborn. With the engine OFF, turn the wheel lock-to-lock 20+ times. If bubbles appear in the reservoir, air is still escaping. Also, check the inlet O-ring; if it's even slightly pinched, the pump will suck air like a straw with a hole in it.
- Q: Why is the steering still heavy at idle with a new pump?
- The Reality: Your High-Pressure Hose may be internally collapsed, or the Reservoir Screen is clogged. The Fix: Over time, the inner lining of the pressure hose can delaminate, acting like a one-way valve that restricts flow. Additionally, many reservoirs have a fine mesh screen at the bottom. If this is clogged with debris from your old pump, your new pump will be starved of fluid.
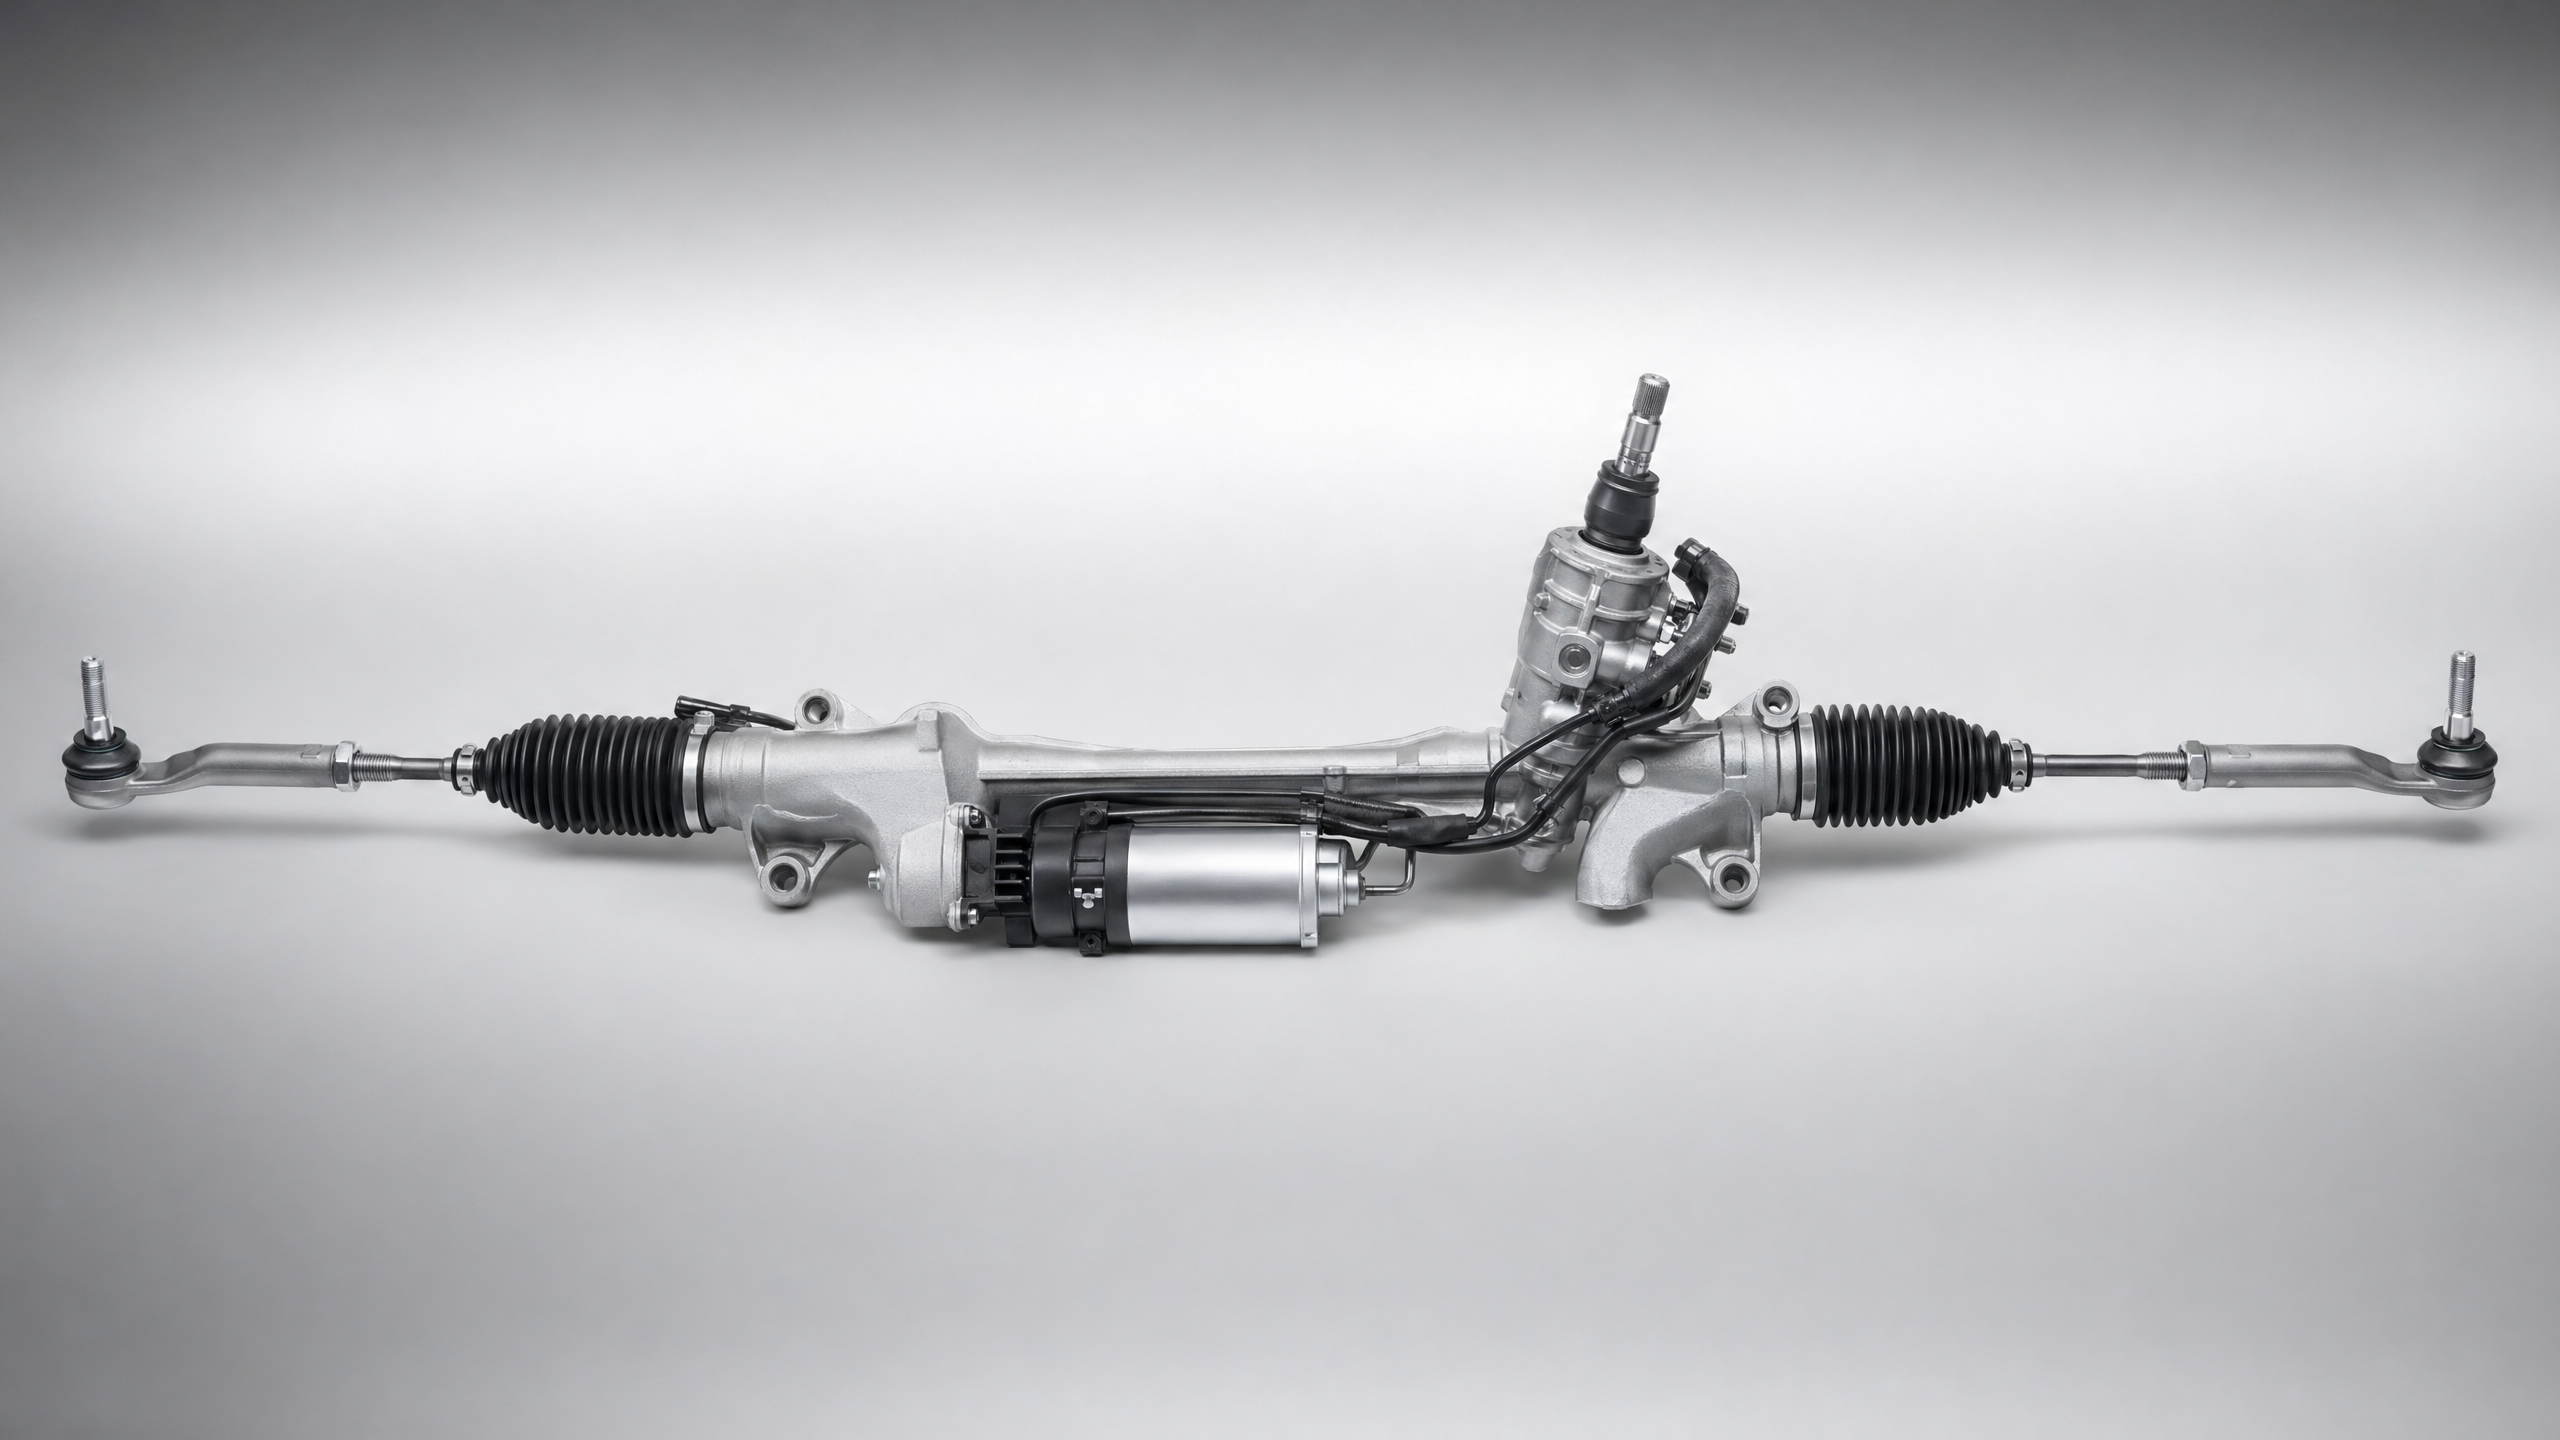
2. Steering Rack & Pinion: Geometry and "Ghost" Noises
A new rack changes the entire front-end dynamic of your vehicle.
- Q: Why won't my steering wheel return to center after the install?
- The Reality: The Intermediate Shaft U-Joint is binding or your Alignment is severely out.
- The Fix: You must get a professional 4-wheel alignment immediately. Also, inspect the U-joint where the steering column meets the rack; if it was disturbed and not lubricated during the install, it will bind.
- Q: I still hear a "clunk" when turning. Was the rack not the problem?
- The Reality: The noise might actually be your Lower Control Arm Bushings or Strut Mounts.
- The Fix: Use the "Dry Park Test". Have a friend shake the wheel while you touch the front coil springs. If you feel a "snap" or vibration in the spring, your upper strut bearings are seized. The rack was simply transmitting the noise from another failed part.
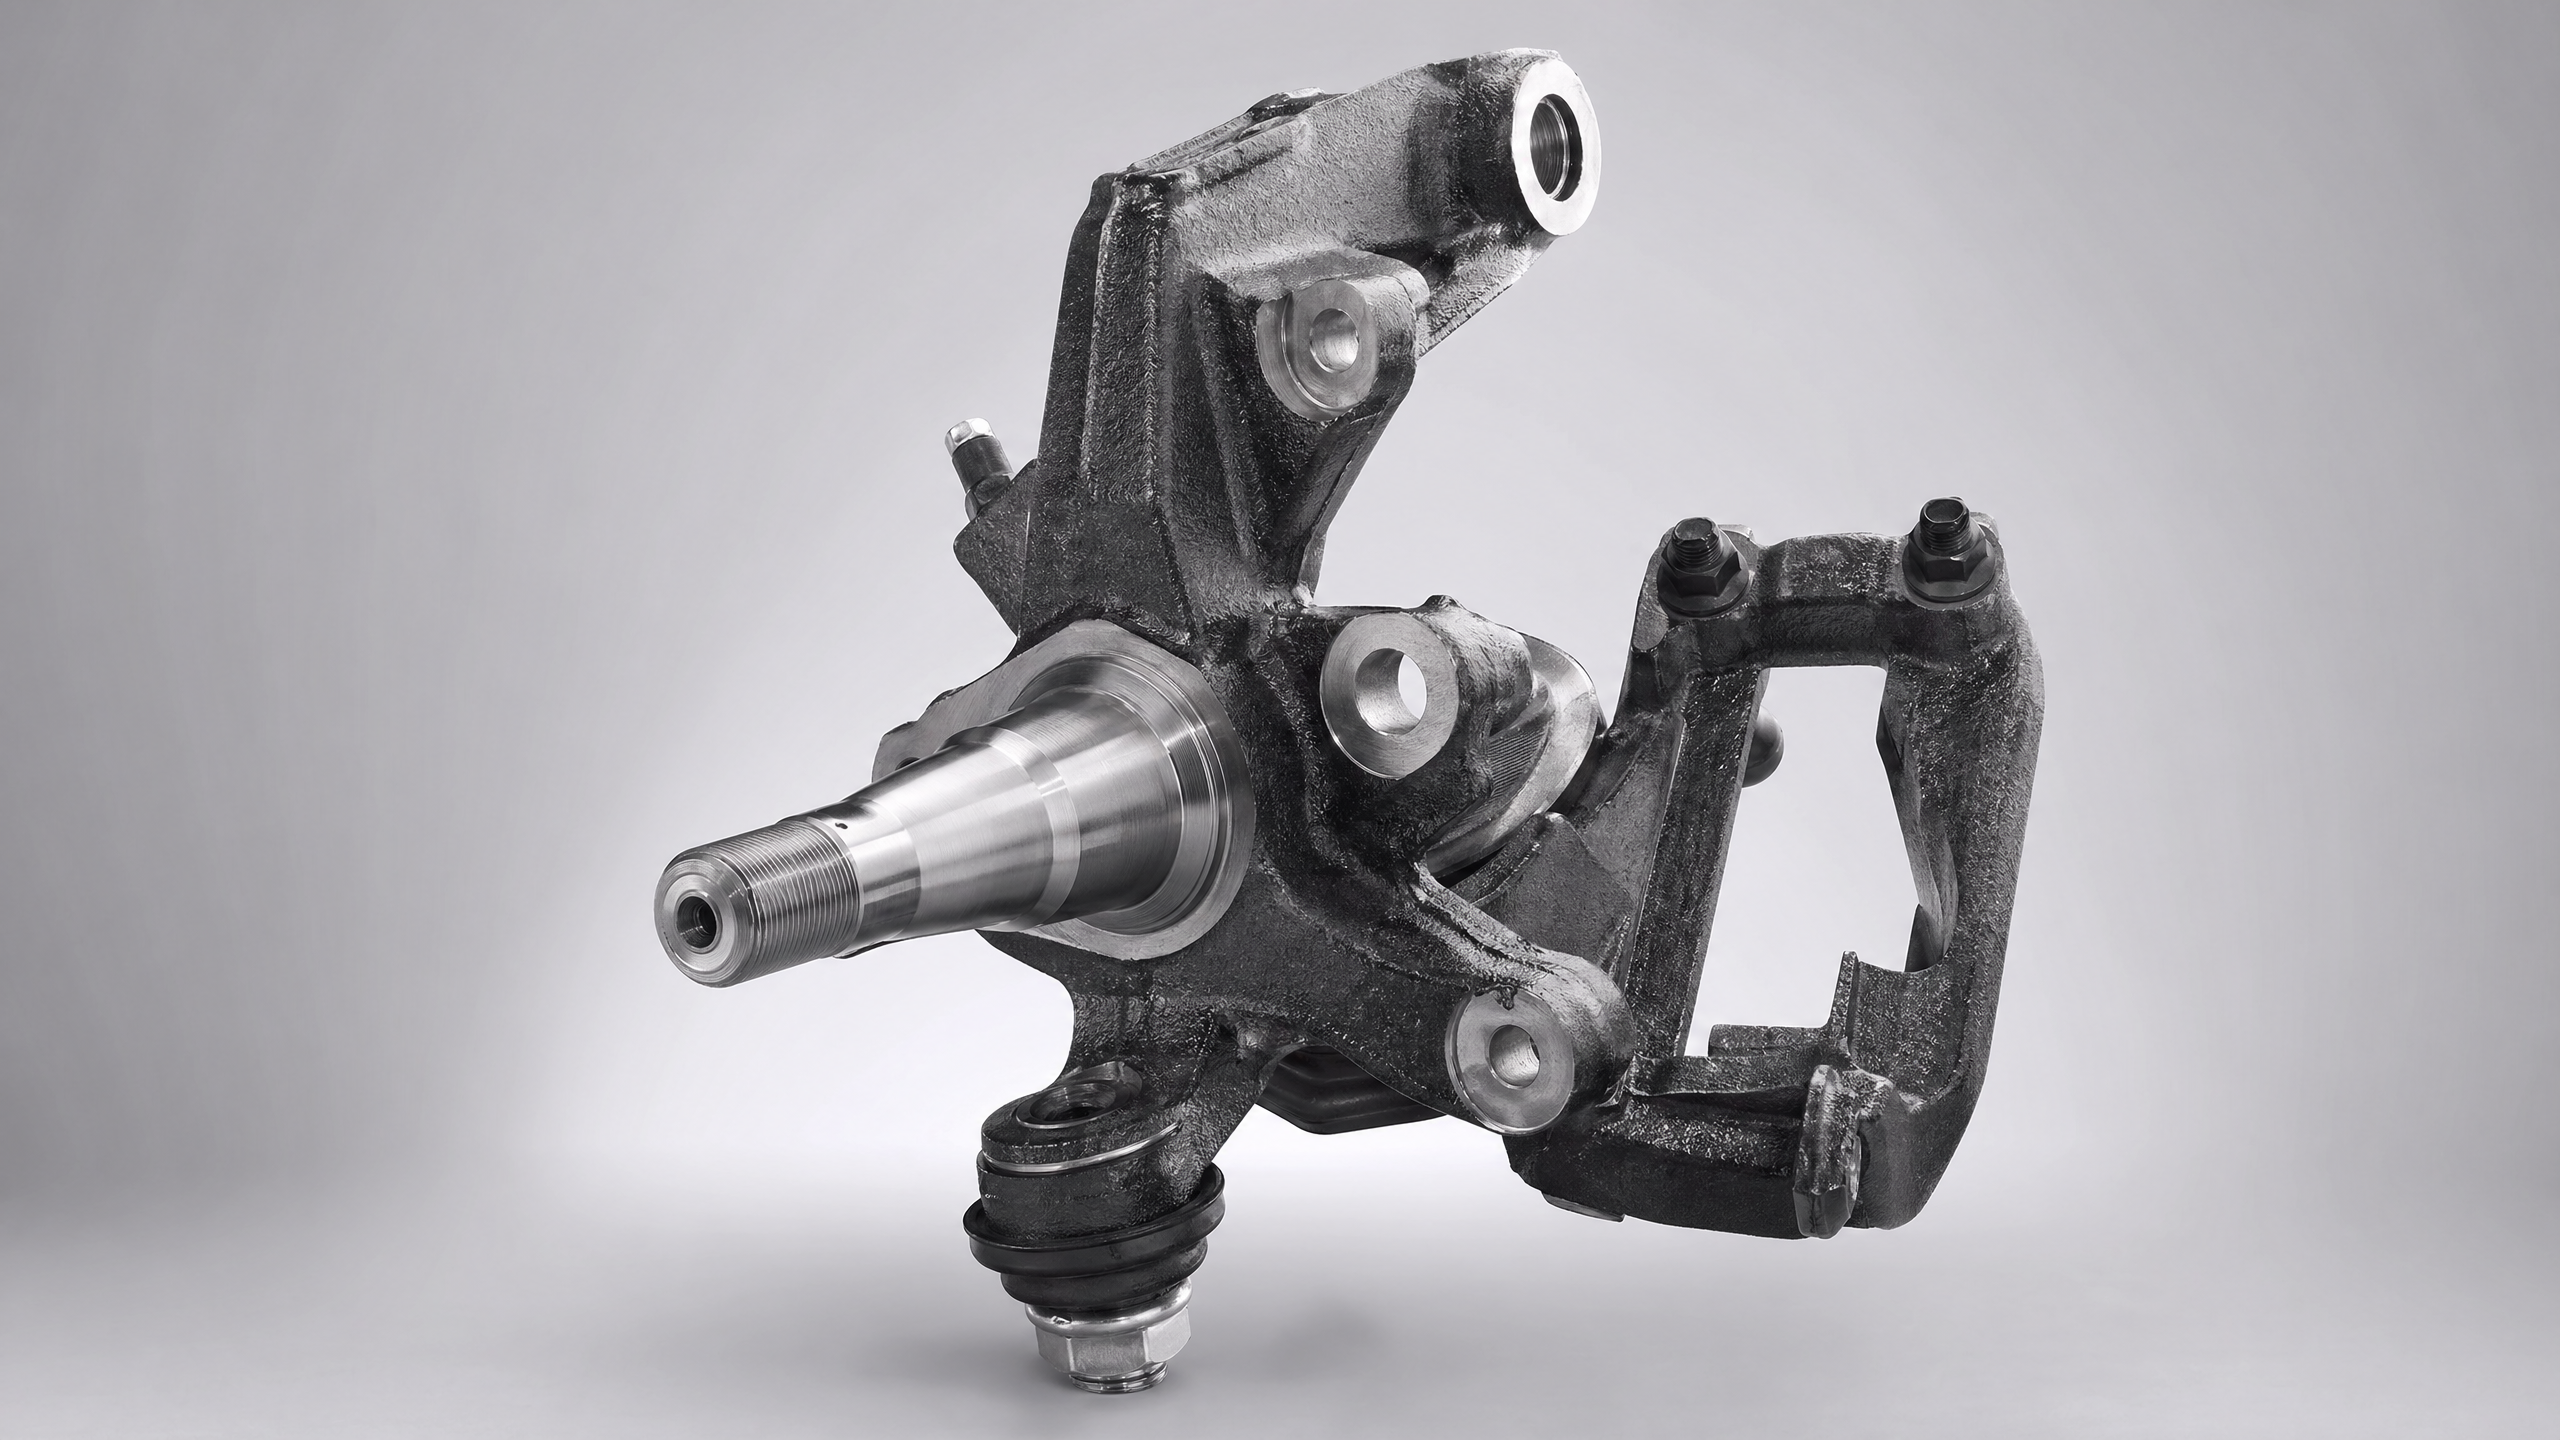
3. Steering Knuckle & Hub Assembly: Sensors and Shields
- Q: Why is my ABS/Traction Control light on after replacing the knuckle?
- The Reality: The ABS Sensor was likely damaged during install or the Air Gap is incorrect.
- The Fix: These are sensitive "Signal & Data" components. Ensure the sensor is seated perfectly flush in its mounting hole and that no metal debris is stuck to the magnetic tone ring inside the hub.
- Q: What is that "tinny" scraping noise coming from the wheel?
- The Reality: The Dust Shield (Backing Plate) was likely bent during shipping or installation.
- The Fix: This is a common "Flexible & Rubber" layer issue. Reach behind the wheel and gently push the thin metal shield away from the brake rotor. A 1mm clearance issue will create a loud, scary-sounding scrape that is actually harmless.
The "Root Cause" Checklist
Before you blame the part, ask yourself these three critical questions:
- Did I flush the system? If old metal shavings from the failed pump remained in the lines, they have already entered and potentially damaged your new rack or pump.
- Is the belt slipping? On a Chevrolet Silverado or similar high-torque vehicle, a glazed serpentine belt might look fine but can slip under load, causing intermittent "heavy spots".
- Did I torque the Axle Nut? For Knuckle Assemblies, failing to hit the exact factory spec (often 150+ lb-ft) will cause the wheel bearing to have excessive play and fail within 50 miles.
Final Advice: Chassis repair is a "Chain of Command". If the new part didn't fix the issue, re-run your diagnostic protocols on the surrounding parts!
Disclaimer: Our Mechanic Advisor provides information for educational purposes only and not as professional automotive advice. DIY repairs involve risks. If unsure, consult a certified mechanic. We guarantee part fitment based on your selected vehicle details, but are not responsible for misdiagnosis or damage resulting from use of this guide.
