


How to Install a New Power Steering Pump Without Leaks or Noise | DIY Guide
Replacing a power steering pump is a classic "Saturday morning" project that can save you hundreds in labor costs. However, because this part belongs to both the structural and fluid sealing systems, precision is everything.
Follow our professional 6-Step Installation Guide to ensure a leak-free, quiet, and long-lasting repair.
Step 1: Get Your Gear Ready (The Tool Logic)
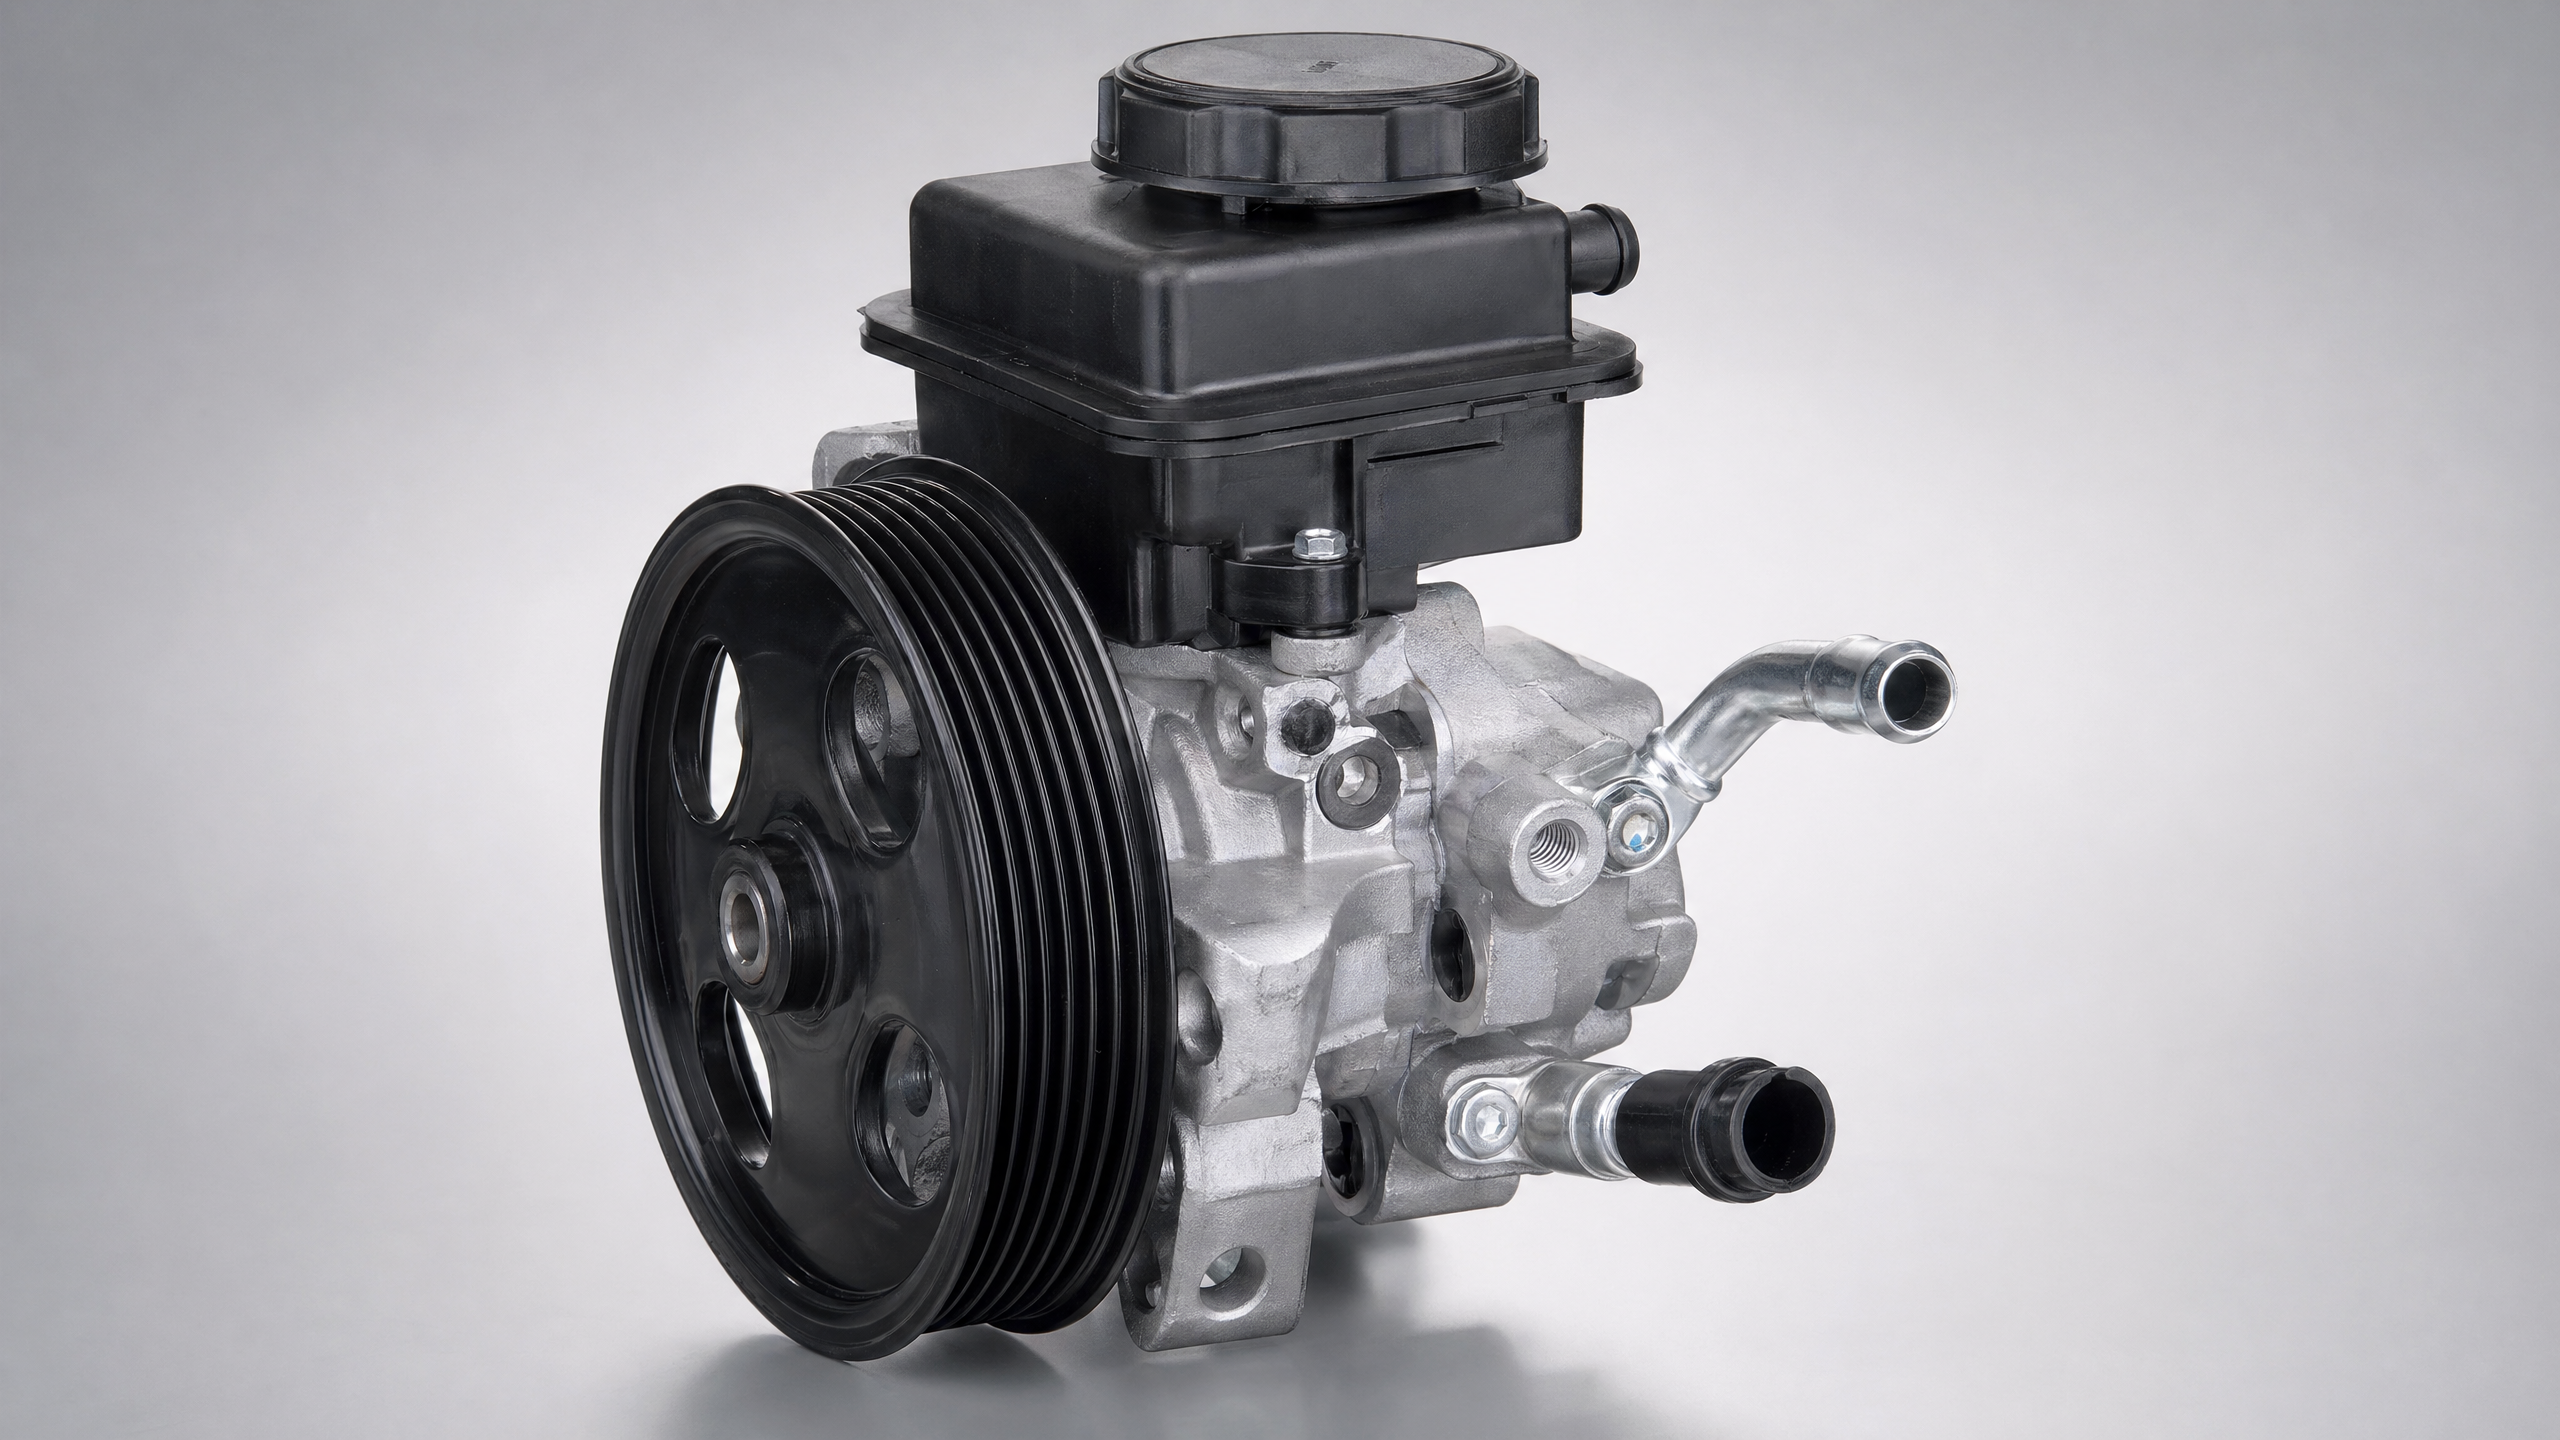
Before you start, gather your tools. You'll need a standard wrench set, but more importantly, a Pulley Puller/Installer tool if your new pump didn't come with a pre-installed pulley.
- YMM Tip: Many Ford F-150 and GM Sierra pumps require you to swap the old pulley onto the new pump using this specialized press tool.
- Also, have plenty of lint-free rags and the exact OEM-spec fluid for your vehicle, such as Honda Genuine fluid or Dexron ATF for older domestic models.
Step 2: Map the Lines & Belt (The Orientation Check)
Take a "mental snapshot" or a photo of the serpentine belt routing before removing anything.
- Notice the orientation of the high-pressure and return lines.
- Ensuring the new pump's inlet and outlet match the original system logic is critical for a "First-Time-Fit".
Step 3: Clean & Soak (The Prep Strategy)
Clean the area around the pump thoroughly to prevent dirt from falling into the open hydraulic lines once they are disconnected.
- If your mounting bolts look rusty—common on high-mileage Jeep Grand Cherokees or vehicles in the rust belt—soak them in penetrating oil for 30 minutes before attempting to turn them.
Step 4: Drain and Pull (The Removal Strategy)
Follow the "Flex-First" principle: loosen the hose clamps and disconnect the low-pressure return line first, draining the fluid into a pan.
- Once drained, unscrew the high-pressure flare nut.
- Finally, remove the mounting bolts to free the pump from the engine block.
Step 5: Drop in the New Pump (The Precision Integration)
This is the most critical stage for preventing future leaks. Follow these steps for a perfect seal:
- Surface Prep: Wipe the mounting bracket and hose union surfaces with a dedicated cleaner until they are spotless.
- Wet Sealing: Lightly coat the new O-rings with fresh power steering fluid before installation. This prevents the rubber from tearing or pinching during assembly.
- Hand Start:NEVER use a power tool to start the bolts. Thread the mounting bolts and the high-pressure line nut by hand for at least 3–5 full turns to avoid cross-threading.
- Torque to Value: Use a torque wrench to tighten the bolts to factory specs. If you don't have one, follow the "Snug plus 1/4 turn" rule.
Step 6: Bleed the Air & Test (The Validation Loop)
Fill the reservoir with fresh fluid.
- The "Lock-to-Lock" Trick: With the engine OFF, turn the steering wheel lock-to-lock 10–20 times. This bleeds out air trapped in the rack without foaming the fluid.
- Final Check: Start the engine, check for leaks at the fittings, and listen for any "whine" or "moan"—typical in Toyota Camry or Honda Civic models if air is still present.
Vehicle Variations: What to Watch Out For
- Fluid Sensitivity: European and Japanese vehicles (like Honda or BMW) are extremely sensitive to fluid types. Using "Universal" fluid can degrade the seals in your new pump within weeks.
- Electronic Sensors: Some modern pumps, especially on newer Dodge or Ford platforms, feature an electrical connector for "variable assist". Ensure this plug "clicks" into place to avoid dashboard warning lights.
Why These Details Matter
Staying sharp with these small steps—like hand-threading bolts and using the right fluid—is what separates a "quick fix" from a repair that lasts another 100,000 miles. By following this workflow, you aren't just swapping parts; you're ensuring your vehicle stays quiet, leak-free, and dependable for the long haul.
Disclaimer: Our Mechanic Advisor provides information for educational purposes only and not as professional automotive advice. DIY repairs involve risks. If unsure, consult a certified mechanic. We guarantee part fitment based on your selected vehicle details, but are not responsible for misdiagnosis or damage resulting from use of this guide.
