


How to Install a New Steering Knuckle and Hub Without Damaging Your Suspension | DIY Guide
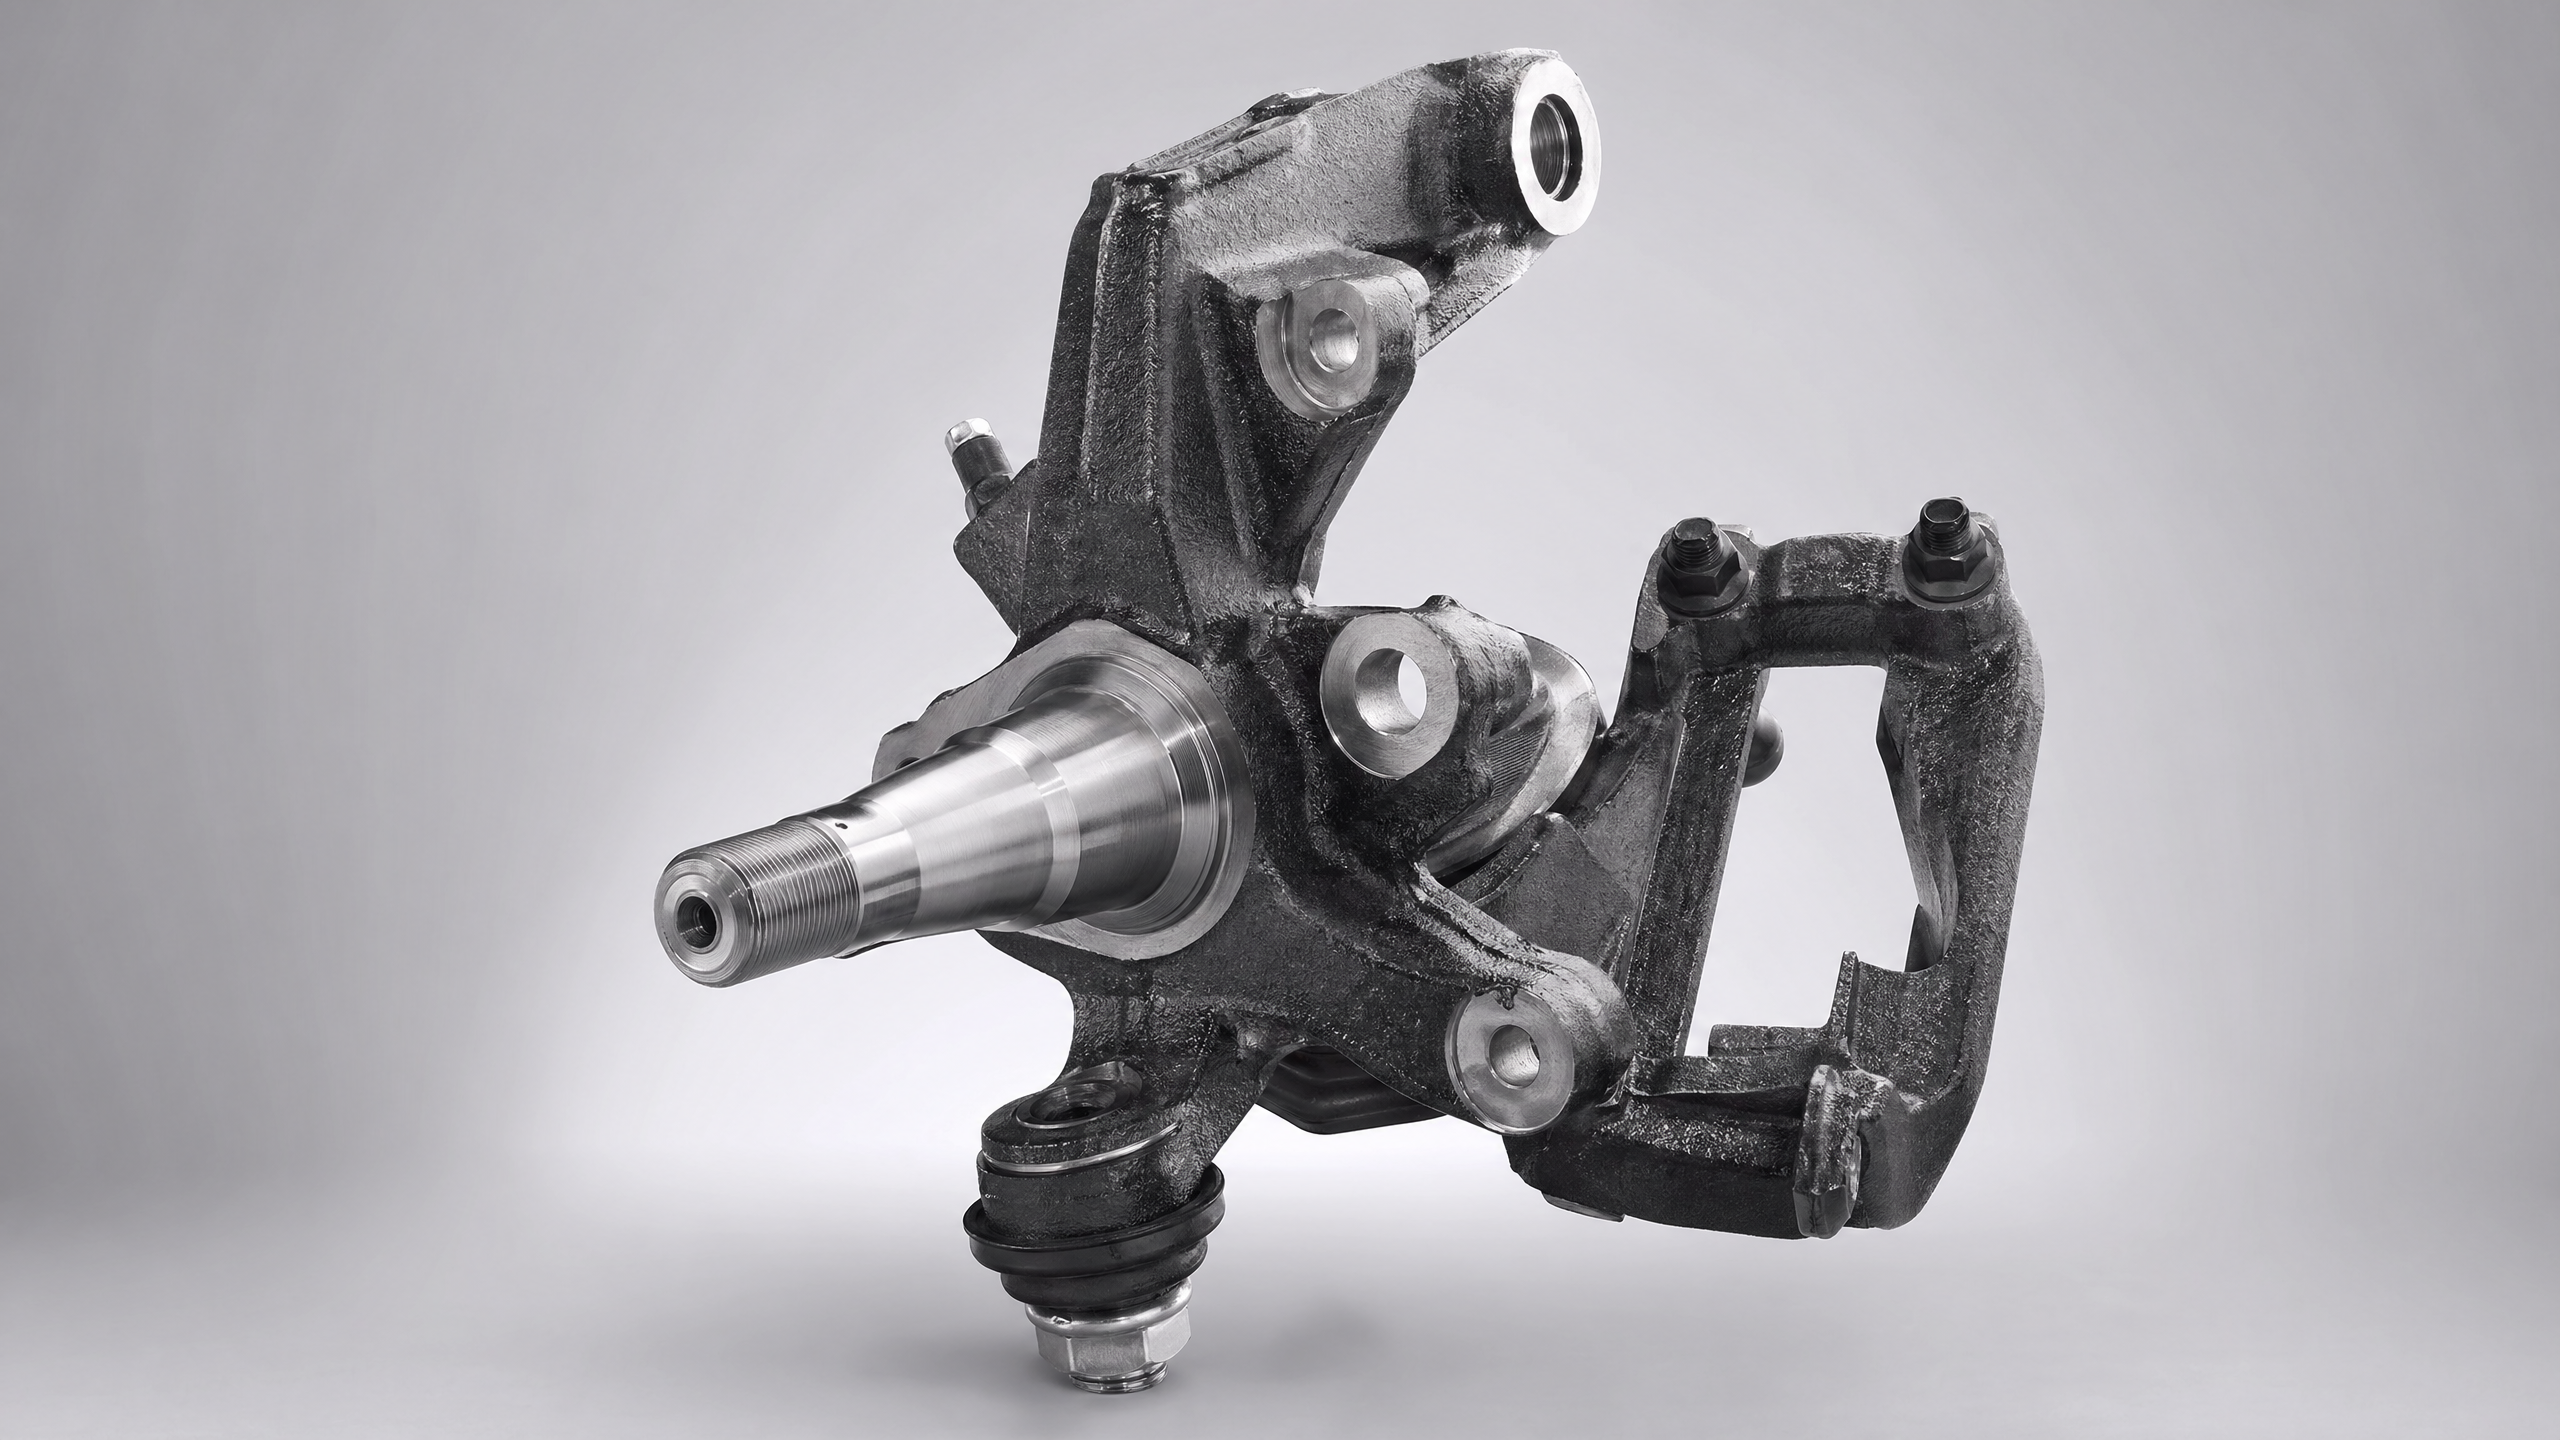
The steering knuckle is the heart of your front end, connecting your suspension, steering, and braking systems into one functional unit. While traditional knuckle repairs once required a 20-ton hydraulic press to swap bearings, using a Pre-Assembled Knuckle & Hub transforms this complex task into a much more manageable DIY project.
1. Get the Right Tools and Chemicals
Safety and leverage are your top priorities for this job. Before you begin, ensure you have:
- Heavy-Duty Gear: A reliable jack, sturdy stands, a large breaker bar, and a torque wrench capable of high values for the axle nut.
- Specialty Tools: A tie-rod or ball joint separator is essential to avoid tearing the rubber boots on your joints.
- Maintenance Prep: Grab a can of brake cleaner and high-temperature anti-seize lubricant.
- YMM Tip: If you're working on a 2011-2019 Ford Explorer, you'll specifically need a large 32mm or 36mm socket for the axle nut—double-check your size before starting.
2. Map Your Connections (The Orientation Check)
Before you pull the old unit, take a moment to "map" how everything is attached:
- ABS Routing: Take a photo of the ABS sensor wire's path. Incorrect routing is a common mistake that leads to the wire snapping during a sharp turn.
- Caliper Safety: Identify a spot to hang the brake caliper using a bungee cord. Never let it hang by the rubber hose, as this can cause internal damage.
3. Prep and Clean the Work Area
- Remove Rust: Scrub the splines of the CV axle with a wire brush.
- Soak the Bolts: Spray all mounting points—including the upper/lower ball joints and tie rods—with penetrating oil. This is a lifesaver for older Honda Accords or vehicles from coastal, high-salt areas.
- Stability Check: Ensure the vehicle is rock-solid on its stands. You will be applying significant force to the bolts, and any movement is a safety risk.
4. Remove the Old Assembly
Work from the most delicate parts to the heavy iron:
- Carefully remove the ABS sensor.
- Unbolt the brake caliper and bracket, securing them out of the way.
- Remove the large axle nut.
- Disconnect the tie rod and ball joints.
- Slide the CV axle out of the hub and pull the knuckle assembly free.
5. Install the New Knuckle Assembly
This is where the new assembly becomes a structural part of your car:
- Align the Splines: Slide the CV axle into the new hub. The splines should be clean with a tiny amount of anti-seize. It should slide in smoothly without needing a hammer.
- The Bottom-Up Method: Seat the lower ball joint into the knuckle first. This gives you a pivot point to align the rest of the suspension.
- Hand-Start Every Nut: CRITICAL: Start the nuts for the ball joints, tie rod, and axle by hand for at least 5 full turns. These are high-load threads, and a cross-thread here can ruin your brand-new assembly.
- Progressive Torquing: Don’t tighten one bolt all the way while others are loose. Snug them down in a star pattern first.
- Hit the Specs: Use your torque wrench for the final pass. The axle nut often requires over 150 lb-ft. If you miss this spec, your new wheel bearing will likely fail prematurely.
6. Final Safety Check and Alignment
- Check for Interference: Turn the steering wheel lock-to-lock while the car is still on stands. Ensure nothing is pinching the brake hoses or ABS wires.
- The Test Drive: Take a low-speed drive and listen for rubbing. Sometimes the dust shield just needs a slight adjustment if you hear "metal-on-metal".
- Mandatory Alignment: Because the knuckle dictates your Camber and Toe, you must visit an alignment shop immediately.
Critical "Fitment Traps" to Watch For
- Aluminum vs. Steel: If your new knuckle is aluminum, never use an impact wrench on the ball joint nuts. Aluminum is softer and can deform if over-torqued.
- ABS Configuration: Ensure your new unit matches your vehicle's ABS setup. Some have the "tone ring" on the axle, while others have it built into the bearing.
- European Pinch-Bolts: Many VW and Audi models use a "Pinch Bolt" to hold the knuckle to the strut. These are often one-time-use "stretch bolts" and must be replaced with new hardware during the install.
Why Proper Integration Matters
Taking the time to prep the splines and hand-thread your fasteners ensures that your new steering knuckle provides a safe, quiet, and factory-smooth ride. By following this steady workflow, you aren't just changing a part—you're restoring the structural integrity of your vehicle's handling for the long road ahead.
Disclaimer: Our Mechanic Advisor provides information for educational purposes only and not as professional automotive advice. DIY repairs involve risks. If unsure, consult a certified mechanic. We guarantee part fitment based on your selected vehicle details, but are not responsible for misdiagnosis or damage resulting from use of this guide.
