


The Mechanic's Logic: A Precision Guide to Control Arm Replacement | DIY
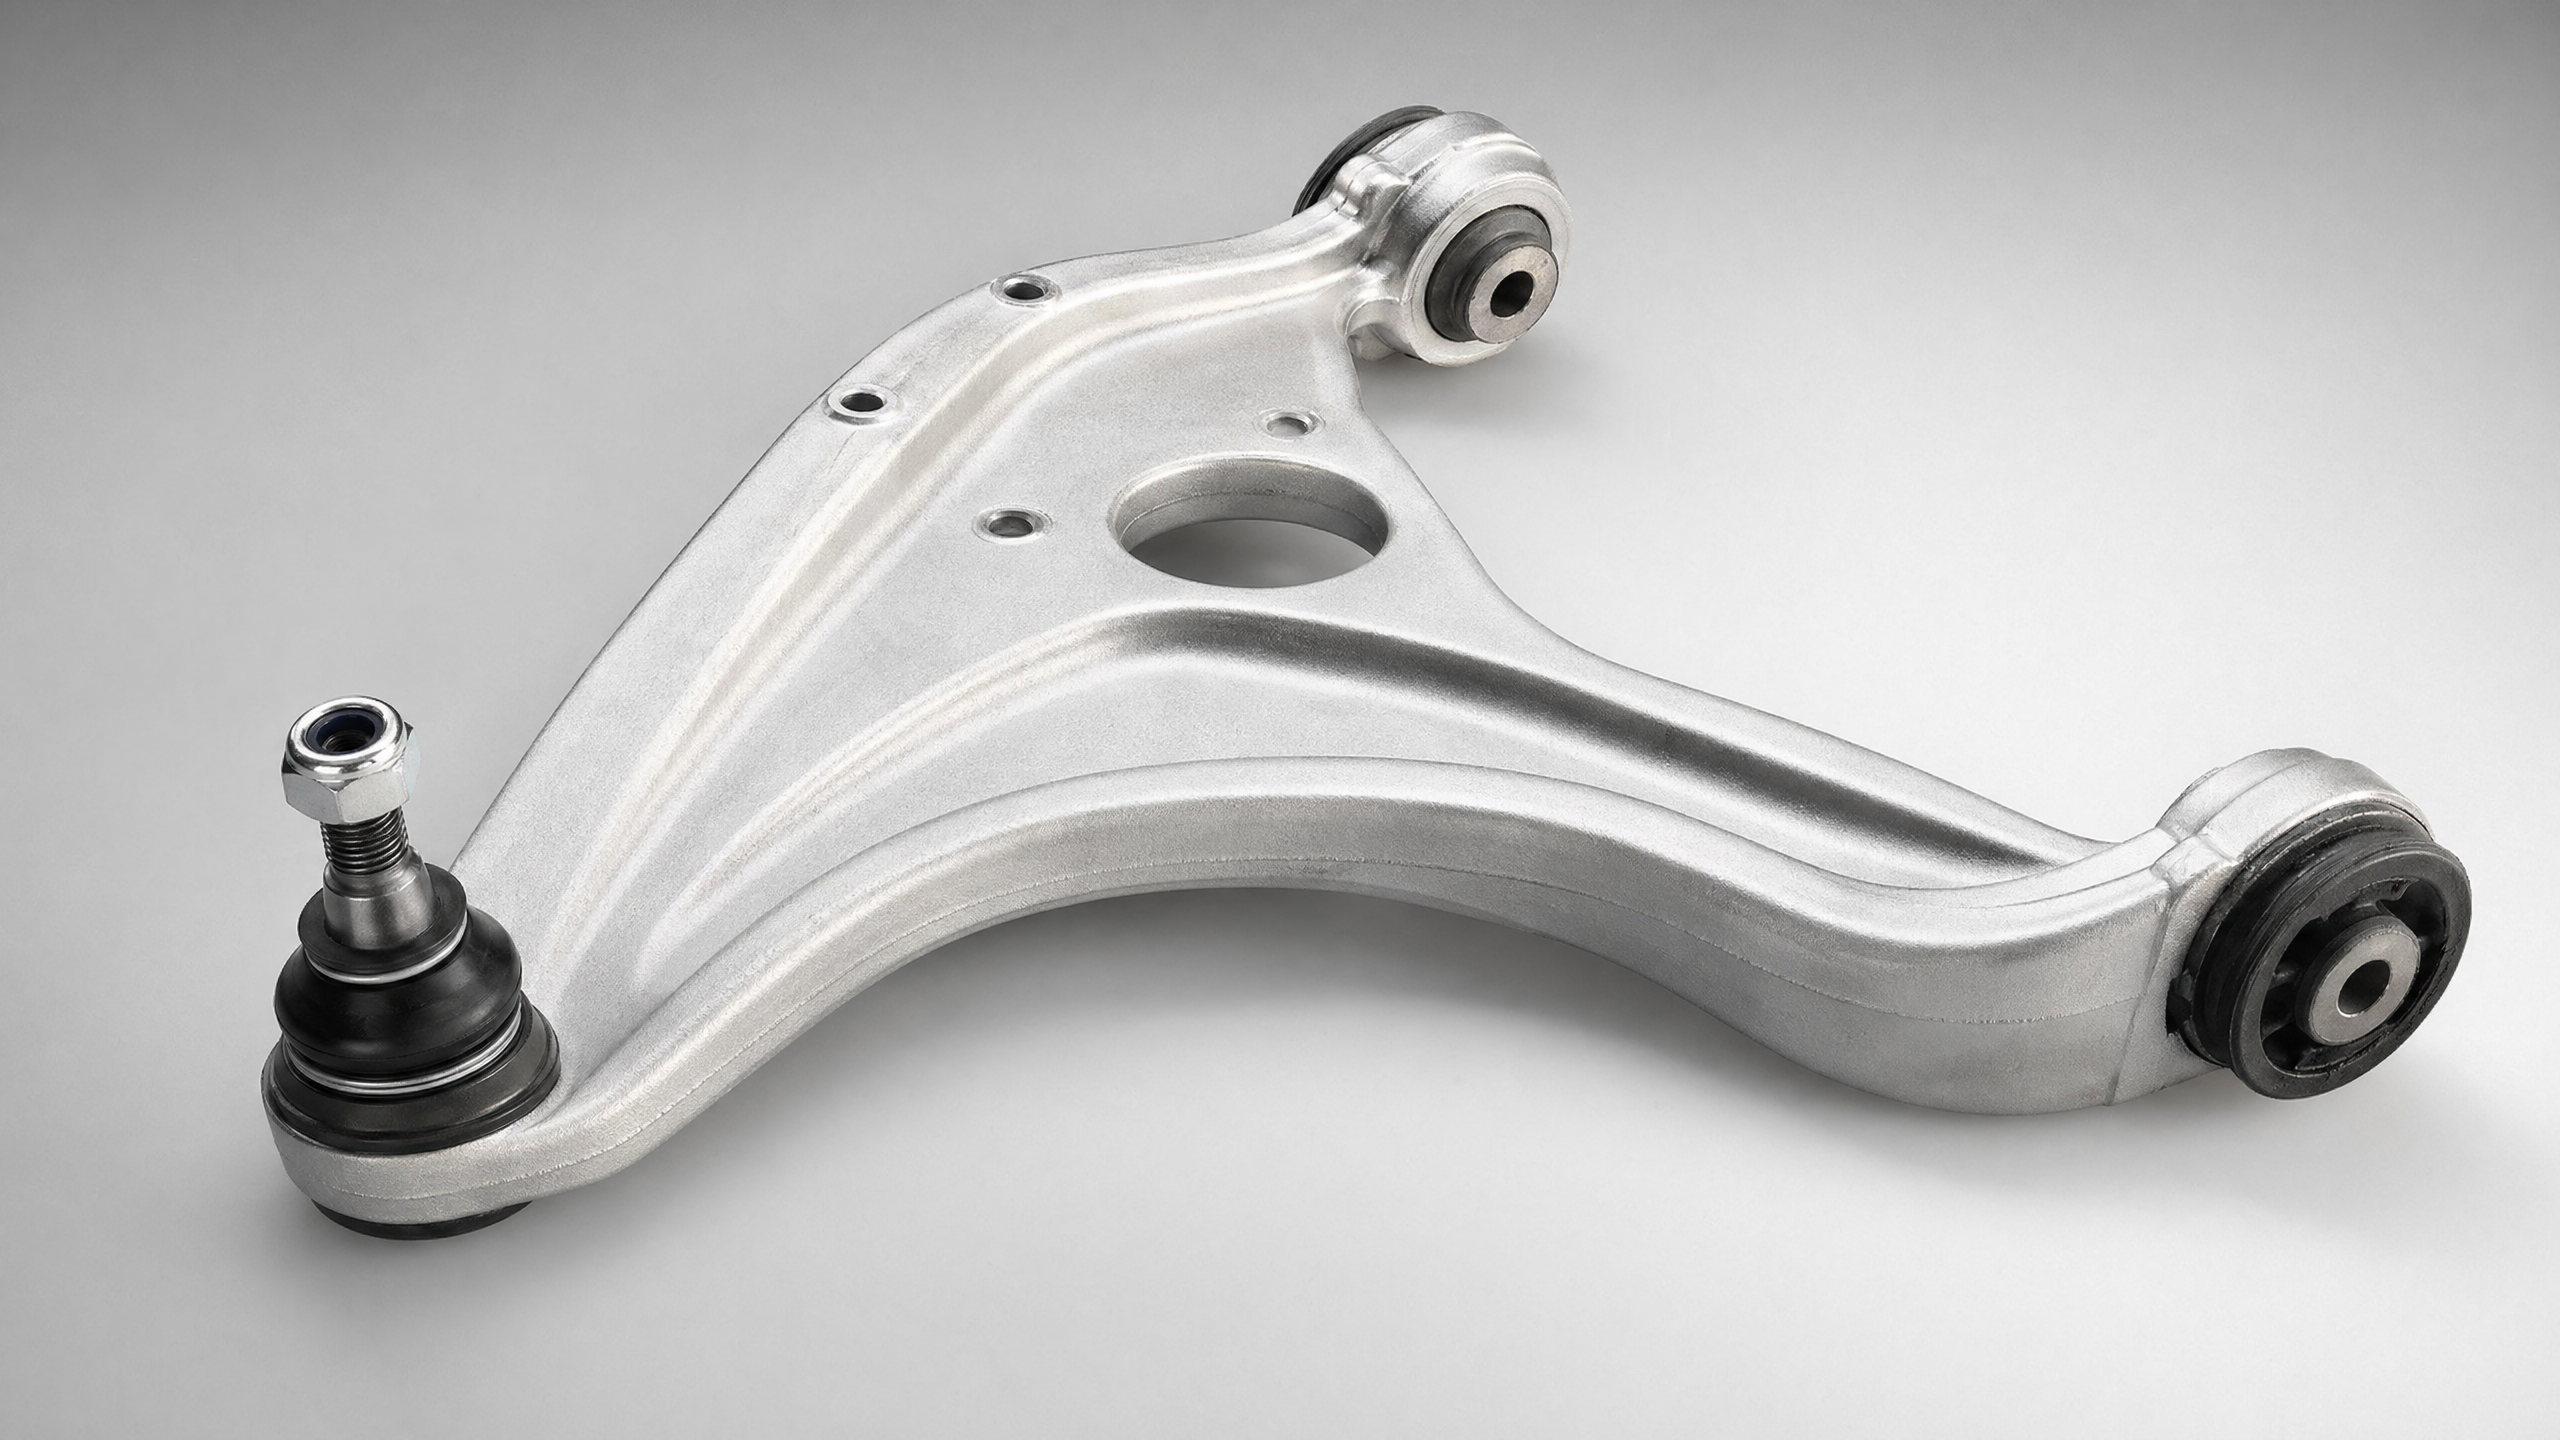
Upgrading or replacing your Suspension Kit (Control Arm Kit) is one of the most impactful DIY projects you can tackle for vehicle handling. However, because these parts are the backbone of your vehicle's safety, you need professional logic to ensure the job is done correctly. Before turning a wrench, classify the part: a control arm kit falls under the Structural & Power category, meaning it is subject to high gravity, intense torque, and constant mechanical stress. Whether you are working on a heavy-duty Ford F-150 or a Toyota Camry, our standards focus on physical integrity and precise torque values to handle these forces.
1. Mandatory Tooling & Support
Since you are working on the chassis, you must utilize a heavy-duty jack and high-quality jack stands. Control arm bolts are often seized; prepare a long breaker bar or high-torque power tools for necessary leverage.
2. Geometric Mapping
Take photos of the original installation angle. Control arm bushings are "clocked" to a specific position; installing them at the wrong angle can lead to premature failure. Additionally, note the exact routing of ABS sensor wires or brake lines attached to the arm.
3. Risk Isolation
Suspension components are magnets for rust. Spray all bolts with penetrating oil and let them soak for at least 30 minutes before removal. Clear away road grime and mud from the mounting points to prevent contamination.
4. Teardown & Component Removal
Disconnect any ABS or ride-height sensors first to avoid accidental damage. Use your jack to support the knuckle assembly before removing load-bearing bolts to unload tension. Avoid heavy physical impact (hammering) on the knuckle or the new arm to protect the integrity of the ball joint.
5. Seating & Torque Application
Use a wire brush to grind the mounting surfaces on the chassis back to bare metal for a clean fit. Never use an impact wrench to start a bolt. Hand-thread every bolt at least 3–5 turns to prevent cross-threading. Final tightening must be done with a torque wrench to the manufacturer's spec. For many vehicles, such as those with multi-link systems like the BMW 3 Series, you should only perform the final torque when the car is back on the ground (under load) to prevent bushing tear.
6. Validation & System Restore
Take a slow test drive over various road conditions to listen for any "clunks" or unusual noises. Because you have altered the suspension geometry, a professional wheel alignment is mandatory immediately following this phase to ensure the system logic is fully restored.
Does My Car Model Matter?
Yes. While the logic remains the same, technical details vary by SKU. Modern parts—especially aluminum control arms—require much lower torque and are more sensitive to physical impact than steel. Some kits include "pressed-in" ball joints, while others are "bolt-on". Always confirm if your specific SKU requires a hydraulic press for assembly during the preparation phase.
If you aren't comfortable with the high-torque requirements of structural parts, consult a professional. Stay safe and happy wrenching!
Disclaimer: Our Mechanic Advisor provides information for educational purposes only and not as professional automotive advice. DIY repairs involve risks. If unsure, consult a certified mechanic. We guarantee part fitment based on your selected vehicle details, but are not responsible for misdiagnosis or damage resulting from use of this guide.
