


The Shop Floor Guide: How to Properly Replace Strut Assemblies | DIY
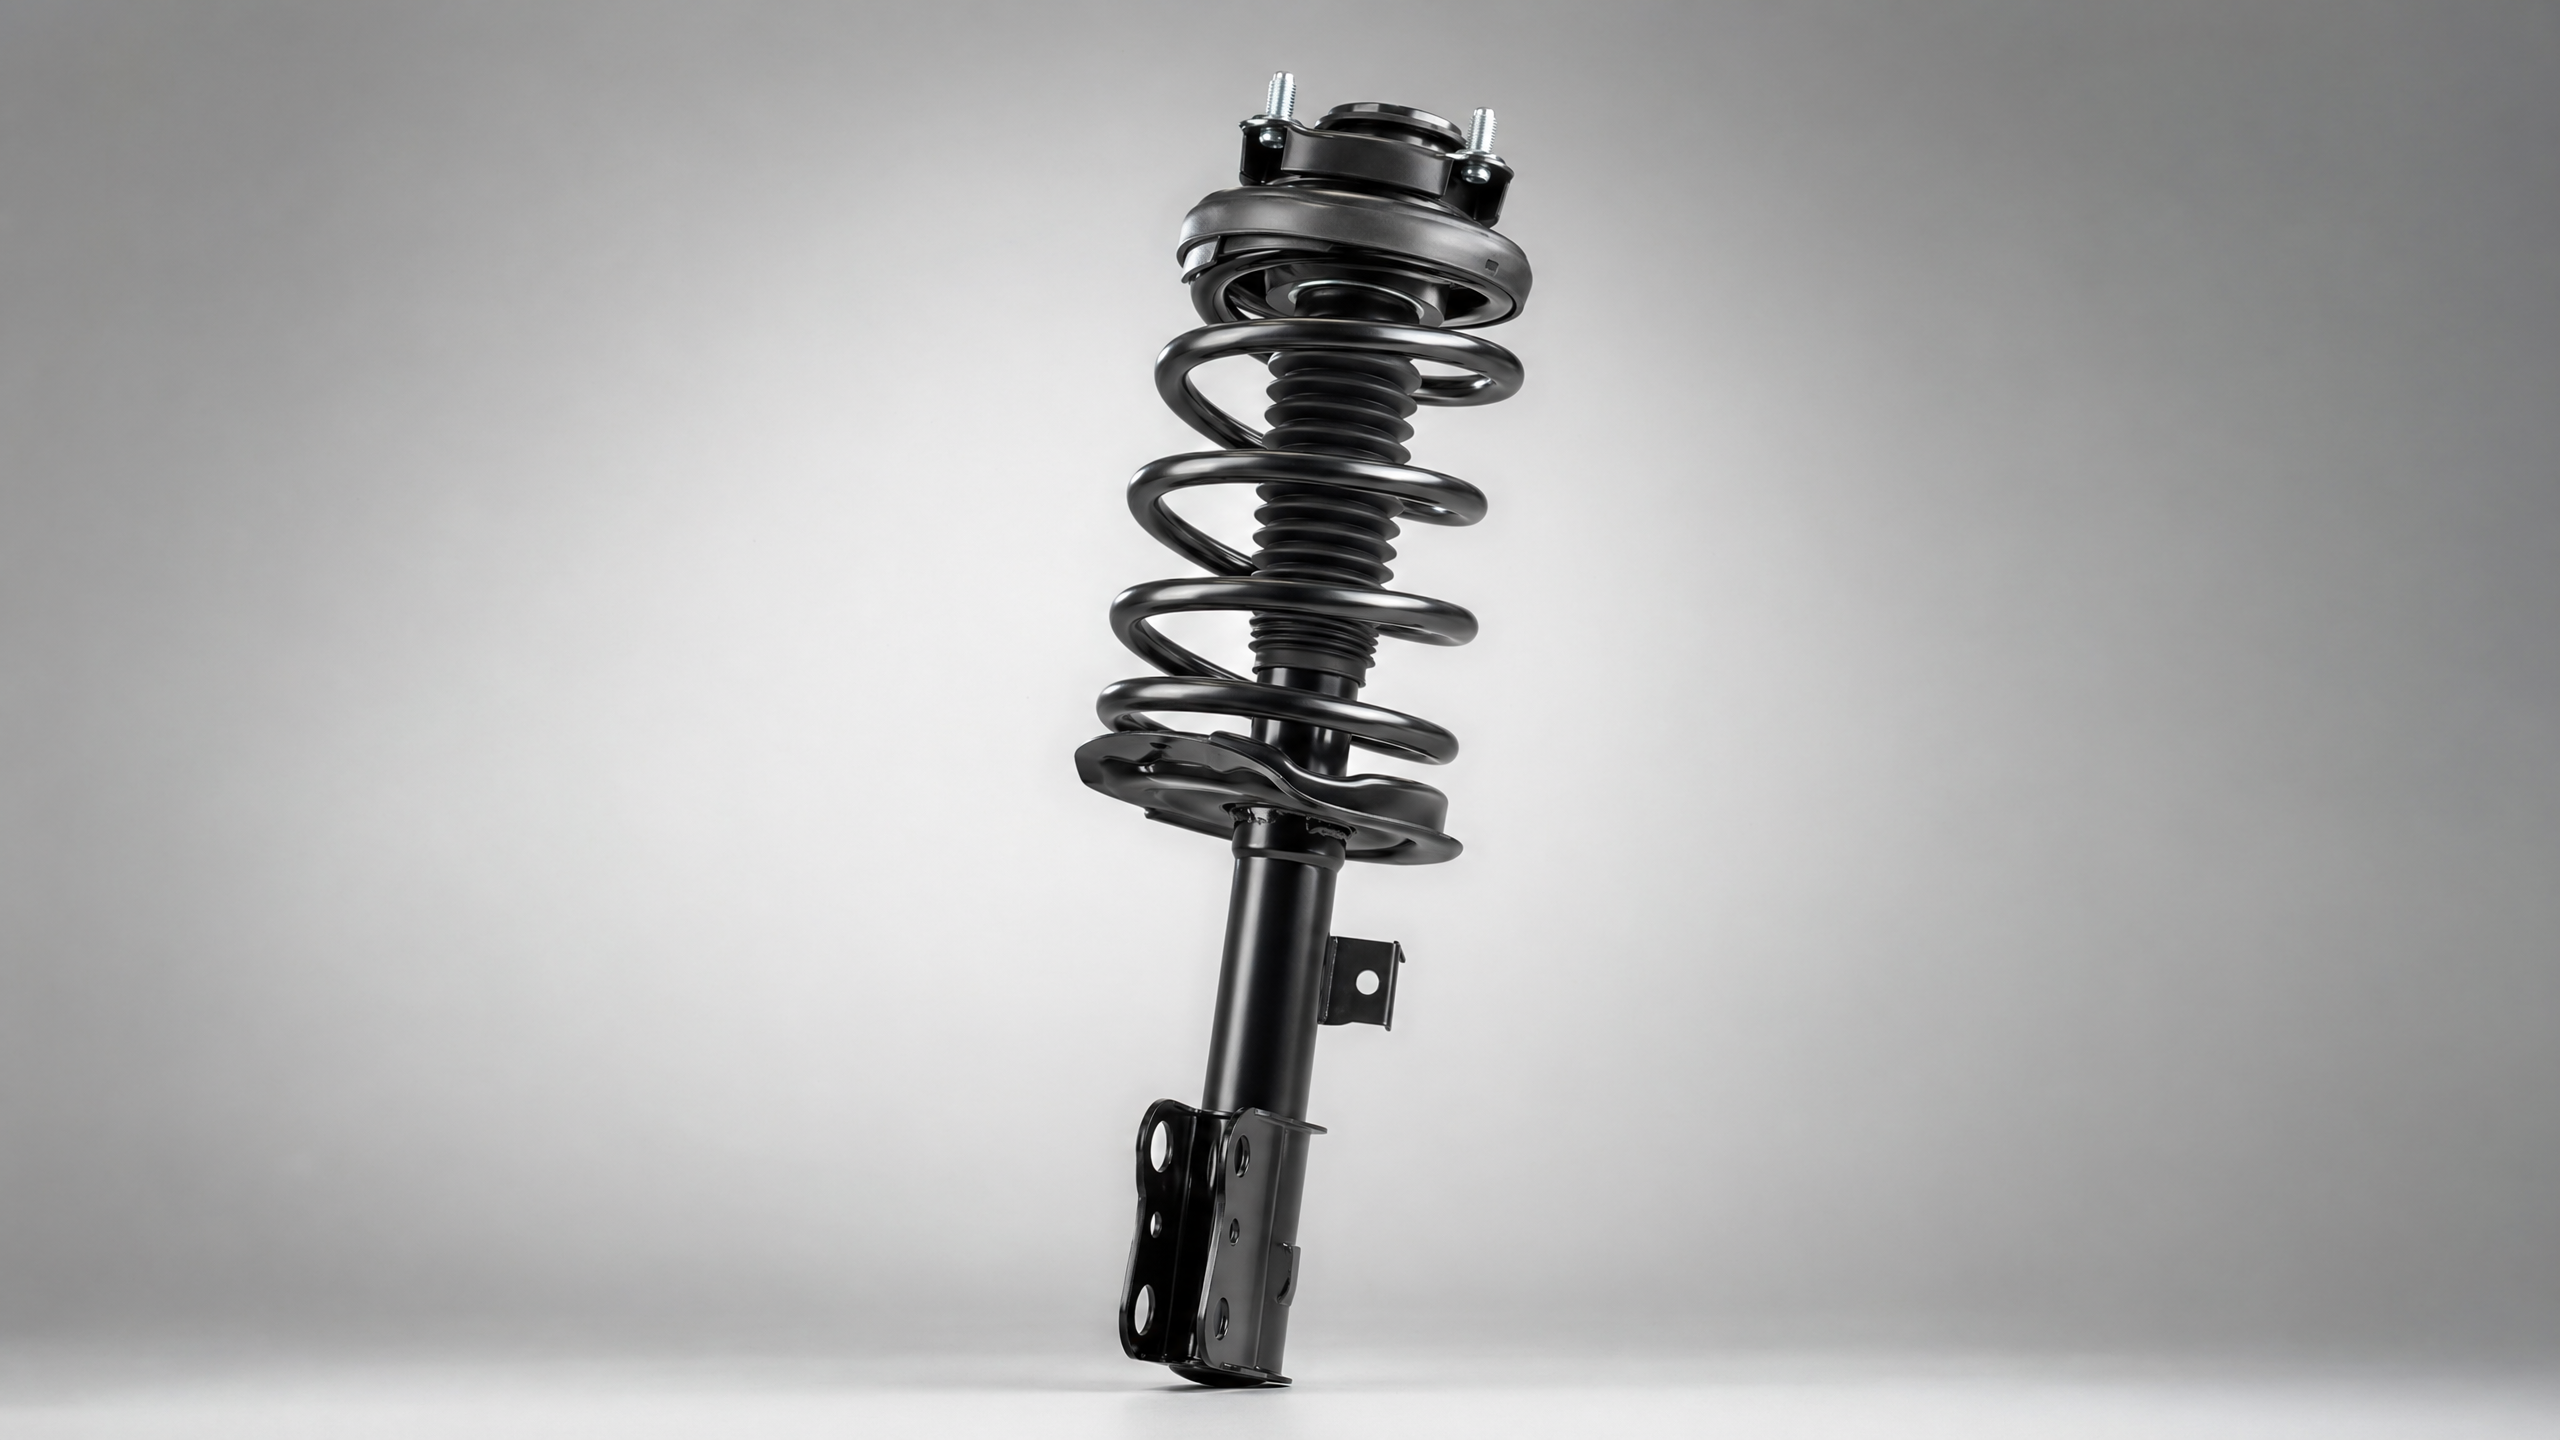
Replacing your Strut Assembly is a major upgrade for your vehicle's ride quality and safety. To get this right, we treat your car's suspension with the precision it deserves. A strut assembly is classified as a Structural & Power component. This means it is a load-bearing part that handles extreme gravity, high torque, and constant mechanical stress. Whether you are working on a heavy-duty Ford F-150 or a Toyota Camry, our standards prioritize physical integrity and precise torque values to handle these forces.
1. Mandatory Tooling & Support
Since struts support the vehicle's weight, you must have a heavy-duty jack and sturdy jack stands. You'll need a long breaker bar for stubborn bolts and a calibrated torque wrench for the final install to ensure everything meets factory safety standards.
2. Geometric Mapping
Before removing anything, photograph the original mounting angles, especially the "top hat" (the upper mount) orientation. Identify how the ABS sensor wires and brake lines are clipped to the strut body to ensure the new one is routed identically.
3. Risk Isolation
Suspension bolts are prone to rust. You must spray all mounting bolts with penetrating oil and let them soak for at least 30 minutes before attempting removal. Use a wire brush to clean road grime from the threads and mounting surfaces to ensure a clean teardown.
4. Teardown & Component Removal
Disconnect any "soft" items like ABS wires or brake line brackets first to prevent stretching or breaking them. Support the steering knuckle with a jack or bungee cord so it doesn't fall and damage the CV axle when the strut is removed. Avoid using heavy hammers on the knuckle or the new strut to prevent internal damage to the dampening valves.
5. Seating & Torque Application
Grind the mounting points on the knuckle back to bare metal to ensure a perfect fit. Never use a power tool to start a bolt. Hand-thread every bolt and nut at least 3–5 turns to prevent cross-threading. Tighten all hardware to the manufacturer's specific torque value using a torque wrench. For precision-engineered vehicles like a BMW 3 Series, skipping the torque wrench can lead to chassis noise or component failure.
6. Validation & System Restore
Perform a static check to ensure all clips for wires and hoses are securely locked back into place. Conduct a test drive across various road surfaces to check for any "knocking" or "clunking" sounds. Since replacing struts alters your suspension geometry, a professional wheel alignment is mandatory to ensure the system is fully restored.
Does My Car Model Matter?
Yes. While the core installation logic stays the same, different vehicles have specific needs:
- Electronic Suspension: If your car has "Adaptive" or "Magnetic" ride, such as a Cadillac CT6 or modern Audi A4, it is also a Signal & Data part. You must disconnect the battery before unplugging the electronic sensors to avoid fault codes.
- Aluminum vs. Steel: Many modern cars use aluminum knuckles. These are highly sensitive to over-tightening and require specific, often lower, torque specs compared to traditional steel.
If you aren't comfortable with the high-torque requirements of structural parts, consult a professional. Stay safe and happy wrenching!
Disclaimer: Our Mechanic Advisor provides information for educational purposes only and not as professional automotive advice. DIY repairs involve risks. If unsure, consult a certified mechanic. We guarantee part fitment based on your selected vehicle details, but are not responsible for misdiagnosis or damage resulting from use of this guide.
