


Master the Seal: Engine Head Gasket Installation Guide | Torque & Rebuild Tips
So you’ve got your new Engine Overhaul Gasket Kit. Whether you are restoring the compression on a high-mileage Honda Civic, tackling a leak on a Jeep Grand Cherokee, or performing a full rebuild on a VW Jetta, the installation is the "make or break" moment for your engine’s longevity.
To ensure your engine remains leak-free for the next 100,000 miles and to avoid a catastrophic "blown gasket" comeback, follow our professional 6-Step Mechanic Advisor Protocol.
Step-by-Step Engine Head Gasket Installation Guide
Step 1: The Tool Audit – Do You Have the Right Arsenal?
Don't break a single seal until your workbench is ready. A head gasket failure is often caused by improper clamping force, not just a bad part.
- The Non-Negotiables: A high-quality Torque Wrench is mandatory for aluminum heads.
- Surface Verification: You will need a precision Straightedge and Feeler Gauges to check for surface warpage.
- Pro Tip: If you are working on a Subaru Outback (Boxer engine) or a BMW 3-Series, check if your head bolts are "Stretch Bolts" (TTY). These are one-time use only and must be replaced along with the gasket.
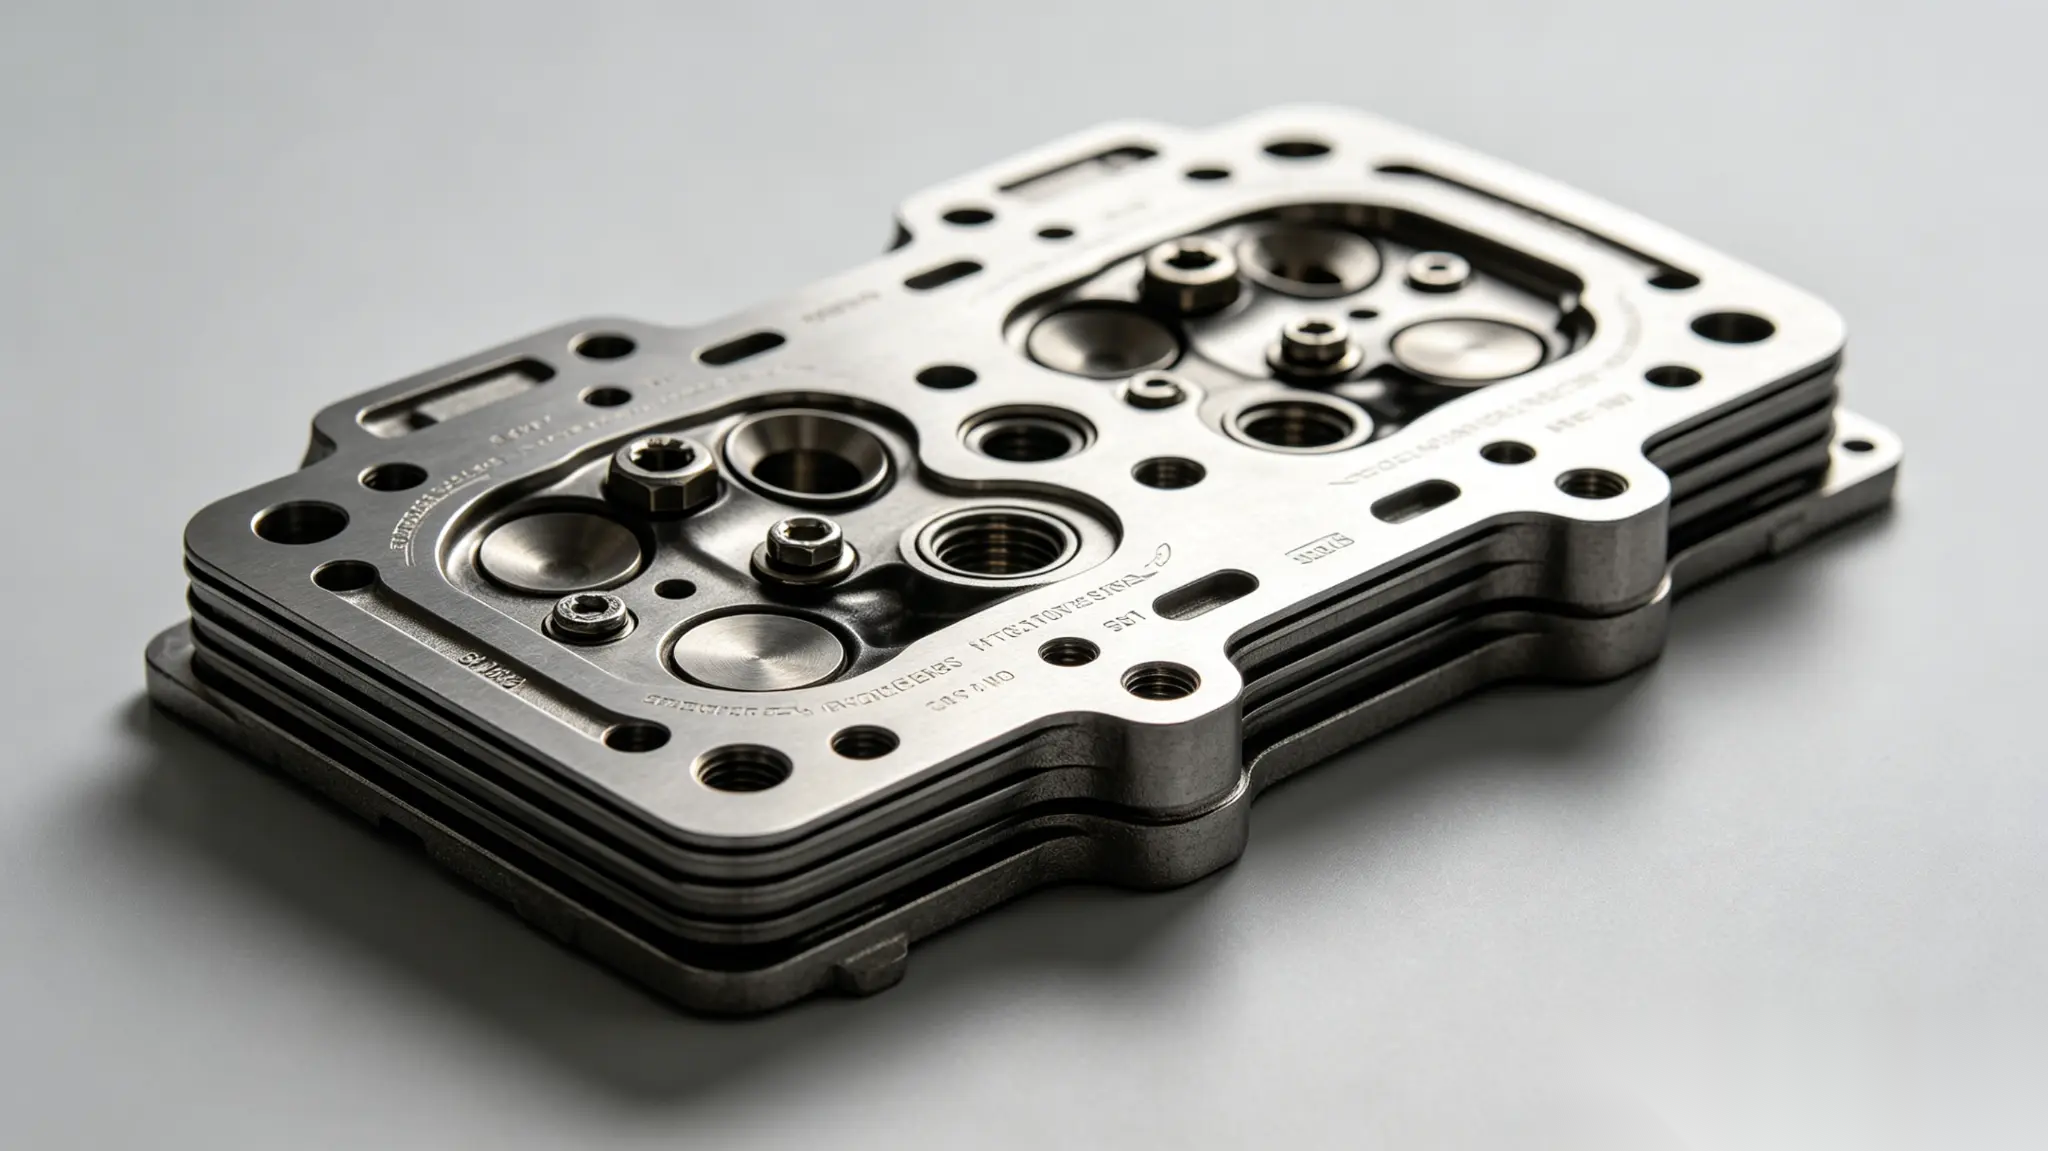
Step 2: Orientation Logic – Mapping the Fluid Topology
Engine gasket kits contain dozens of seals. Organization is the difference between a "First-Time Fix" and a massive oil leak.
- Mirror Mapping: Use your phone to take high-resolution photos of the original gasket orientation before removal.
- The Top/Front Mark: Look for laser-etched "Top" or "Front" markings on the head gasket. Installing it upside down can block critical oil passages, leading to instant engine seizure.
- Visual Alignment: Confirm that the coolant flow paths on the new gasket align perfectly with your engine block—especially on V6 engines like the Nissan Pathfinder, where left and right gaskets may look identical but differ in port layout.
Step 3: Decontamination – Why Surgical Grade Cleanliness Matters
Cleanliness is the gold standard of engine sealing. Even a microscopic piece of old carbon can cause a 10-day fail.
- The 0.003 Rule: Use a vacuum to ensure no debris falls into the cylinders. If your engine previously overheated, check the cylinder head flatness. Even a 0.003-inch warp will cause a new gasket to fail instantly.
- Chemical Prep: Use specialized gasket scrapers— plastic for aluminum heads to avoid scratching the precision-machined surface, and metal only for iron blocks.
Step 4: Strategic Teardown – Avoiding the Warp Trap
Removing the head is as critical as installing it.
- Reverse Torque Sequence: Always follow the manufacturer’s specific Reverse Torque Sequence when loosening head bolts. On a Hyundai Elantra or similar inline-4, starting from the outside and moving in prevents the head from springing or warping during decompression.
- No Prying: Never use a screwdriver to "pop" the head off the block. One scratch on the mating surface is a $2,000 mistake that no gasket can seal.
Step 5: The Pro-Fit Execution – Precision Integration
This is where 90% of DIY mistakes happen.
- Hand-Start Only: Place the gasket over the dowel pins. Hand-thread all bolts at least 3–5 full turns before touching a wrench to prevent cross-threading.
- Wet vs. Dry Sealing: Lightly lubricate O-rings and valve stem seals with fresh oil. Apply a tiny "bead" of RTV sealant only at the T-joints where the timing cover meets the block.
- The Torque-to-Yield (TTY) Pattern: Tighten in multiple passes (e.g., 20 ft-lbs, then 45 ft-lbs, then a final 90-degree turn) using a star or spiral pattern from the center outward. This ensures the gasket crushes evenly across the entire surface.
Step 6: Closed-Loop Validation – The Brain Reset
The hardware is in, but the system needs verification before the first mile.
- Static Pressure Test: Perform a cooling system pressure test before starting the engine to ensure the water pump and head seals are airtight.
- Clear the Ghost Codes: Use an OBD-II scanner to wipe historic misfire codes (like P0300). On modern vehicles like a Mazda CX-5, the ECU needs to relearn the seal integrity.
- The Drive Cycle: Start the engine and monitor the Short-Term Fuel Trim and temperature gauges for the first 20 minutes to ensure no false overheating occurs.
Why This Logic Works for Your Vehicle
By following this 6-step structured data approach, you transition from a part-swapper to a precision technician. Whether you are dealing with a Bi-Metal setup (Iron Block vs. Aluminum Head) or a brittle Composite Intake Manifold, these specific torque sequences and surgical clean protocols ensure your overhaul stands the test of time.
Disclaimer: Our Mechanic Advisor provides information for educational purposes only and not as professional automotive advice. DIY repairs involve risks. If unsure, consult a certified mechanic. We guarantee part fitment based on your selected vehicle details, but are not responsible for misdiagnosis or damage resulting from use of this guide.
