


Oil Pan Leak Diagnosis Guide | Symptoms, Damage Check & Repair Strategy
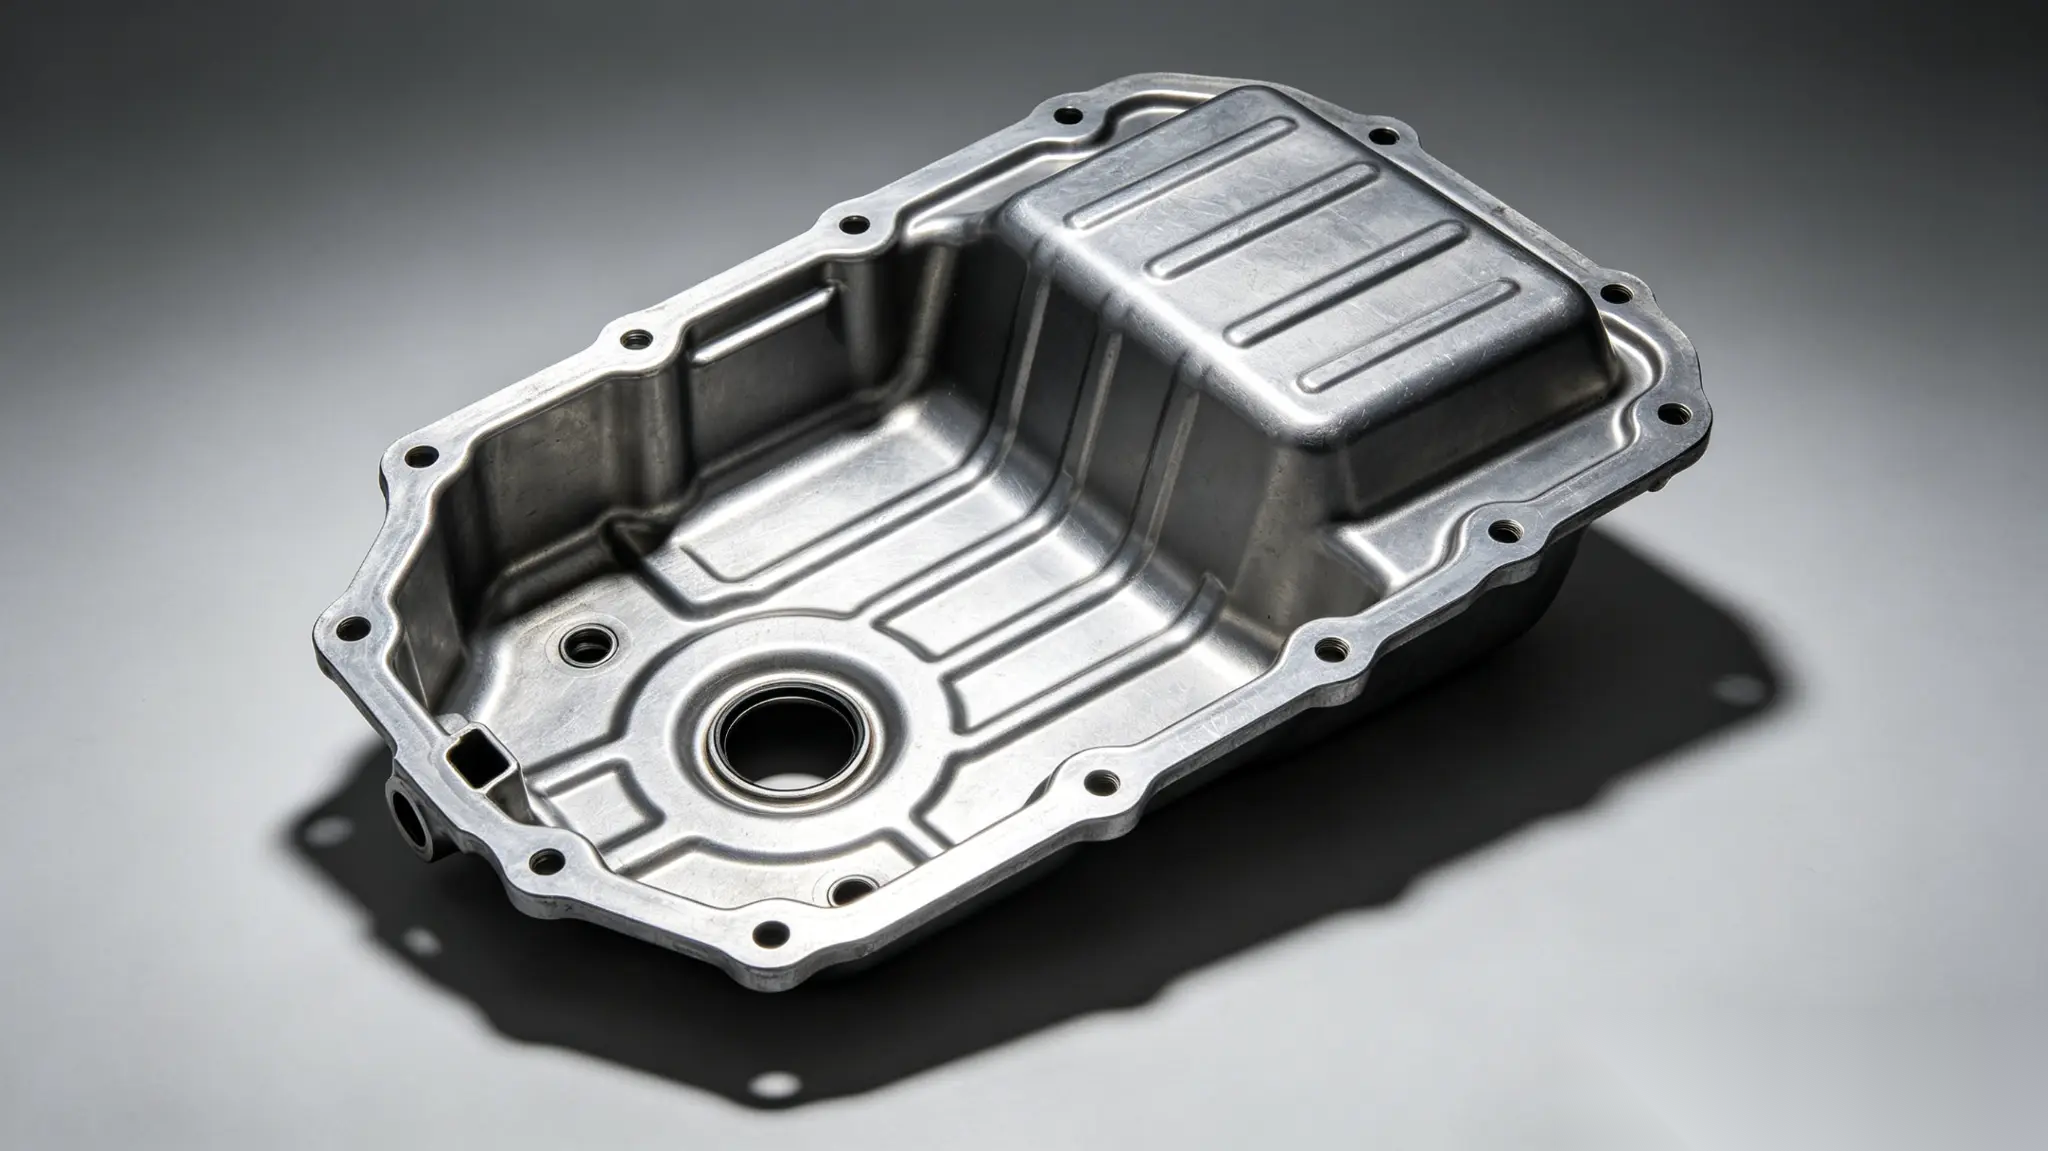
The oil pan is the reservoir of your engine's lifeblood. While it might seem like a simple reinforced "bucket," a failure here—whether from road debris impact or gasket degradation—can lead to total engine seizure in minutes. To ensure you are solving the root cause and not just masking a leak, follow this professional diagnostic protocol.
Common Red Flags of Oil Pan Failure
Before diving into the technical steps, look for these indicators that point toward the oil pan area:
- Oil Puddles: Dark amber or black fluid spots under the front-center of your vehicle after parking.
- Low Oil Warning Light: A persistent dashboard alert indicating your engine’s lifeblood is escaping.
- Burning Oil Smell: If oil leaks from the pan and splashes onto the hot exhaust, you will notice a thick, acrid scent.
- Visible Physical Damage: Dents, scrapes, or heavy rust on the bottom-most part of the engine block.
Phase 1: DIY Readiness & Systemic Exclusion
Step 0: DIY Readiness & Risk Audit
- Standard Leak: If the repair only involves unbolting an external component with standard tools—common on a 2014-2018 Toyota RAV4—it is a Green Lane task.
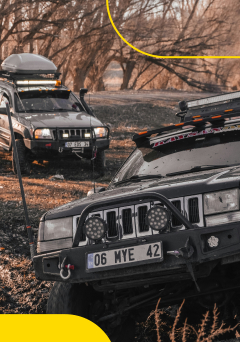
- Structural/Deep Access: If your vehicle, such as a 4WD pickup truck, requires the removal of the subframe or engine mounts to access the pan, it elevates to a Red Alert task requiring professional shop equipment like engine hoists.
Step 1: Systemic Exclusion (Rule out the "Upstream")
Do not assume the pan is leaking until you exclude upstream contaminants:
- Standard Leak Environment: The PCV and cooling systems are healthy; the leak is likely just a failed gasket due to age.
- Structural/Systemic Failure: A clogged PCV valve (look for codes P0171/P0174) creates high internal pressure that forces oil out of seals. Replacing a pan without fixing the PCV will cause the new gasket to blow immediately.
Phase 2: Digital & Sensory Verification
Step 2: Digital Signal Analysis (DTC)
- Standard Leak: Usually shows no codes unless the oil level becomes critically low.
- Structural Damage: Check for P0520/P0521 (Oil Pressure Sensor). If a dented pan is restricting the oil pickup tube, it signals functional mechanical damage.
Step 3: Sensory Verification (Sound & Smell)
- Standard Leak: Noticeable burning oil smell, but no unusual mechanical sounds.
- Structural Damage: Listen for a rhythmic tapping noise indicating possible oil pickup interference.
Phase 3: Visual Evidence & SKU Strategy
Step 4: Visual Ironclad Evidence
- Standard Leak: Oil is weeping slowly from the mating flange or drain plug threads; pan is smooth and rust-free.
- Structural Damage: Visible crack, deep dent, heavy rust, or blue/purple heat tint indicating extreme overheating.
Step 5: Matching the Fix to the Failure (What to Buy)
Based on your findings, choose the unique match for your repair:
| Diagnostic Conclusion | Recommended SKU Strategy | Essential Accessories |
|---|---|---|
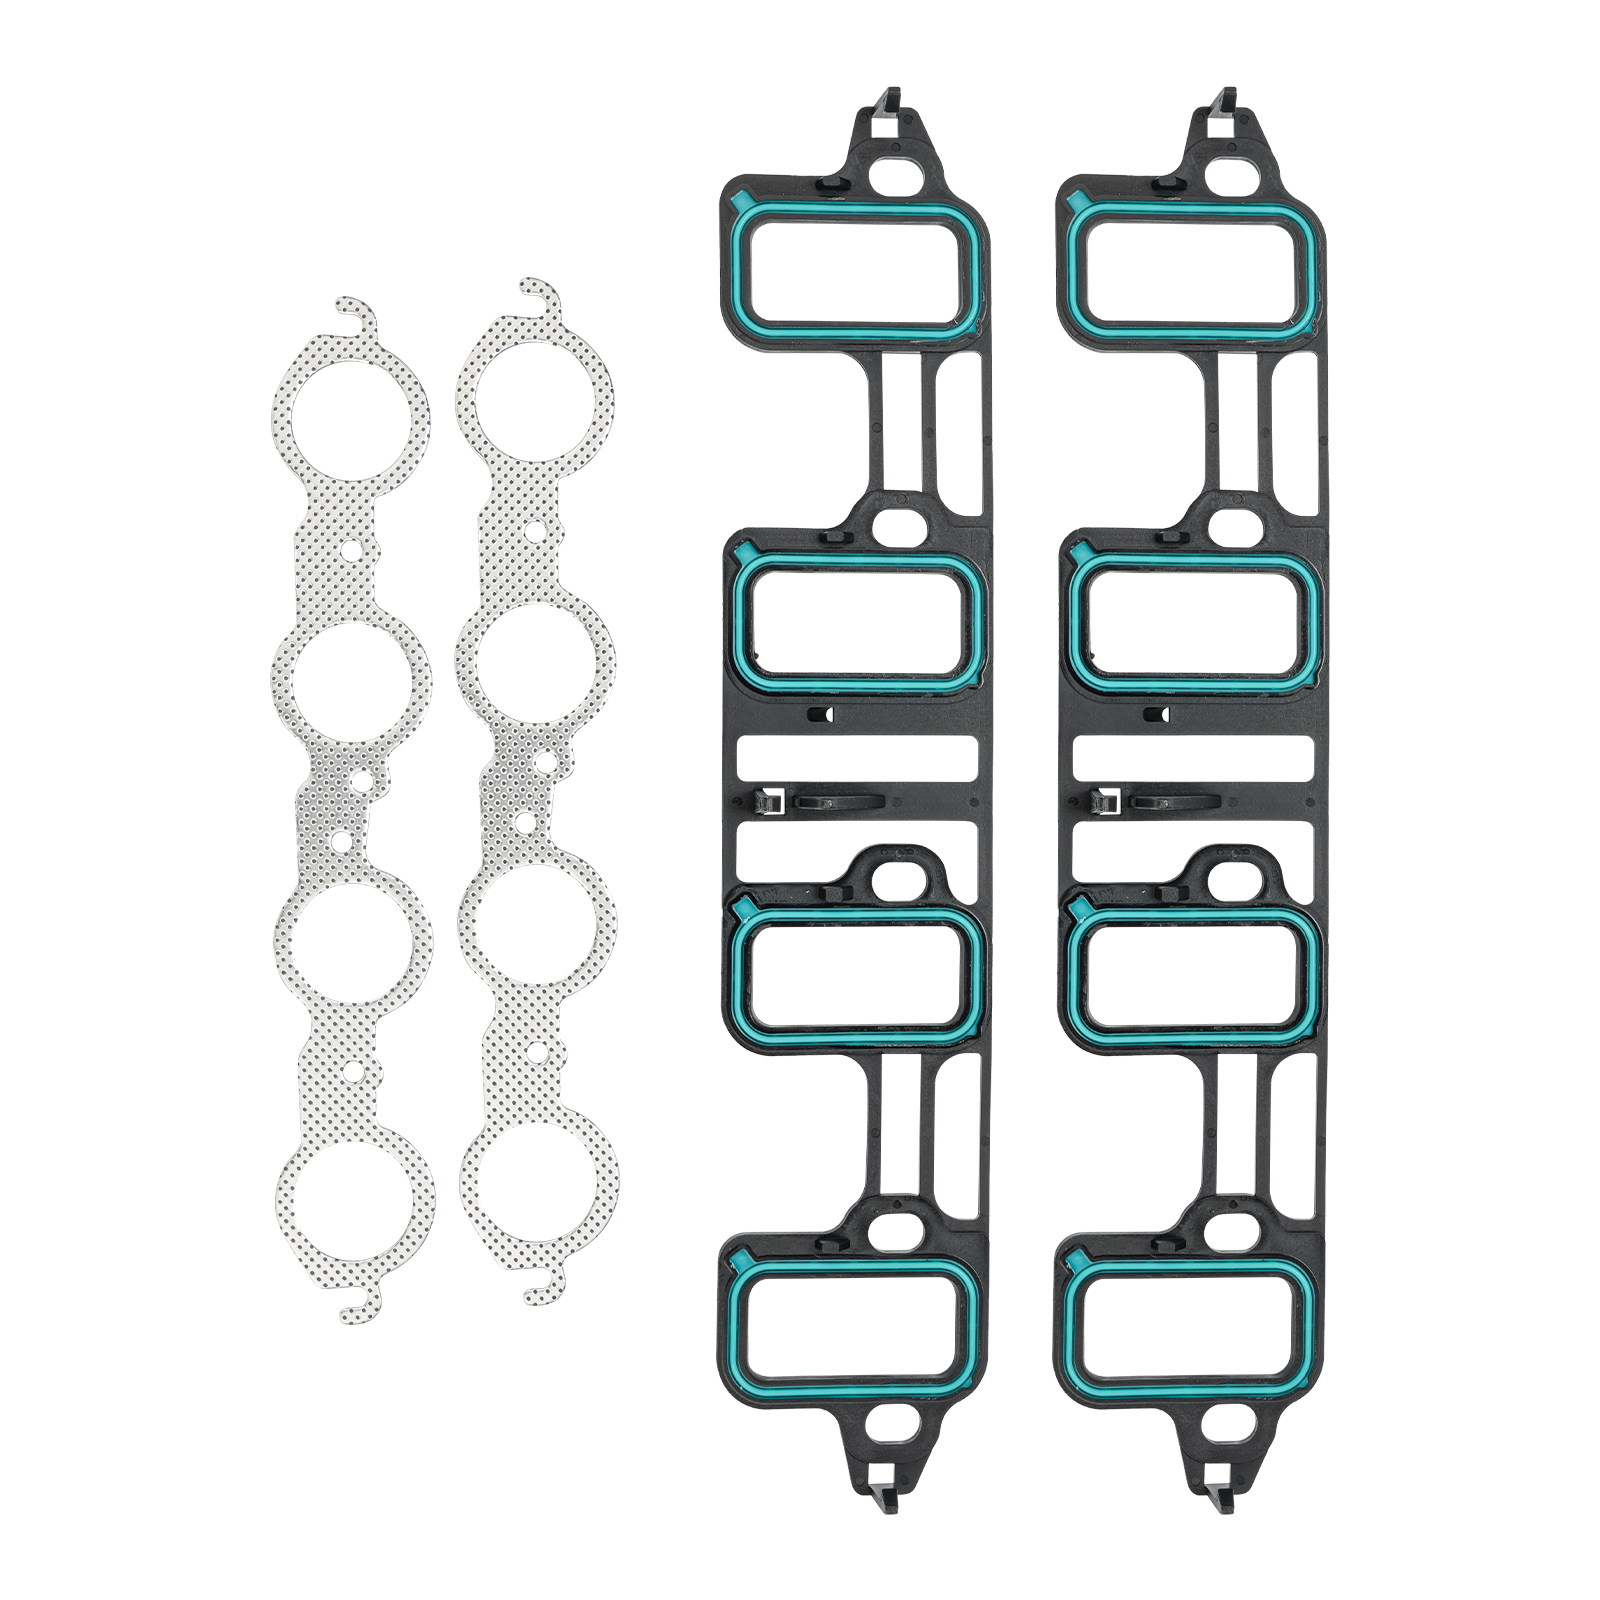
| Standard Leak: Gasket is weeping; pan is intact; no pressure issues. | Oil Pan Gasket (Standard Kit) | Drain plug washer, High-temp RTV sealant |
| Structural Damage: Pan is dented, cracked, or rusted through. | New Oil Pan Assembly (Full Kit) | New Oil Filter, Magnetic drain plug |
| Upstream Failure: PCV valve is clogged, causing high-pressure leaks. | Repair PCV First, then replace Gasket | New PCV valve, Intake cleaner |
Model Variations: Steel vs. Aluminum vs. Plastic
- Steel Pans: Common on trucks like the Chevrolet Silverado; prone to rust and dents.
- Aluminum Pans: Common on modern European luxury cars; brittle and prone to cracking under impact.
- Plastic/Composite Pans: Found on Ford F-150 2.7L EcoBoost; highly sensitive to torque and can crack if over-tightened.
By following this 6-step protocol, a core diagnostic standard for the technical team, you ensure a professional-grade repair that addresses the root cause rather than just the symptom.
Disclaimer: Our Mechanic Advisor provides information for educational purposes only and not as professional automotive advice. DIY repairs involve risks. If unsure, consult a certified mechanic. We guarantee part fitment based on your selected vehicle details, but are not responsible for misdiagnosis or damage resulting from use of this guide.