

You followed the diagnostics, invested in high-quality components, and meticulously completed the installation—yet the vibration, leak, or rhythmic ticking persists. In complex automotive systems, a "failed" repair rarely means a defective part; more often, the root cause is hiding in an adjacent component or a nuanced installation step that was overlooked.
This professional FAQ guide is designed to help you "close the loop" on engine maintenance and troubleshoot the ghost in the machine.
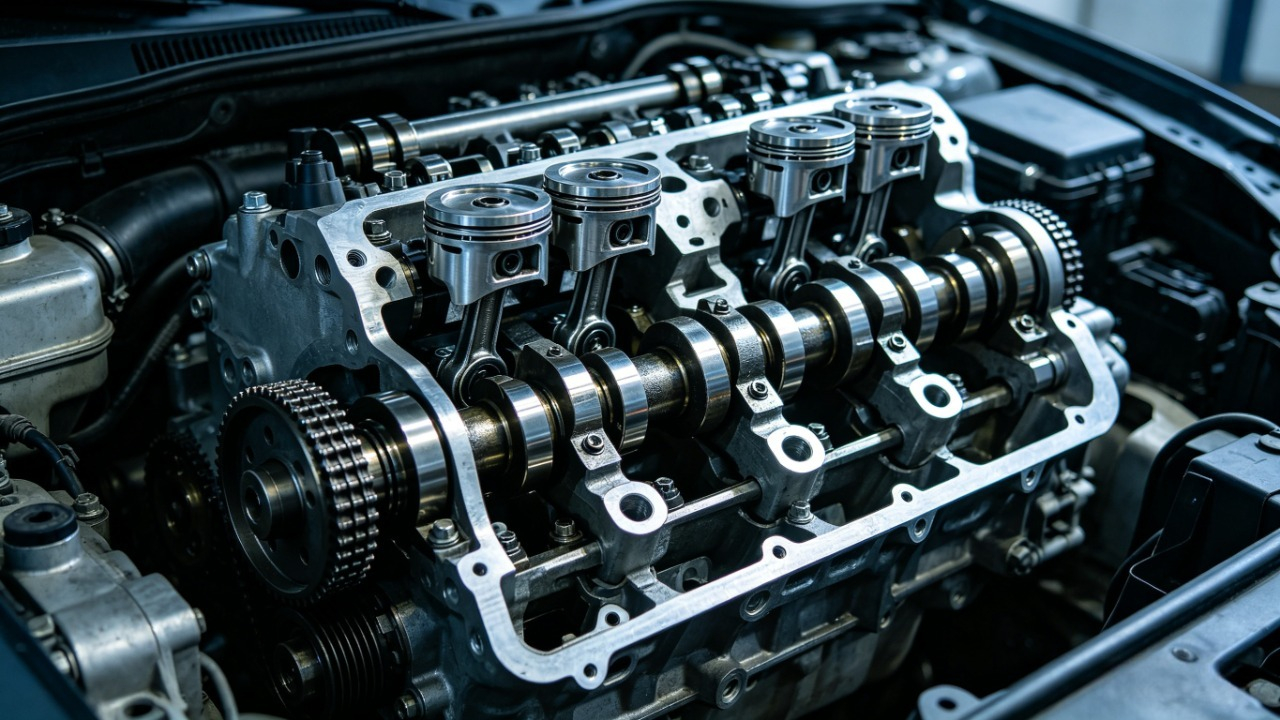
1. Engine Overhaul Gasket Kit & Valve Covers
From a diagnostic standpoint, a new seal is only as good as the surface it sits on.
- Persistent Oil Smell: If the engine block and exhaust manifold weren't thoroughly degreased during the Prep phase, residual oil will continue to undergo thermal degradation (burning) for several days. This is a frequent "false alarm" on high-mileage engines like the BMW N52 or Honda Civic.
- Secondary Leak Paths: If fresh oil appears, verify your torque sequence. Over-torquing bolts can "crush" or split a new rubber gasket.
- Head Gasket White Smoke: A new gasket cannot compensate for a warped mating surface. If the cylinder head wasn't checked for Surface Flatness before installation, the seal is compromised from the start.
2. Timing Belt Kit (Precision Synchronization)
Modern engines depend on perfect digital timing logic.
- Synchronization Error: Even being "one tooth" off on the camshaft sprocket—common on interference engines like the Subaru EJ25—will disrupt the engine’s performance.
- Tensioner Direction: Ensure the tensioner was set in the correct direction; some units rotate counter-clockwise to apply the specific load required.
- The Whirring Sound: The timing belt is likely over-tightened. Excessive tension puts an unsustainable side-load on the water pump and idler bearings, leading to premature bearing hum.
3. Oil Pan & the "T-Joint" Challenge
Structural gaps require specific sealing protocols.
- Microscopic Gaps: On engines like the Ford F-150, where the timing cover meets the engine block, there is a microscopic structural gap.
- RTV Application: If you did not apply a precise bead of RTV sealant at these specific intersection points, oil will find the path of least resistance through that gap.
4. Accessory Belt Tensioner
The tensioner is often the messenger, not the culprit.
- Upstream Pulley Friction: An "Upstream" pulley—such as a seized Alternator bearing or a misaligned A/C Compressor—might be the true source of the friction.
- The Manual Spin Test: Remove the belt and spin every pulley by hand. If any component feels "gritty," wobbles, or fails to spin freely, that is your noise source.
5. Engine Mounts & Cabin Resonance
Incorrect installation sequence can lock in cabin vibrations.
- Mount Stress: If the bolts were torqued while the engine was still supported by a jack or hoist, the mount is now "pre-loaded" in a stressed position.
- Natural Settling: Loosen the mount bolts slightly, start the engine, and shift from Drive to Neutral to let the block "settle" naturally before re-torquing.
6. Aerodynamic Protection Covers
Modern underpans are critical aerodynamic components.
- Rattling at Speed: This is often due to missing or damaged fasteners.
- Wind Catching: Ensure every single clip and screw is accounted for. If even one is missing, wind pressure will cause the cover to vibrate violently against the chassis.
Mechanic’s Diagnostic Cheat Sheet
| Symptom | Potential Logic | Field Check | Urgency |
|---|---|---|---|
| Burning Oil Smell | Residual Oil Burn-off | Clean with brake cleaner | Low |
| Rough Run / P0016 | Synchronization Error | Re-verify TDC marks | High |
| Corner Drip (Oil Pan) | T-Joint Gap | Apply RTV at intersections | Moderate |
| Increased Vibration | Mount Stress | Loosen and let engine settle | Moderate |
Summary
If you’ve verified the installation and the problem persists, consider systemic factors: a clogged PCV valve creating excessive pressure, or the Symmetry Rule where parts fail in pairs.