


Timing Belt & Water Pump Replacement Guide | Pro Installation Tips & Safety Steps
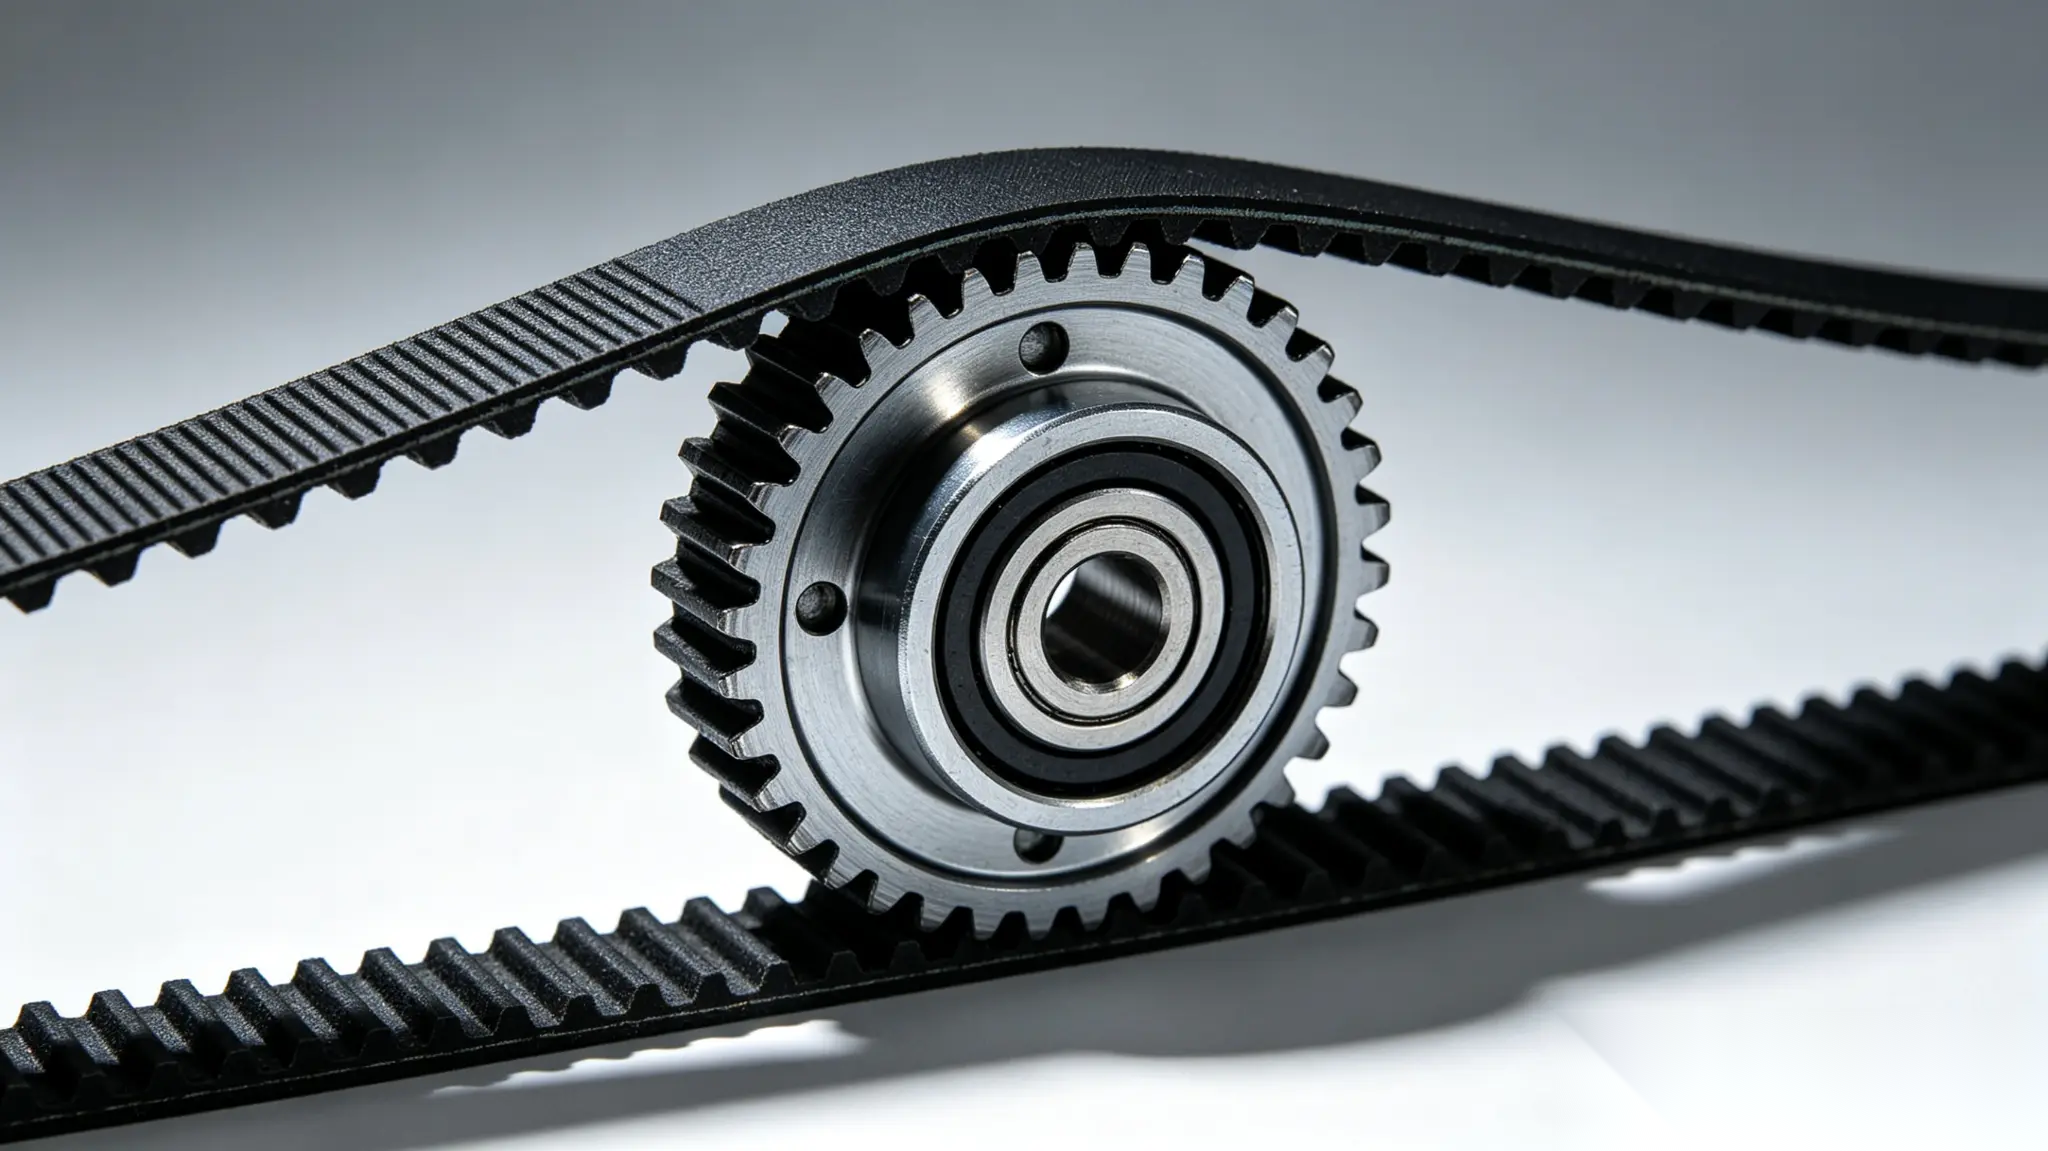
Think of the timing belt as your engine’s internal metronome. If it skips a beat, the symphony ends with a loud, expensive bang. Replacing a Timing Belt Kit and Water Pump is a high-stakes job where precision matters more than speed.
Whether you’re servicing a high-mileage Honda Civic, tackling the tight engine bay of a VW Jetta, or doing preventative maintenance on a Subaru Outback, these "pro-only" tips will keep you from turning a car into a scrap heap.
Step 1. The Pre-Game: Is Your Toolkit Actually Ready?
- The Torque Wrench is King: Never guess the tightness of a tensioner bolt. On aluminum blocks, improper torque leads to stripped threads or loose tensioners.
- Support the Mass: Since engine mounts are often removed, support the engine with a floor jack and wood block or a top-side support bar.
- Locking Pins: For precision engines like a Mazda 3, camshaft locking tools are essential to prevent timing drift.
Step 2. Teardown: Why Your Phone is Your Best Tool
- Snap a Photo First: Document belt routing and Top Dead Center (TDC) marks before removal.
- Put Down the Hammer: Use a proper puller for harmonic balancers to avoid damaging sensors or gear teeth.
Step 3. Decontamination: Surgical Cleanliness Required
- Bare Metal Mating: Clean water pump and block surfaces completely to prevent gasket leaks.
- Electronic Safety: Always disconnect the battery before working near rotating components.
Step 4. Installation: The "Manual-First" Rule
- "Wet Seal" the Pump: Lubricate the water pump O-ring with coolant or silicone grease to prevent tearing.
- The 3-5 Turn Rule: Hand-thread bolts before using tools to avoid cross-threading.
- Zero Slack: Route the belt starting from the crankshaft and eliminate slack on the tension side.
Step 5. The Moment of Truth: The Two-Revolution Test
- Hand-Crank It: Rotate the engine two full turns manually using a breaker bar.
- Re-Check the Marks: Ensure TDC marks align perfectly after rotation.
- Interference Warning: If resistance is felt, stop immediately to prevent valve damage.
Final Validation
Once timing is confirmed, refill coolant, pressure-test for leaks, and clear codes using an OBD-II scanner. Proper alignment ensures long-term reliability up to 100,000 miles.
Disclaimer: Our Mechanic Advisor provides information for educational purposes only and not as professional automotive advice. DIY repairs involve risks. If unsure, consult a certified mechanic. We guarantee part fitment based on your selected vehicle details, but are not responsible for misdiagnosis or damage resulting from use of this guide.
